
My Garage
My Account
Cart
Genuine Toyota Celica Shock Absorber
Suspension Shock Absorber- Select Vehicle by Model
- Select Vehicle by VIN
Select Vehicle by Model
orMake
Model
Year
Select Vehicle by VIN
For the most accurate results, select vehicle by your VIN (Vehicle Identification Number).
102 Shock Absorbers found
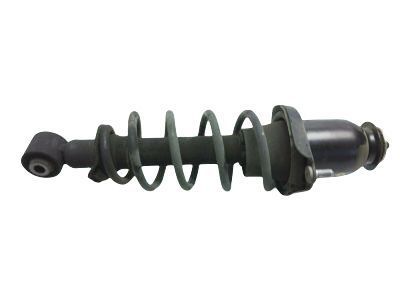
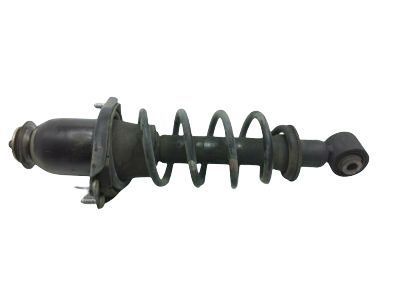
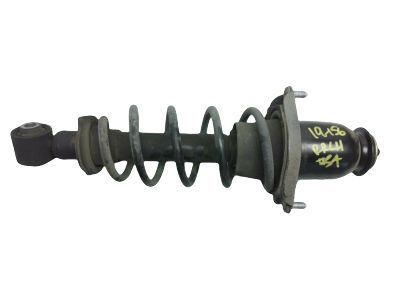
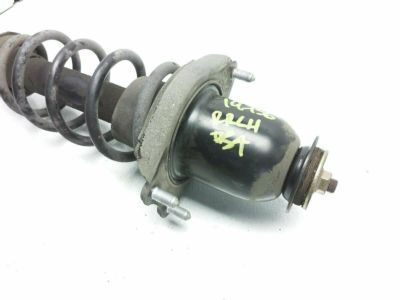
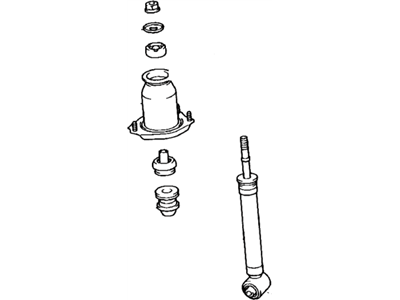
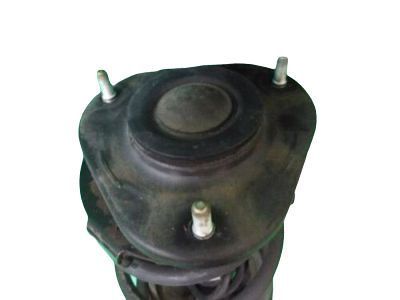
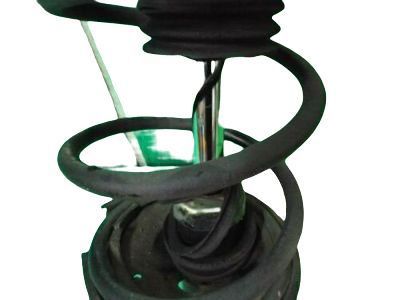
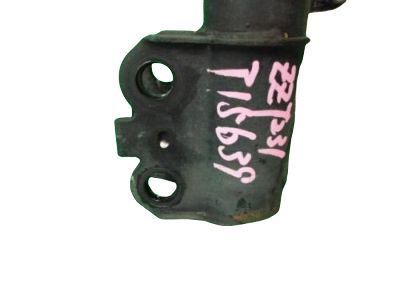
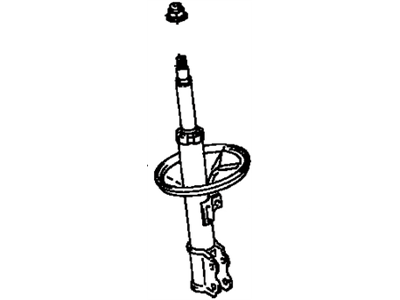
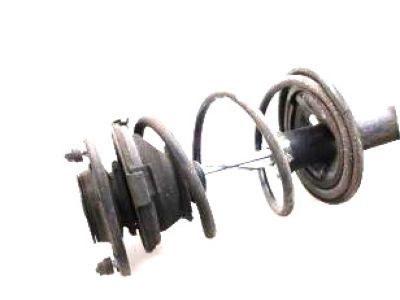
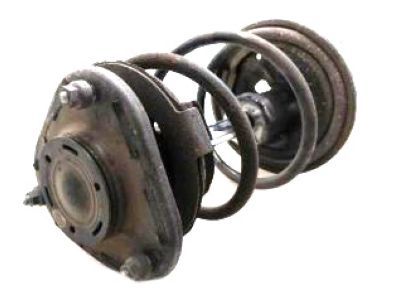
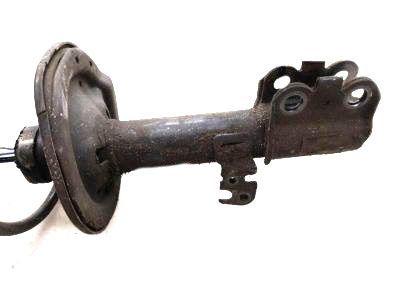
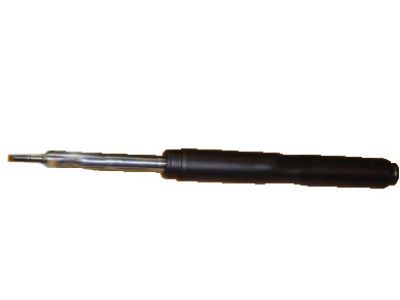
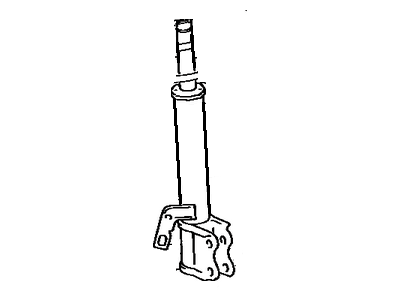
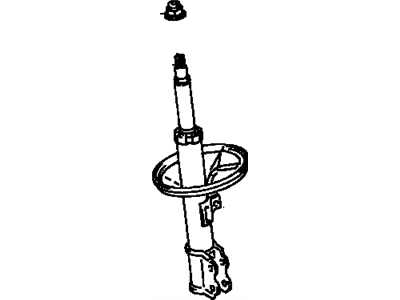
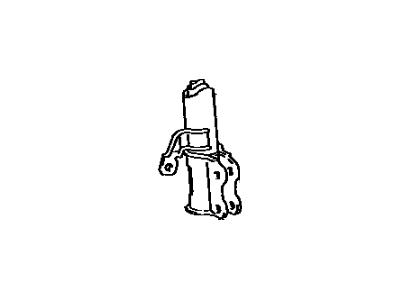
Toyota Celica Shock Absorber Assembly Rear Right
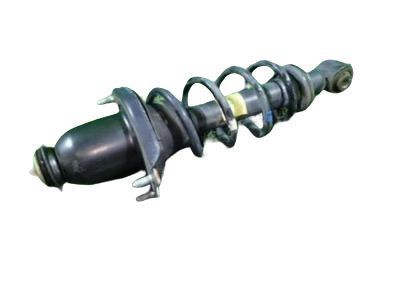
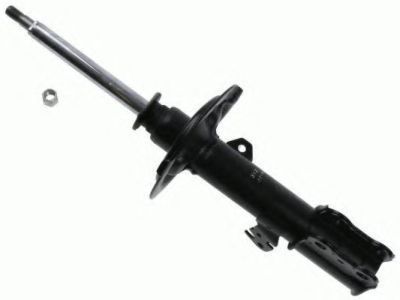
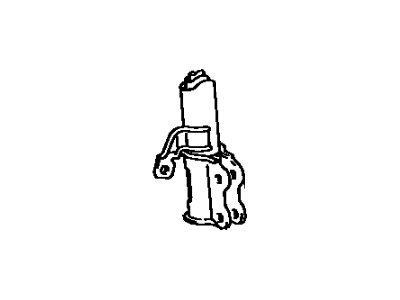
Part Number: 48530-80331$99.70 MSRP: $140.54You Save: $40.84 (30%)Ships in 1-3 Business DaysToyota Celica Shock Absorber Assembly Rear Left
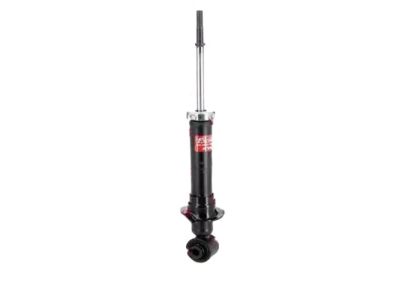
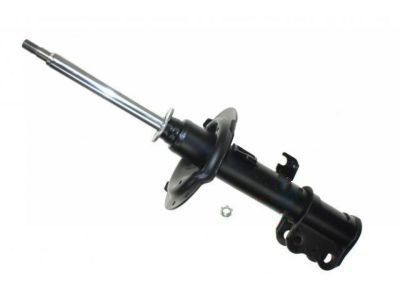
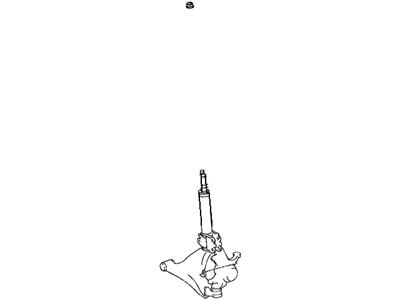
Part Number: 48530-29775$99.70 MSRP: $140.54You Save: $40.84 (30%)Ships in 1-2 Business DaysToyota Celica Shock Absorber Assembly Rear Left
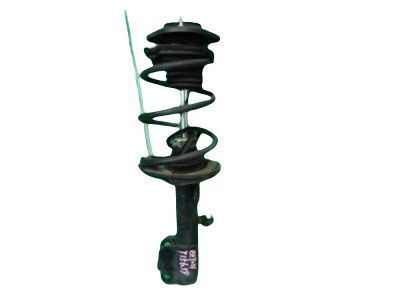
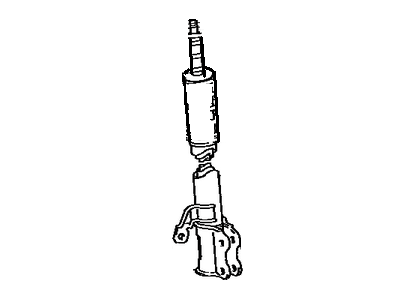
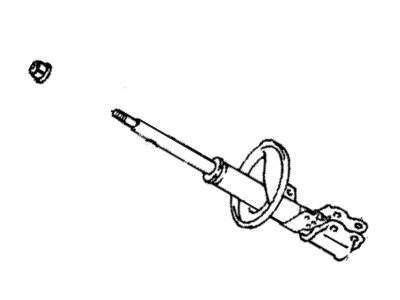
Part Number: 48530-80079$113.27 MSRP: $159.67You Save: $46.40 (30%)Ships in 1-3 Business DaysToyota Celica Shock Absorber Assembly Front Left
Part Number: 48520-29466$124.59 MSRP: $177.13You Save: $52.54 (30%)Ships in 1-3 Business DaysToyota Celica Shock Absorber Assembly Front Left
Part Number: 48520-29665$124.59 MSRP: $177.13You Save: $52.54 (30%)Ships in 1-3 Business DaysToyota Celica Shock Absorber Assembly Front Left
Part Number: 48520-20680$121.90 MSRP: $173.31You Save: $51.41 (30%)Ships in 1-3 Business DaysToyota Celica Shock Absorber Assembly Front Left
Part Number: 48520-29465$124.59 MSRP: $177.13You Save: $52.54 (30%)Ships in 1-3 Business DaysToyota Celica Shock Absorber Assembly Front Left
Part Number: 48520-20750$121.90 MSRP: $173.31You Save: $51.41 (30%)Ships in 1-3 Business DaysToyota Celica Shock Absorber Assembly Front Right
Part Number: 48510-29245$115.66 MSRP: $163.99You Save: $48.33 (30%)Ships in 1-3 Business DaysToyota Celica Shock Absorber Assembly Front Right
Part Number: 48510-80071$124.59 MSRP: $177.13You Save: $52.54 (30%)Ships in 1-3 Business DaysToyota Celica Shock Absorber Assembly Front Right
Part Number: 48510-20280$114.54 MSRP: $163.13You Save: $48.59 (30%)Ships in 1-3 Business DaysToyota Celica Shock Absorber Assembly Front Left
Part Number: 48520-29086$115.66 MSRP: $163.99You Save: $48.33 (30%)Ships in 1-3 Business DaysToyota Celica Shock Absorber Assembly Front Right
Part Number: 48510-29756$124.59 MSRP: $177.13You Save: $52.54 (30%)Ships in 1-3 Business DaysToyota Celica Shock Absorber Assembly Front Left
Part Number: 48520-20381$34.30 MSRP: $48.43You Save: $14.13 (30%)Ships in 1-3 Business DaysToyota Celica Shock Absorber Assembly Front Left
Part Number: 48520-29085$115.66 MSRP: $163.99You Save: $48.33 (30%)Ships in 1-3 Business DaysToyota Celica Shock Absorber Assembly Rear Left
Part Number: 48540-29025$139.69 MSRP: $198.59You Save: $58.90 (30%)
| Page 1 of 6 |Next >
1-20 of 102 Results
Toyota Celica Shock Absorber
Shock Absorber is among the critical components of Toyota Celica vehicles mainly applied in the suspension system to complement the functions of struts. These components enabling bouncing decrease and eliminate shock impulses by transforming the kinetic energy to heat. Up to date, Celica models have incorporated in its production; both twin tube and mono tube shock absorbers although enclosing different hydraulic operating mechanisms to suit different road handling. There are more sophisticated designs like Position Sensitive Damping (PSD) as well as Acceleration Sensitive Damping (ASD) that add to the sensitivity of the shock absorbers; technologies like the electorheological and magnetorheological systems enable semi active as well as adaptive suspension systems to balance the comfort as well as control factors.
If you are in demand for superior quality and affordable OEM Toyota Celica Shock Absorber, then shop with us! We own a wide range of the reduced-priced genuine Toyota Celica Shock Absorber. You can purchase in confidence as all parts come with a manufacturer's warranty. Any issues with our products? No need to worry as we have a hassle-free return policy to guide you every step of the way.
Toyota Celica Shock Absorber Parts Questions & Experts Answers
- Q: How to Remove and Reinstall a Rear Shock Absorber on a Toyota Celica?A:Loosen the wheel lug nuts, raise the vehicle and support it securely on jack stands. Remove the wheel. Unscrew the brake line from the wheel cylinder (or caliper). Use a flare nut wrench to avoid rounding off the corners of the nut. Disconnect the brake line from the flexible hose at the strut bracket. Again, the use of a flare nut wrench is recommended. Plug the hose end or wrap a plastic bag tightly around the end of the hose to prevent excessive leakage and contamination. Remove the brake hose clip from the strut bracket with a pair of pliers, then pull the hose through the bracket. If the vehicle is equipped with ABS, detach the speed sensor wiring harness from the Shock Absorber. Disconnect the stabilizer bar link from the strut bracket. Support the axle carrier with a floor jack, then remove the two strut-to-axle carrier nuts and bolts. On 1989 and earlier models, remove the speaker grille (lift back models) or the access panel in the trunk (coupe models). On 1990 and later models, remove the speaker grille (lift back models) or the panel between the rear seat back and the rear window. Unscrew the three strut upper mounting nuts while an assistant supports the strut so it doesn't fall. Guide the strut out of the fender well. Follow the inspection procedures. When reassembling the strut, make sure the suspension support is aligned with the lower bracket. Maneuver the assembly up into the fender well and insert the mounting studs through the holes in the body. Install the nuts, but don't tighten them yet. Push the axle carrier into the strut lower bracket and install the bolts and nuts, tightening them. Connect the stabilizer bar link to the strut bracket. Route the brake hose through its bracket on the strut and connect the brake line, tightening it securely. Connect the other end of the line to the wheel cylinder (or caliper). Install the wheel and lug nuts, lower the vehicle and tighten the lug nuts. Tighten the three strut upper mounting nuts. Bleed the wheel cylinder (or caliper).
Related Toyota Celica Parts
Browse by Year
2005 Shock Absorber 2004 Shock Absorber 2003 Shock Absorber 2002 Shock Absorber 2001 Shock Absorber 2000 Shock Absorber 1999 Shock Absorber 1998 Shock Absorber 1997 Shock Absorber 1996 Shock Absorber 1995 Shock Absorber 1994 Shock Absorber 1993 Shock Absorber 1992 Shock Absorber 1991 Shock Absorber 1990 Shock Absorber 1989 Shock Absorber 1988 Shock Absorber 1987 Shock Absorber 1986 Shock Absorber 1985 Shock Absorber 1984 Shock Absorber 1983 Shock Absorber 1982 Shock Absorber 1981 Shock Absorber 1980 Shock Absorber 1979 Shock Absorber 1978 Shock Absorber
