
My Garage
My Account
Cart
Genuine Toyota Highlander Camshaft
Cam- Select Vehicle by Model
- Select Vehicle by VIN
Select Vehicle by Model
orMake
Model
Year
Select Vehicle by VIN
For the most accurate results, select vehicle by your VIN (Vehicle Identification Number).
55 Camshafts found
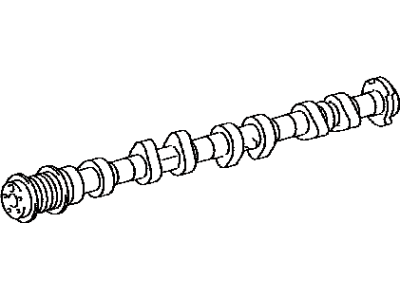
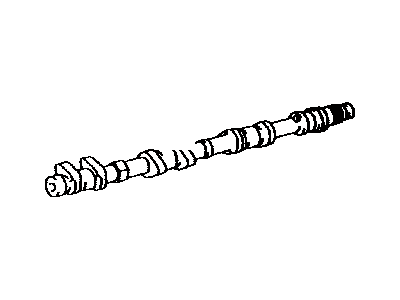
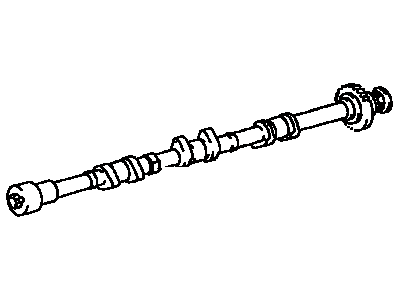
Toyota Highlander Camshaft
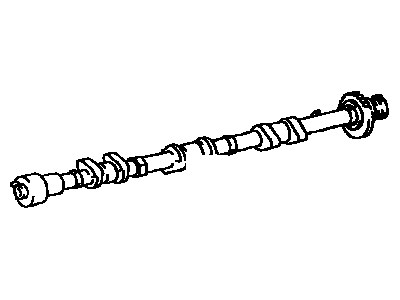
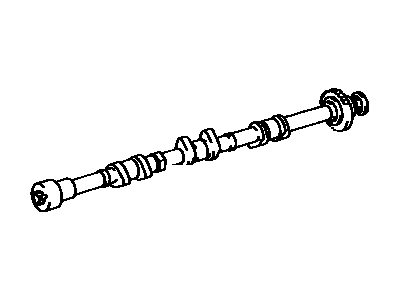
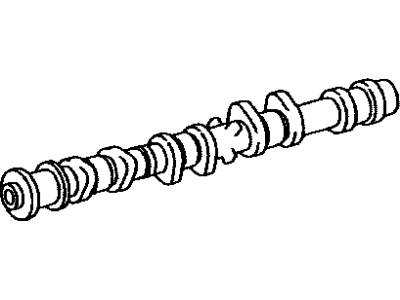
Part Number: 13502-20030$293.12 MSRP: $420.31You Save: $127.19 (31%)Ships in 1-3 Business DaysToyota Highlander Camshaft
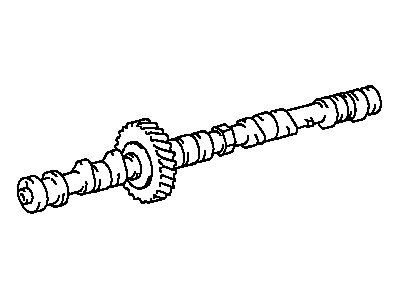
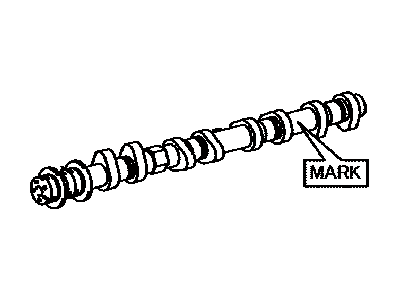
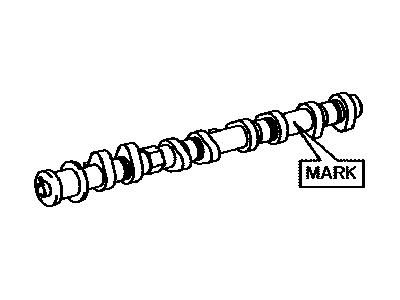
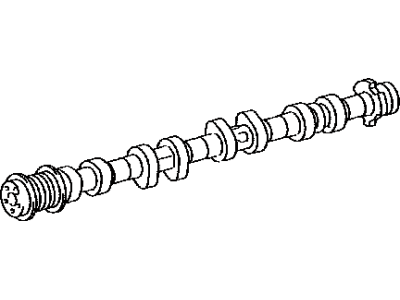
Part Number: 13501-28010$342.85 MSRP: $511.46You Save: $168.61 (33%)Ships in 1-3 Business DaysToyota Highlander Camshaft
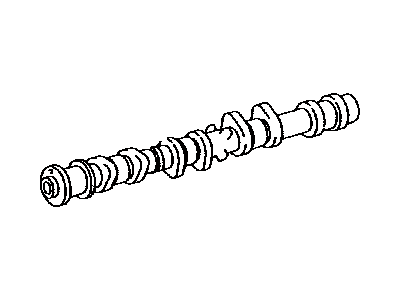
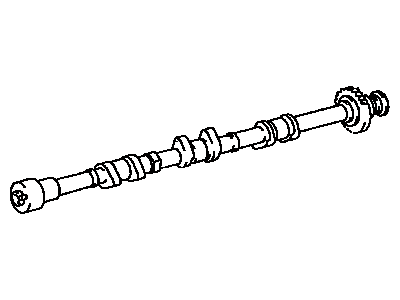
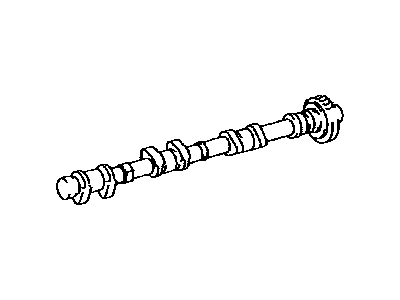
Part Number: 13502-28010$342.85 MSRP: $511.46You Save: $168.61 (33%)Ships in 1-3 Business DaysToyota Highlander N Camshaft Sub-Assembly
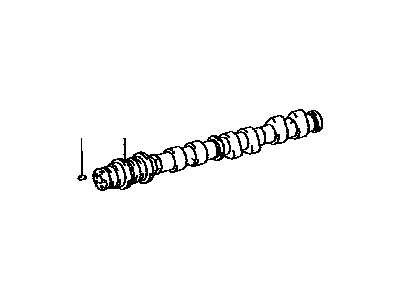
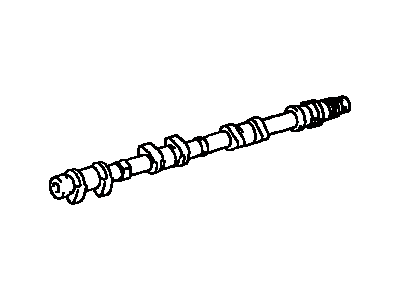
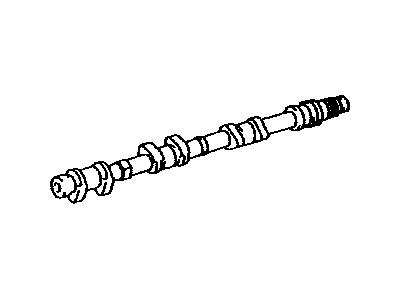
Part Number: 13053-31061$524.15 MSRP: $781.93You Save: $257.78 (33%)Ships in 1-3 Business DaysToyota Highlander N Camshaft Sub-Assembly
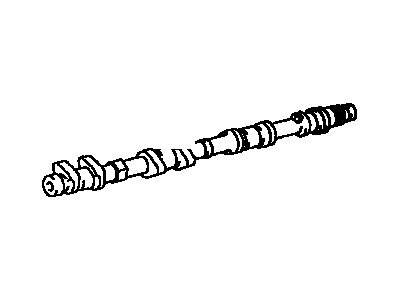
Part Number: 13501-36050$370.95 MSRP: $553.38You Save: $182.43 (33%)Ships in 1-3 Business DaysToyota Highlander N Camshaft Sub-Assembly
Part Number: 13501-0P030$427.81 MSRP: $638.21You Save: $210.40 (33%)Ships in 1-3 Business DaysToyota Highlander Camshaft Sub-Assembly
Part Number: 13053-20040$338.71 MSRP: $485.68You Save: $146.97 (31%)Ships in 1-3 Business DaysToyota Highlander Camshaft
Part Number: 13501-28040$342.52 MSRP: $510.96You Save: $168.44 (33%)Ships in 1-3 Business DaysToyota Highlander N Camshaft Sub-Assembly
Part Number: 13054-31061$524.15 MSRP: $781.93You Save: $257.78 (33%)Ships in 1-3 Business DaysToyota Highlander N Camshaft Sub-Assembly
Part Number: 13502-F0020$355.67 MSRP: $530.60You Save: $174.93 (33%)Ships in 1-3 Business DaysToyota Highlander Camshaft Sub-Assembly
Part Number: 13054-0A030$539.50 MSRP: $805.55You Save: $266.05 (34%)Toyota Highlander Camshaft Sub-Assembly
Part Number: 13053-20050$293.12 MSRP: $420.31You Save: $127.19 (31%)Ships in 1-3 Business DaysToyota Highlander Camshaft
Part Number: 13501-20060$293.12 MSRP: $420.31You Save: $127.19 (31%)Ships in 1-3 Business DaysToyota Highlander Camshaft
Part Number: 13502-28020$308.55 MSRP: $442.44You Save: $133.89 (31%)Ships in 1-3 Business DaysToyota Highlander N Camshaft Sub-Assembly
Part Number: 13502-36030$360.91 MSRP: $538.41You Save: $177.50 (33%)Ships in 1-3 Business DaysToyota Highlander N Camshaft Sub-Assembly
Part Number: 13502-0P030$427.81 MSRP: $638.21You Save: $210.40 (33%)Ships in 1-3 Business DaysToyota Highlander N Camshaft Sub-Assembly
Part Number: 13502-31061$524.15 MSRP: $781.93You Save: $257.78 (33%)Ships in 1-3 Business DaysToyota Highlander N Camshaft Sub-Assembly
Part Number: 13501-31110$593.05 MSRP: $885.50You Save: $292.45 (34%)Ships in 1-3 Business DaysToyota Highlander Camshaft Sub-Assembly
Part Number: 13053-20030$323.16 MSRP: $463.40You Save: $140.24 (31%)Ships in 1-3 Business DaysToyota Highlander Camshaft Sub-Assembly
Part Number: 13054-20030$310.06 MSRP: $444.60You Save: $134.54 (31%)
| Page 1 of 3 |Next >
1-20 of 55 Results
Toyota Highlander Camshaft
If you are in demand for superior quality and affordable OEM Toyota Highlander Camshaft, then shop with us! We own a wide range of the reduced-priced genuine Toyota Highlander Camshaft. You can purchase in confidence as all parts come with a manufacturer's warranty. Any issues with our products? No need to worry as we have a hassle-free return policy to guide you every step of the way.
Toyota Highlander Camshaft Parts Questions & Experts Answers
- Q: How to remove and install camshafts in 3.0L and 3.3L V6 engine on Toyota Highlander?A:Before beginning this procedure, obtain two 6 x 1.0 mm bolts that are 16 to 20 mm long. Position the engine at TDC, then remove the valve covers, the timing belt, and the camshaft sprocket. The following steps apply to the removal of each of the four camshafts: secure the exhaust camshaft subgear first, remove the intake cam, then remove the exhaust camshaft. Ensure the cam timing marks on the drive and driven gears are in alignment; on the right cylinder head, align the two dots on the intake camshaft gear with the two dots on the exhaust camshaft gear, and on the left cylinder head, align the one dot on the intake camshaft gear with the one dot on the exhaust camshaft gear. Secure the exhaust camshaft sub-gear to the driven gear with a service bolt installed in the threaded hole, then use a two-pin spanner to remove the tension from the sub-gear and remove the service bolt before releasing the sub-gear. Loosen the intake camshaft bearing cap bolts in 1/4-turn increments until they can be removed by hand, starting with the outer caps and working inward. Remove the bearing caps and gently lift out the intake camshaft, keeping it level. Repeat the loosening and removal process for the exhaust camshaft bearing caps and oil seal, then gently lift out the exhaust camshaft, ensuring it remains level. Store the bearing caps in the correct order, and if necessary, remove the valve lifters and shims with a magnetic tool, storing them separately to avoid mix-ups. To disassemble an exhaust camshaft gear, mount the cam in a vise and install a second service bolt in the unthreaded hole in the camshaft sub-gear, using a screwdriver to rotate the sub-gear clockwise and remove the first service bolt. Remove the sub-gear snap-ring and then the wave washer, sub-gear, and camshaft gear spring from the exhaust camshaft, keeping parts from the rear cylinder head separate from those of the front. If the VVT assembly is to be removed, hold the hex portion of the camshaft in a vise and use a breaker bar and 46mm socket, noting that the nut is a left-hand thread. For inspection, follow the camshaft, lifter, and related component inspection procedures using the specifications for the V6 engines. For installation, reassemble the exhaust camshaft gear(s) by installing the camshaft gear spring, sub-gear, wave washer, and snap-ring, then mount the camshaft in a padded vise. Insert a service bolt into the unthreaded hole in the camshaft sub-gear, align the holes of the camshaft driven gear and sub-gear by turning the camshaft sub-gear clockwise, and install a second service bolt in the threaded hole, tightening it to clamp the gears together. Apply moly-base grease or engine assembly lube to the lifters and install them in their original locations, ensuring the valve adjustment shims are in place. Apply camshaft installation lubricant to the exhaust camshaft lobes, bearing journals, and gear thrust faces, then set the exhaust camshaft in place in the cylinder head with the timing mark on the sub-gear facing the center of the head. Apply a thin coat of RTV sealant to the outer edges of the front bearing cap-to-cylinder head mating surfaces, install the bearing caps in numerical order with the arrows pointing toward the timing belt end of the engine, and tighten the bearing cap bolts in 1/4-turn increments, starting with the center cap and working outward. Install a new camshaft oil seal, apply camshaft installation lubricant to the intake camshaft lobes, bearing journals, and gear thrust faces, and if the VVT assembly was removed, install it with its groove aligned with the pin on the camshaft, oil the threads, and install a new nut. Set the intake camshaft in place in the cylinder head, aligning the timing mark with the exhaust camshaft timing mark, then install the bearing caps in numerical order with the arrows pointing toward the front of the engine, tightening the bearing cap bolts in 1/4-turn increments. Remove the service bolt from the exhaust camshaft sub-gear, reinstall the timing belt rear cover, the camshaft sprockets, and the timing belt, inspecting the gasket on the timing belt rear cover and repairing or replacing it as necessary. Reinstall the remaining components in the reverse order of removal, apply RTV sealant in the indicated areas before reinstalling the valve covers, clean the rubber half-circle plugs for the back of the heads, and reinstall them with new RTV sealant. Finally, run the engine and check for leaks and proper operation.
Related Toyota Highlander Parts
Browse by Year
2024 Camshaft 2023 Camshaft 2022 Camshaft 2021 Camshaft 2020 Camshaft 2019 Camshaft 2018 Camshaft 2017 Camshaft 2016 Camshaft 2015 Camshaft 2014 Camshaft 2013 Camshaft 2012 Camshaft 2011 Camshaft 2010 Camshaft 2009 Camshaft 2008 Camshaft 2007 Camshaft 2006 Camshaft 2005 Camshaft 2004 Camshaft 2003 Camshaft 2002 Camshaft 2001 Camshaft
