
My Garage
My Account
Cart
Genuine Toyota Highlander Flywheel
Clutch Flywheel- Select Vehicle by Model
- Select Vehicle by VIN
Select Vehicle by Model
orMake
Model
Year
Select Vehicle by VIN
For the most accurate results, select vehicle by your VIN (Vehicle Identification Number).
3 Flywheels found
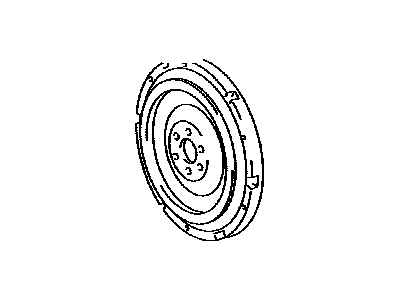
Toyota Highlander Flywheel Sub-Assembly
Part Number: 13405-20010$362.81 MSRP: $541.24You Save: $178.43 (33%)Ships in 1-3 Business DaysToyota Highlander Flywheel
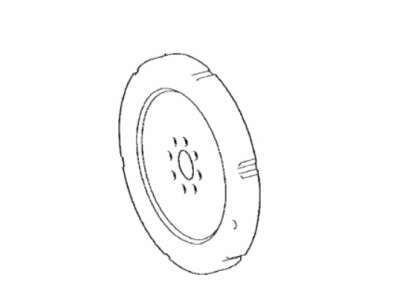
Part Number: 13451-25030$362.81 MSRP: $541.24You Save: $178.43 (33%)Ships in 1-3 Business DaysToyota Highlander Flywheel Sub-Assembly
Part Number: 13405-31130$404.40 MSRP: $603.28You Save: $198.88 (33%)Ships in 1-3 Business Days
Toyota Highlander Flywheel
Toyota Highlander vehicles rely on their Flywheel to perform three major operations: rotational energy storage fosters a smooth engine response, the starter drive mechanism aids in crankshaft spin for ignition and the Flywheel supplies friction for the clutch disc operation. One of the two basic types of Flywheel in use includes solid models together with dual mass Flywheel (DMFs). Flywheel come in basic designs whereas dual mass system parts include a spring-controlled damping unit that combines vibration reduction with improved shifting dynamics. Wear causes DMFs to become non-reparable since they do not support resurfacing operations. Consequently replacement is often needed. Two main worrying conditions emerge when either the clutch contact surface shows wear or when the ring gear sustains damage thus demanding replacement of either the Toyota replacement unit or ring gear. A fully functional Toyota Highlander replacement part protects both engine stability and clutch functionality within the Highlander vehicle.
If you are in demand for superior quality and affordable OEM Toyota Highlander Flywheel, then shop with us! We own a wide range of the reduced-priced genuine Toyota Highlander Flywheel. You can purchase in confidence as all parts come with a manufacturer's warranty. Any issues with our products? No need to worry as we have a hassle-free return policy to guide you every step of the way.
Toyota Highlander Flywheel Parts Questions & Experts Answers
- Q: How to Remove and Install the Flywheel in a Four-Cylinder Engine on a Toyota Highlander?A:Before removing the driveplate, connect the cable to the negative terminal of the battery and take off the bolt at the negative terminal. Then, unlock transaxle and pull out with transmission case; if there is leakage concern front pump seal or the o-ring ought to be replaced. Also it is advisable to mark the flywheel/driveplate and crankshaft if properly aligned for reassembly as most of the models have eight bolts on the flywheel, it is recommended to use center punch or paint the alignment marks on the driveplate and the crankshaft. The bolts that connect the driveplate and the crankshaft should then be undone and if the crankshaft begins to turn when the driveplate is removed, one can squeeze the latter with the help of a screwdriver that is inserted into the ring gear teeth. Step by slow step, the driveplate should be removed and it should be noted if spacers were used and where they were placed. On installation, check and ascertain whether there are any cracks on the driveplate and for any damaged and broken ring-gear teeth on the flywheel. Scrub the contacting areas of the driveplate and crankshaft, and change the crankshaft rear seal if it seems to be dripping. Mate for the dowels that wee made earlier the position of the dowels in the driveplate must match the position of the crankshaft and then ensure the driveplate is properly placed by either the use of alignment dowels or staggered bolt holes. Coat the thread section of the bolt with thread locking compound in a cross wise manner, gradually building up the torque in stages, usually in three or four turns. The next steps of installation are opposite to the removal steps and include the following.


