
My Garage
My Account
Cart
Genuine Toyota Highlander Hood Cable
Hood Release Cable- Select Vehicle by Model
- Select Vehicle by VIN
Select Vehicle by Model
orMake
Model
Year
Select Vehicle by VIN
For the most accurate results, select vehicle by your VIN (Vehicle Identification Number).
23 Hood Cables found
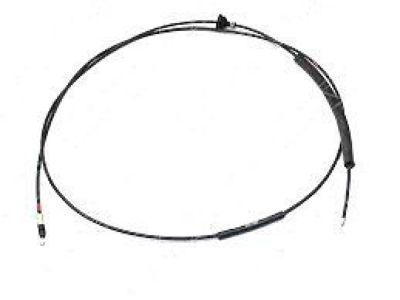
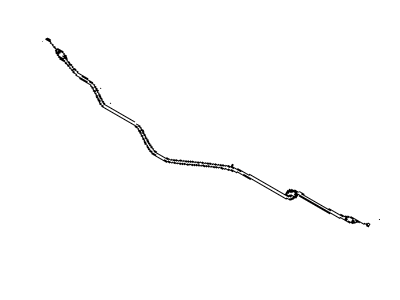
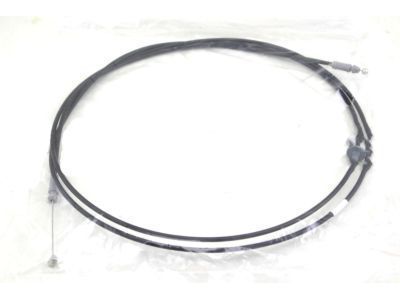
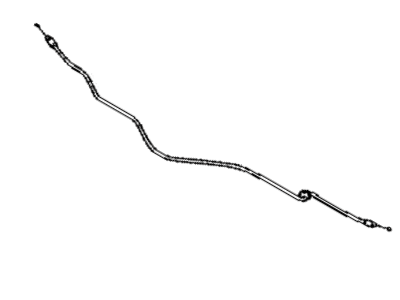
Toyota Highlander Hood Lock Control Cable Assembly
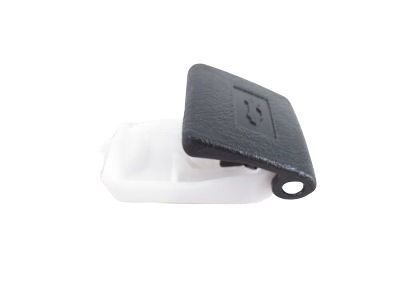
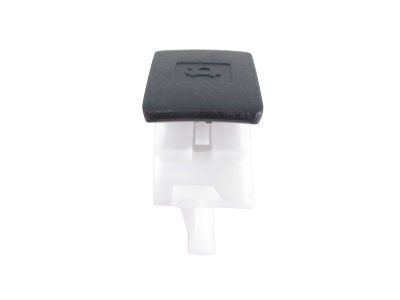
Part Number: 53630-0E050$31.88 MSRP: $44.56You Save: $12.68 (29%)Ships in 1-2 Business DaysToyota Highlander Hood Lever Sub-Assembly
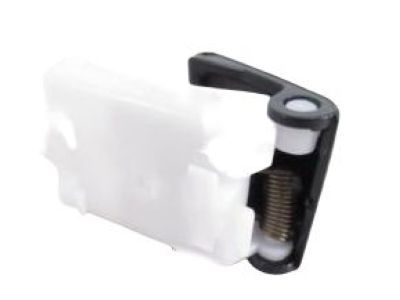
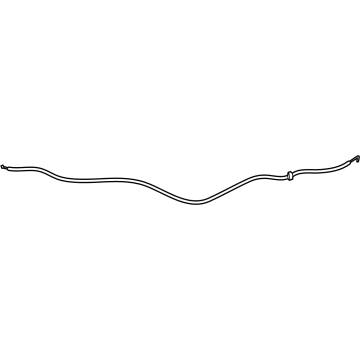
Part Number: 53601-02040-C0$46.16 MSRP: $64.52You Save: $18.36 (29%)Ships in 1-3 Business DaysToyota Highlander Hood Lock Control Cable Assembly
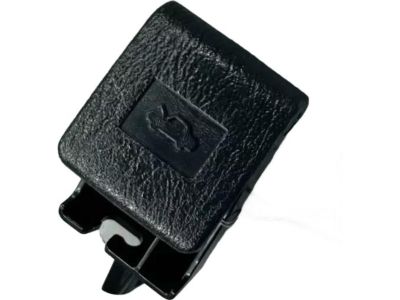
Part Number: 53630-0E040$35.69 MSRP: $49.89You Save: $14.20 (29%)Ships in 1-2 Business DaysToyota Highlander Hood Lever Sub-Assembly
Part Number: 53601-02020-C0$55.92 MSRP: $78.16You Save: $22.24 (29%)Ships in 1-2 Business DaysToyota Highlander Hood Lever Sub-Assembly
Part Number: 53601-02020-C3$42.47 MSRP: $59.36You Save: $16.89 (29%)Ships in 1-3 Business DaysToyota Highlander Hood Lock Control Cable Assembly
Part Number: 53630-48020$39.97 MSRP: $55.87You Save: $15.90 (29%)Ships in 1 Business DayToyota Highlander Lever, Hood Lock Con
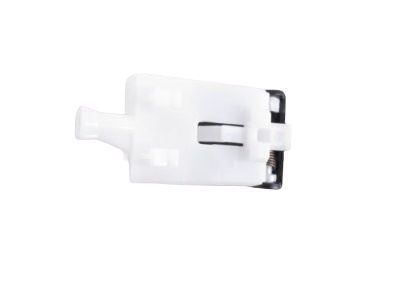
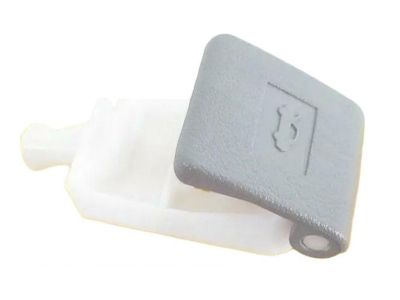
Part Number: 53611-0E010-B1$13.20 MSRP: $18.45You Save: $5.25 (29%)Ships in 1-2 Business DaysToyota Highlander Hood Lock Control Lever Sub-Assembly
Part Number: 53601-02020-B3$42.47 MSRP: $59.36You Save: $16.89 (29%)Ships in 1 Business DayToyota Highlander Hood Lock Control Cable Assembly
Part Number: 53630-48050$35.69 MSRP: $49.89You Save: $14.20 (29%)Ships in 1-3 Business DaysToyota Highlander Hood Lock Control Lever Sub-Assembly
Part Number: 53611-0E010-C0$14.63 MSRP: $20.44You Save: $5.81 (29%)Ships in 1-3 Business DaysToyota Highlander Hood Lock Control Lever Sub-Assembly
Part Number: 53611-12040-A0$13.20 MSRP: $18.45You Save: $5.25 (29%)Ships in 1-2 Business DaysToyota Highlander Hood Lever Sub-Assembly
Part Number: 53601-02040-B0$43.07 MSRP: $60.19You Save: $17.12 (29%)Ships in 1-3 Business DaysToyota Highlander Hood Lock Control Cable Assembly
Part Number: 53630-0E090$31.88 MSRP: $44.56You Save: $12.68 (29%)Ships in 1-3 Business DaysToyota Highlander Lever, Hood Lock Con
Part Number: 53611-0E010-E0$13.20 MSRP: $18.45You Save: $5.25 (29%)Ships in 1-3 Business DaysToyota Highlander Hood Lever Sub-Assembly
Part Number: 53601-02040-E0$43.07 MSRP: $60.19You Save: $17.12 (29%)Ships in 1-3 Business DaysToyota Highlander Hood Lever Sub-Assembly
Part Number: 53601-02020-A2$42.47 MSRP: $59.36You Save: $16.89 (29%)Ships in 1-3 Business DaysToyota Highlander Hood Lock Control Lever Sub-Assembly
Part Number: 53611-22010-C0$14.63 MSRP: $20.44You Save: $5.81 (29%)Ships in 1-3 Business DaysToyota Highlander Hood Lock Control Lever Sub-Assembly
Part Number: 53611-12040-B7$13.20 MSRP: $18.45You Save: $5.25 (29%)Ships in 1-3 Business DaysToyota Highlander Cable Assembly Hood Loc
Part Number: 53630-0E051$32.48 MSRP: $45.40You Save: $12.92 (29%)Ships in 1-3 Business DaysToyota Highlander Hood Lever Sub-Assembly
Part Number: 53601-02040-A0$43.07 MSRP: $60.19You Save: $17.12 (29%)Ships in 1-3 Business Days
| Page 1 of 2 |Next >
1-20 of 23 Results
Toyota Highlander Hood Cable
If you are in demand for superior quality and affordable OEM Toyota Highlander Hood Cable, then shop with us! We own a wide range of the reduced-priced genuine Toyota Highlander Hood Cable. You can purchase in confidence as all parts come with a manufacturer's warranty. Any issues with our products? No need to worry as we have a hassle-free return policy to guide you every step of the way.
Toyota Highlander Hood Cable Parts Questions & Experts Answers
- Q: How to Remove and Install the Hood Latch and Hood Cable on Toyota Highlander?A:On 2014 and later models, remove the Grille. Scribe a line around the latch to aid alignment when installing, then remove the retaining bolts securing the hood latch to the radiator support. To adjust the hood latch horizontally or vertically, loosen these bolts. Remove the latch. Disconnect the hood cable by disengaging the cable from the latch. Pry out the cable retainer from the backside of the hood latch assembly, then disengage the cable. Installation is the reverse of removal. Adjust the latch so the hood engages securely when closed and the hood bumpers are slightly compressed. Working in the passenger compartment, lift the hood release handle lever upward, then pull down on the cable housing end and disengage the cable from the hood release lever handle. Lift upward on the handle and pull the cable housing end from the base of the handle, then detach the cable end from the lever. If the handle lever needs to be replaced simply pull outward on the handle retaining tab and push downward to release it from the instrument panel. Attach a piece of thin wire or string to the end of the cable. Working in the engine compartment, disconnect the hood cable from the latch. Unclip all the cable retaining clips on the radiator support and the inner fenderwell. Pull the cable forward into the engine compartment until you can see the wire or string, then remove the wire or string from the old cable and fasten it to the new cable. With the new cable attached to the wire or string, pull the wire or string back through the firewall until the new cable reaches the inside handle. Working in the passenger compartment, install the new cable into the hood release lever, making sure the cable housing fits snugly into the notch in the handle bracket. Pull on the cable with your fingers from the passenger compartment until the cable stop seats in the grommet on the firewall. The remainder of the installation is the reverse of removal.
Related Toyota Highlander Parts
Browse by Year
2024 Hood Cable 2023 Hood Cable 2022 Hood Cable 2021 Hood Cable 2020 Hood Cable 2019 Hood Cable 2018 Hood Cable 2017 Hood Cable 2016 Hood Cable 2015 Hood Cable 2014 Hood Cable 2013 Hood Cable 2012 Hood Cable 2011 Hood Cable 2010 Hood Cable 2009 Hood Cable 2008 Hood Cable 2007 Hood Cable 2006 Hood Cable 2005 Hood Cable 2004 Hood Cable 2003 Hood Cable 2002 Hood Cable 2001 Hood Cable
