
My Garage
My Account
Cart
Genuine Toyota Land Cruiser Leaf Spring Bushing
Spring Bushing- Select Vehicle by Model
- Select Vehicle by VIN
Select Vehicle by Model
orMake
Model
Year
Select Vehicle by VIN
For the most accurate results, select vehicle by your VIN (Vehicle Identification Number).
8 Leaf Spring Bushings found
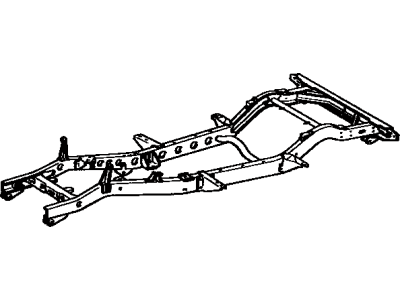
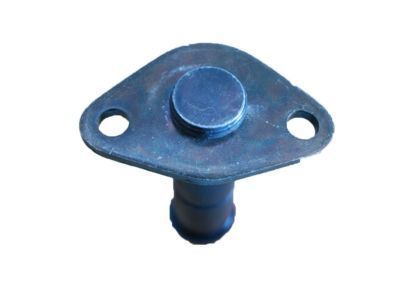
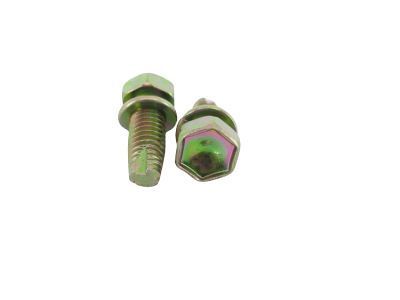
Toyota Land Cruiser Bush
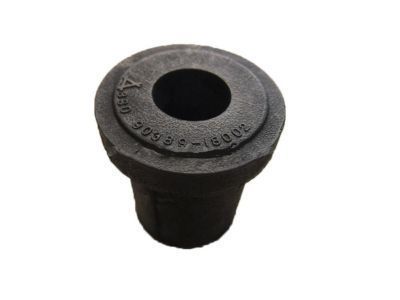
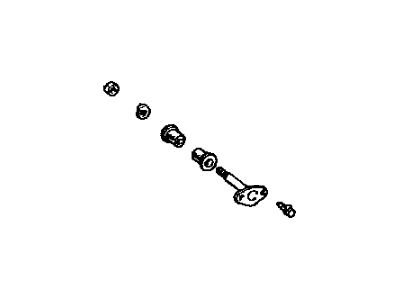
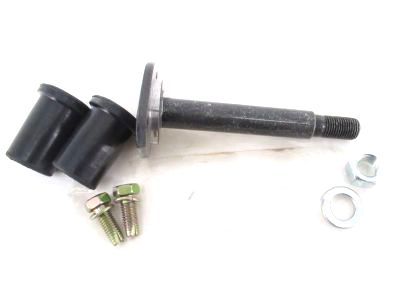
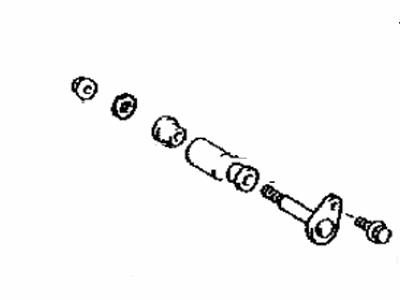
Part Number: 90389-18002$11.17 MSRP: $15.62You Save: $4.45 (29%)Ships in 1-2 Business DaysToyota Land Cruiser Pin Kit, Front Spring
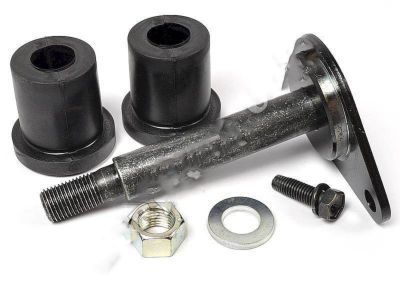
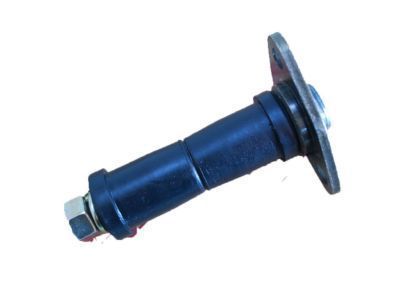
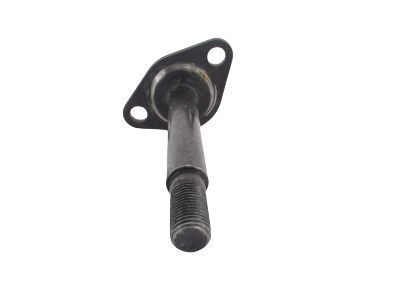
Part Number: 04482-60040$45.57 MSRP: $63.69You Save: $18.12 (29%)Ships in 1-3 Business DaysToyota Land Cruiser Pin Kit, Front Spring
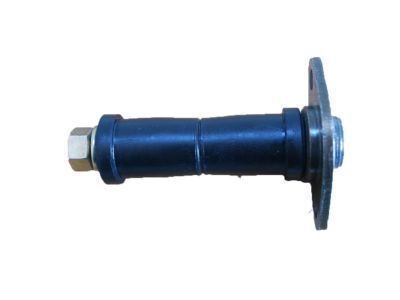
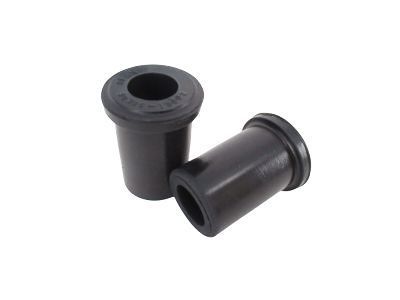
Part Number: 04482-35020$31.74 MSRP: $44.36You Save: $12.62 (29%)Ships in 1-3 Business DaysToyota Land Cruiser Pin Kit,SPRG
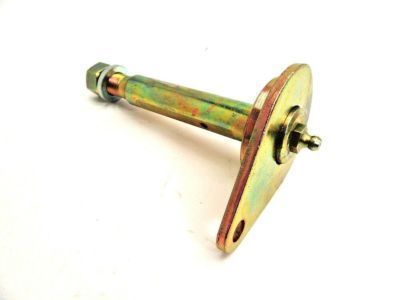
Part Number: 04484-35020$45.86 MSRP: $64.10You Save: $18.24 (29%)Ships in 1-3 Business Days
Toyota Land Cruiser Leaf Spring Bushing
If you are in demand for superior quality and affordable OEM Toyota Land Cruiser Leaf Spring Bushing, then shop with us! We own a wide range of the reduced-priced genuine Toyota Land Cruiser Leaf Spring Bushing. You can purchase in confidence as all parts come with a manufacturer's warranty. Any issues with our products? No need to worry as we have a hassle-free return policy to guide you every step of the way.
Toyota Land Cruiser Leaf Spring Bushing Parts Questions & Experts Answers
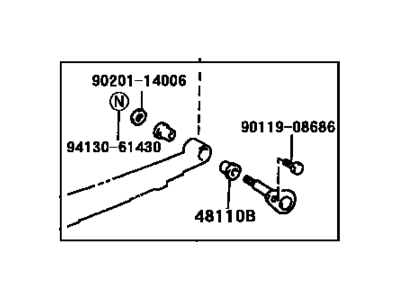
- Q: How to Check and Replace Leaf Spring Bushing on Toyota Land Cruiser?A:All models are equipped with a two-piece bushing pressed into each spring eye, which should be inspected for cracks, damage, and looseness indicating excessive wear. To check for wear, jack up the frame until the weight is removed from the spring bushing and pry the spring eye up-and-down to check for movement; considerable movement indicates a worn bushing that should be replaced. For spring removal, it is recommended to work on one side at a time to maintain axle control and use the other side as a guide for reassembly. Begin by loosening the front or rear wheel lug nuts, raising the vehicle, and securely supporting it on jackstands before removing the wheel. Position a floor jack under the axle and raise it just enough to support the axle. Remove the lower shock mounting bolts and move the Shock Absorber aside. Unscrew the U-bolt nuts, then remove the spring tie plate and U-bolts from the axle. Next, remove the spring-to-shackle bolt and the spring eye-to-frame bracket bolt, then take the spring out of the vehicle. The leaf spring bushings can be removed by inserting a screwdriver into the inner diameter of the bushing half and pushing outward; if they won't loosen due to dirt and rust, apply penetrating oil and let it soak. Coat the inside of the spring eye with a thin layer of chassis grease and press the new bushing into position. Installation is the reverse of removal, ensuring that the spring mounting bolts and U-bolt nuts are tightened to the specified torque, with the vehicle sitting at normal ride height before tightening the front and rear mounting bolts.
Related Toyota Land Cruiser Parts
Browse by Year
1990 Leaf Spring Bushing 1989 Leaf Spring Bushing 1988 Leaf Spring Bushing 1987 Leaf Spring Bushing 1986 Leaf Spring Bushing 1985 Leaf Spring Bushing 1984 Leaf Spring Bushing 1983 Leaf Spring Bushing 1982 Leaf Spring Bushing 1981 Leaf Spring Bushing 1980 Leaf Spring Bushing 1979 Leaf Spring Bushing 1978 Leaf Spring Bushing 1977 Leaf Spring Bushing 1976 Leaf Spring Bushing 1975 Leaf Spring Bushing 1974 Leaf Spring Bushing 1973 Leaf Spring Bushing 1972 Leaf Spring Bushing 1971 Leaf Spring Bushing 1970 Leaf Spring Bushing 1969 Leaf Spring Bushing
