
My Garage
My Account
Cart
Genuine Toyota Prius CV Boot
Axle Boot- Select Vehicle by Model
- Select Vehicle by VIN
Select Vehicle by Model
orMake
Model
Year
Select Vehicle by VIN
For the most accurate results, select vehicle by your VIN (Vehicle Identification Number).
25 CV Boots found
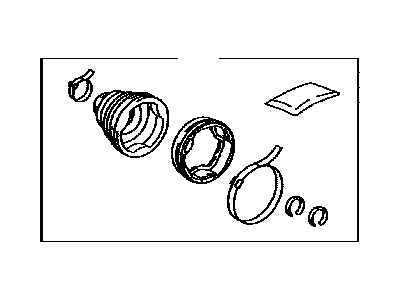
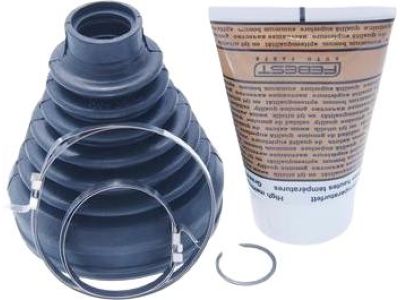
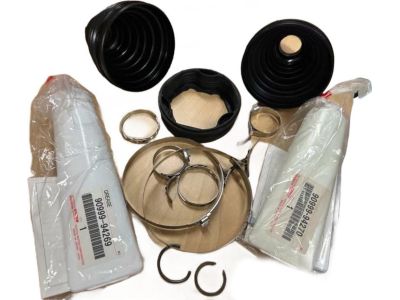
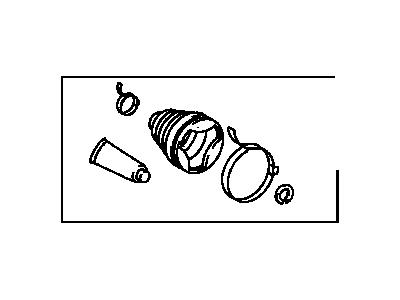
Toyota Prius Front Cv Joint Boot Kit In Outboard Left
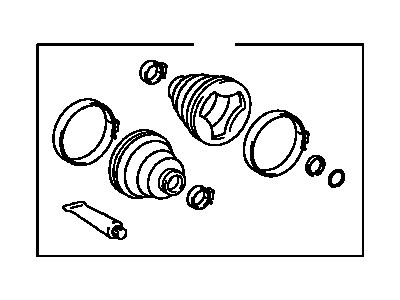
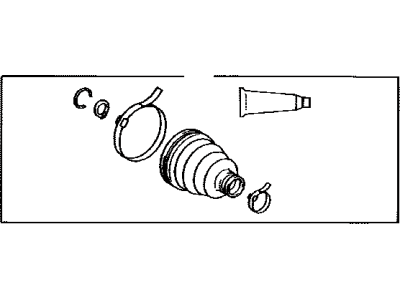
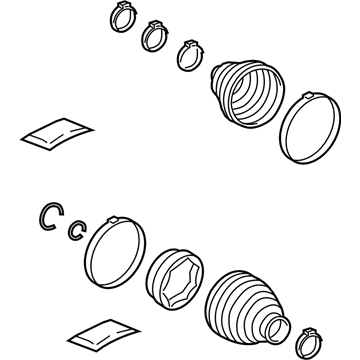
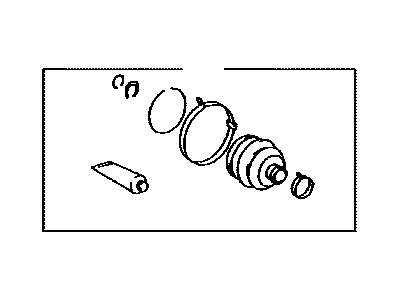
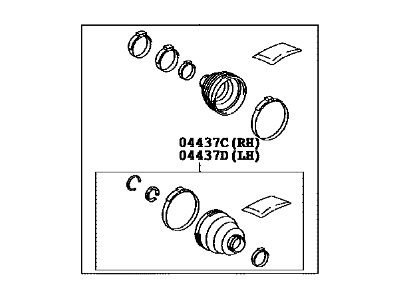
Part Number: 04438-20132$66.19 MSRP: $93.29You Save: $27.10 (30%)Ships in 1-3 Business DaysToyota Prius Front Cv Joint Boot, Left
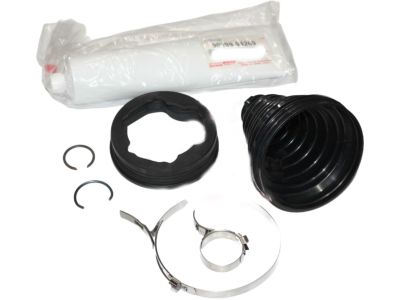
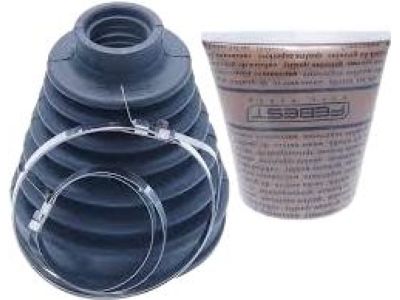
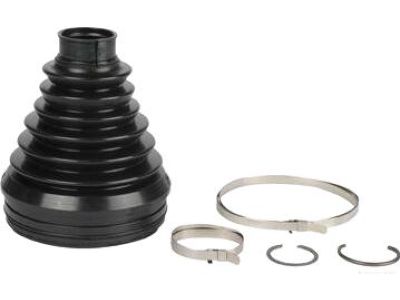
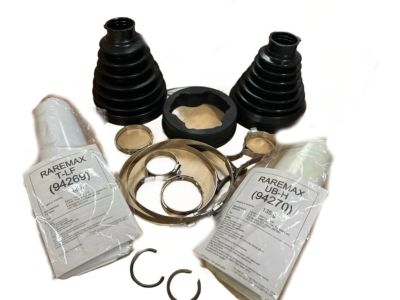
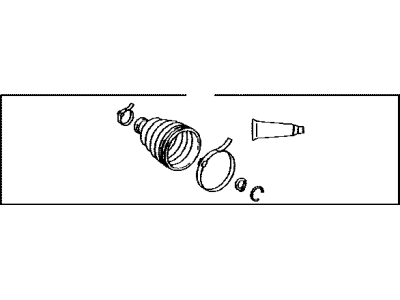
Part Number: 04437-47033$33.90 MSRP: $47.39You Save: $13.49 (29%)Ships in 1-3 Business DaysToyota Prius Front Cv Joint Boot Kit In Outboard Left
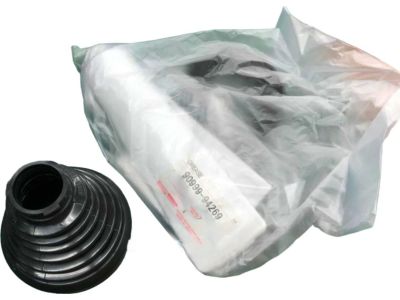
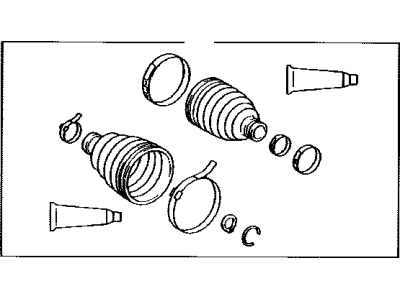
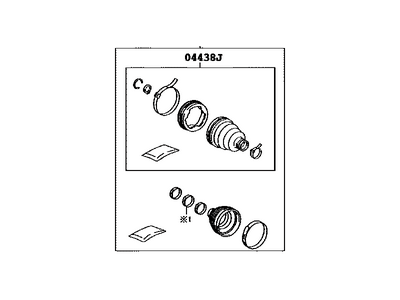
Part Number: 04438-12502$46.16 MSRP: $64.52You Save: $18.36 (29%)Ships in 1-3 Business DaysToyota Prius Front Cv Joint Boot Kit In Outboard Right
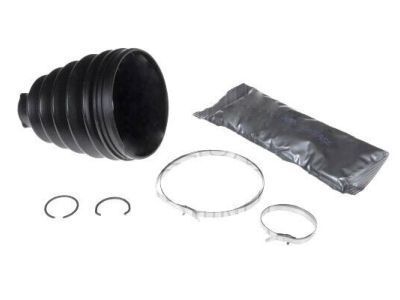
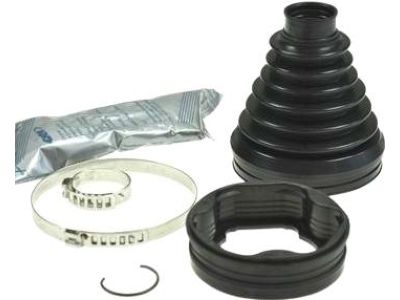
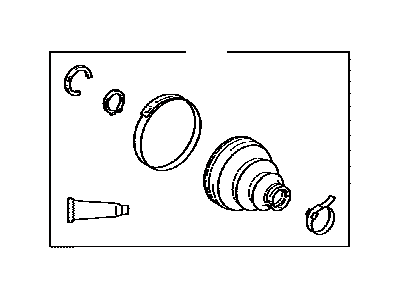
Part Number: 04427-47020$45.45 MSRP: $63.52You Save: $18.07 (29%)Ships in 1-3 Business DaysToyota Prius Front Cv Joint Boot, Left
Part Number: 04437-47031$33.90 MSRP: $47.39You Save: $13.49 (29%)Ships in 1-3 Business DaysToyota Prius Front Cv Joint Boot Kit In Outboard Left
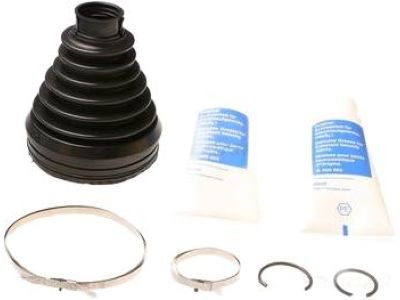
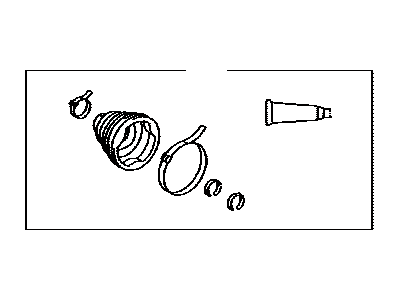
Part Number: 04428-47065$54.85 MSRP: $76.66You Save: $21.81 (29%)Ships in 1-3 Business DaysToyota Prius Front Cv Joint Boot Kit
Part Number: 04428-47066$54.85 MSRP: $76.66You Save: $21.81 (29%)Ships in 1-3 Business DaysToyota Prius Front Cv Joint Boot Kit Inboard Joint, Left
Part Number: 04438-20121$25.10 MSRP: $35.08You Save: $9.98 (29%)Toyota Prius Boot Kit, Front Drive Shaft Inboard Joint
Part Number: 04438-52030$26.88 MSRP: $37.57You Save: $10.69 (29%)Ships in 1-3 Business DaysToyota Prius Front Cv Joint Boot Kit In Outboard Left
Part Number: 04427-47030$45.45 MSRP: $63.52You Save: $18.07 (29%)Ships in 1-2 Business DaysToyota Prius Boot Kit, Rear Drive Shaft, Inboard Joint
Part Number: 04439-12012$33.43 MSRP: $46.72You Save: $13.29 (29%)Ships in 1-3 Business DaysToyota Prius Front Cv Joint Boot Kit In Outboard Left
Part Number: 04428-47062$54.85 MSRP: $76.66You Save: $21.81 (29%)Ships in 1-3 Business DaysToyota Prius Front Cv Joint Boot Kit
Part Number: 04437-47020$30.10 MSRP: $42.07You Save: $11.97 (29%)Ships in 1-3 Business DaysToyota Prius Front Cv Joint Boot Kit
Part Number: 04438-10120$69.96 MSRP: $98.63You Save: $28.67 (30%)Ships in 1-3 Business DaysToyota Prius Front Drive Shaft Boot Kit
Part Number: 04428-10021$129.27 MSRP: $183.78You Save: $54.51 (30%)Ships in 1-3 Business DaysToyota Prius Front Cv Joint Boot Kit Inboard Joint, Right
Part Number: 04438-12470$25.10 MSRP: $35.08You Save: $9.98 (29%)Ships in 1-3 Business DaysToyota Prius Front Cv Joint Boot Kit In Outboard Left
Part Number: 04428-47064$54.85 MSRP: $76.66You Save: $21.81 (29%)Ships in 1-3 Business DaysToyota Prius Boot Kit Rear Drive Shaft
Part Number: 04429-48061$56.74 MSRP: $79.30You Save: $22.56 (29%)Ships in 1-3 Business DaysToyota Prius Boot Kit
Part Number: 04429-48062$54.73 MSRP: $76.50You Save: $21.77 (29%)Ships in 1-2 Business Days
| Page 1 of 2 |Next >
1-20 of 25 Results
Toyota Prius CV Boot
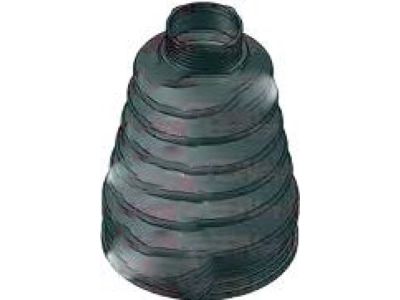
The CV Boot in Toyota Prius vehicles are parts that shield the Constant Velocity (CV) Joint; it is responsible for transmitting power from the transaxle to wheels. Some of the CV Joints that apply in Prius vehicles to include the fixed joint, which is located at the outboard end of the shaft and plunging joint at the inboard end of the shaft. The CV Boot plays a significant role of ensuring that the joints are well lubricated through the prevention of environmental influence and for this reason, the CV Joint failure is highly attributed to the absence or damage of the CV Boot. Ironically, while routine inspection and maintenance of the CV Boot is paramount for the smooth running of the the CV Joint in Toyota Prius cars, the element is frequently overlooked due to its obscure nature; this is due to presence of cracks, tears or any other form of damages on this part.
If you are in demand for superior quality and affordable OEM Toyota Prius CV Boot, then shop with us! We own a wide range of the reduced-priced genuine Toyota Prius CV Boot. You can purchase in confidence as all parts come with a manufacturer's warranty. Any issues with our products? No need to worry as we have a hassle-free return policy to guide you every step of the way.
Toyota Prius CV Boot Parts Questions & Experts Answers
- Q: What should you consider before replacing CV Boot on Toyota Prius?A:If the boots on the CV joint require replacement, one should not undertake the exercise until all possibilities are explored because complete rebuild CV boots are available for exchange. If you are planning to dismantle the vehicle, first and foremost ensure cost and availability of the part you want to get. Start with the elimination of CV boots and then place it in the vise, making sure that the jaws are covered with woods so that they do not mar the part. Check CV joint for movement and smooth functioning; CV boots have to be checked if they are torn then CV joint has to be unbolted cleaned and looked for damages. Lend some muscle and snip off the old boot clamps; ease off the outer boot and pull out the inner boot from the housing. To unlock the tripod joint snap-ring, use the snap-ring pliers, at the same time noting which way must be assembled the tripod and the axleshaft. Loosen the tripod joint and inner stop-ring, if not already disassembled, also, remove both boots. For the CV boots with the damper remove the clamp and take the damper off moving it with the measured distance to the end of the shaft. Wash all parts with solvent checking the condition of the parts to establish whether the inner CV joint is worn or the outer CV joint is worn; the latter requires the entire axleshaft to be replaced together with the outer CV joint. Take the boots and place them over the splines on the inner axleshaft, then using tape protect the boots, now place the clamps, the tri post rests on the shaft and install a new snap ring. Replace the tripod, and grease with pack grease around the assembly and the housing of the tripod. If repacking the outer joint apply the same working the entire tube of grease into the bearing assembly. Insert the boots and make sure they are seating correctly then check CV boot dimensions for clearance. Even out the pressure on the boot and then apply a few more turns on the clamps to make the CV boot set.
Related Toyota Prius Parts
Browse by Year
2024 CV Boot 2023 CV Boot 2022 CV Boot 2021 CV Boot 2020 CV Boot 2019 CV Boot 2018 CV Boot 2017 CV Boot 2016 CV Boot 2015 CV Boot 2014 CV Boot 2013 CV Boot 2012 CV Boot 2011 CV Boot 2010 CV Boot 2009 CV Boot 2008 CV Boot 2007 CV Boot 2006 CV Boot 2005 CV Boot 2004 CV Boot 2003 CV Boot 2002 CV Boot 2001 CV Boot
