
My Garage
My Account
Cart
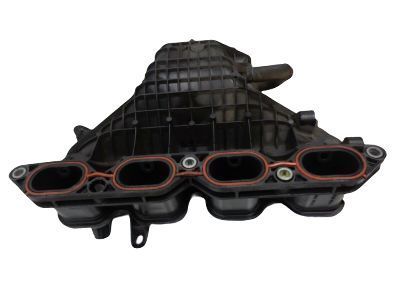
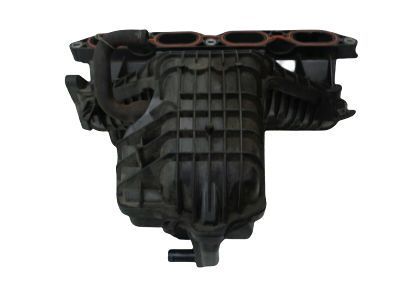
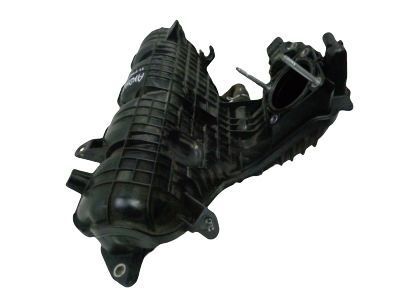
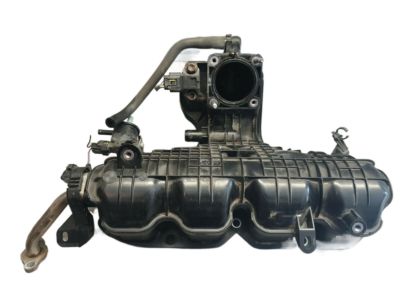
Genuine Toyota Prius Intake Manifold
Engine Intake Manifold- Select Vehicle by Model
- Select Vehicle by VIN
Select Vehicle by Model
orMake
Model
Year
Select Vehicle by VIN
For the most accurate results, select vehicle by your VIN (Vehicle Identification Number).
9 Intake Manifolds found
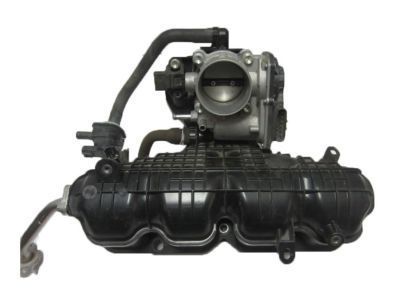
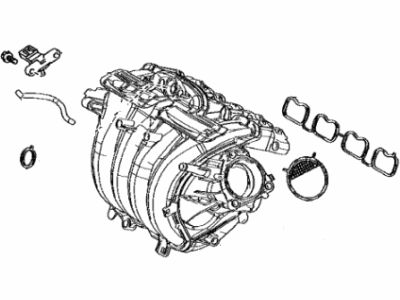
Toyota Prius Intake Manifold Assembly
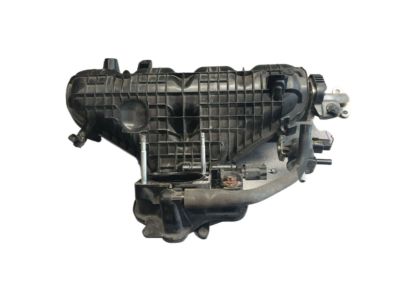
Part Number: 17120-37054$232.45 MSRP: $333.32You Save: $100.87 (31%)Ships in 1-3 Business DaysToyota Prius Intake Manifold Assembly
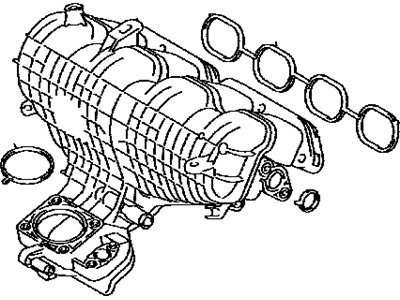
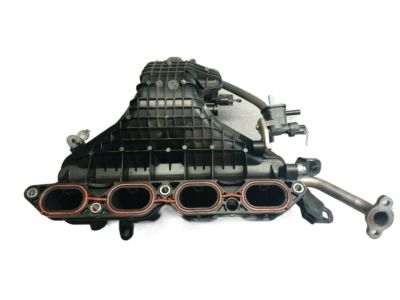
Part Number: 17120-37052$232.45 MSRP: $333.32You Save: $100.87 (31%)Ships in 1-3 Business DaysToyota Prius Intake Manifold Assembly
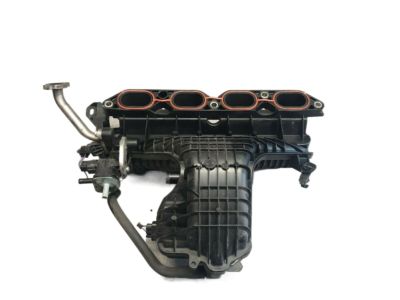
Part Number: 17120-37050$232.45 MSRP: $333.32You Save: $100.87 (31%)Ships in 1-3 Business DaysToyota Prius Intake Manifold Assembly
Part Number: 17120-37051$232.45 MSRP: $333.32You Save: $100.87 (31%)Ships in 1-3 Business DaysToyota Prius Intake Manifold Assembly
Part Number: 17120-37110$232.45 MSRP: $333.32You Save: $100.87 (31%)Ships in 1-3 Business DaysToyota Prius Intake Manifold Assembly
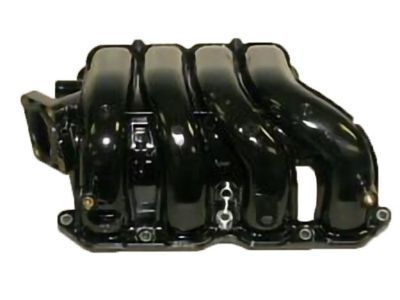
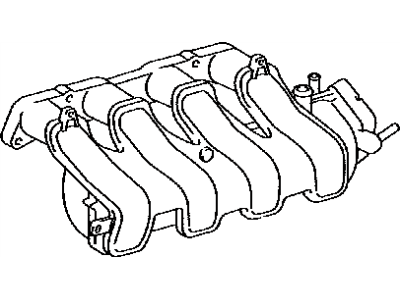
Part Number: 17120-24020$392.58 MSRP: $585.65You Save: $193.07 (33%)Ships in 1-3 Business DaysToyota Prius Intake Manifold
Part Number: 17101-21060$217.02 MSRP: $311.20You Save: $94.18 (31%)Ships in 1-3 Business DaysToyota Prius Intake Manifold Assembly
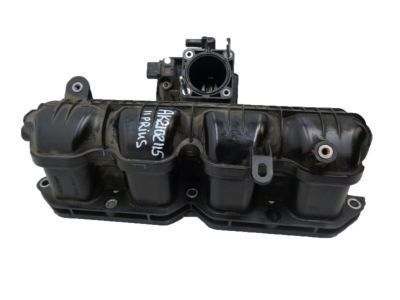
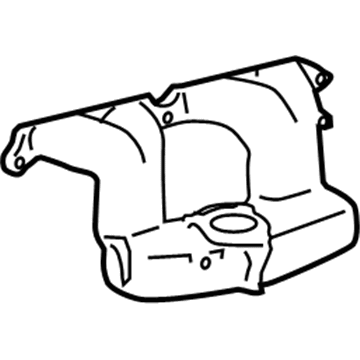
Part Number: 17120-37053$232.45 MSRP: $333.32You Save: $100.87 (31%)Ships in 1-3 Business DaysToyota Prius Intake Manifold
Part Number: 17101-21061$238.72 MSRP: $342.30You Save: $103.58 (31%)Ships in 1-3 Business Days
Toyota Prius Intake Manifold
If you are in demand for superior quality and affordable OEM Toyota Prius Intake Manifold, then shop with us! We own a wide range of the reduced-priced genuine Toyota Prius Intake Manifold. You can purchase in confidence as all parts come with a manufacturer's warranty. Any issues with our products? No need to worry as we have a hassle-free return policy to guide you every step of the way.
Toyota Prius Intake Manifold Parts Questions & Experts Answers
- Q: How to remove and install the intake manifold on Toyota Prius?A:There's not a lot of information that precedes the intake manifold removal but before removing the intake manifold one should always relieve the fuel system pressure. Remove the cable from the negative terminal of the 12-volt battery always conduct the initialization process before the reconnection. Remove the throttle body. Remove the PCV and vacuum hoses from the rear of the intake manifold with respective labels and detach for pre '09 models eliminate all wires that interfere. For the year 2010 to remove this EGR tube assembly, MAP sensor and also the vacuum switching valve while at the same time placing label on and eradicating all the disturbing cables. Also, further, take off the dipstick assembly including the O-ring and further, disconnect the two vapor hoses. Subsequently, point to eliminate the intake manifold nuts, bolts, and support bracket bolts as well as the manifold and gasket from the engine. For installation, two pieces of mating surfaces, the intake manifold and the Cylinder Head must be cleaned with lacquer thinner or acetone. If you see any leakage on the gasket, check the manifold for warping and sanded if it is warped. Place a new gasket over the manifold studs and put the manifold in place on the cylinder head; put in the nuts, bolts and brackets. Re-torque all the nuts and bolts that hold the manifold to the cylinder head in equal steps, either three or four times, starting from the center in order to avoid distorting the metal. Whereas to secure the proper torque on the manifold-to-cylinder head bolts you next tighten the lower bracket bolts. Insert back the remaining parts in the reverse order you used to remove them, check the level of the coolant and pour some if the level is low. Initially check the throttle linkage when it is cold and before engaging the engine into the operating mode. Start engine and examine for exhaust gas color, and search coolant and vacuum leaks, perform road test to feel all accessories in operation, and where fitted test the cruise control system.
Related Toyota Prius Parts
Browse by Year
2024 Intake Manifold 2023 Intake Manifold 2022 Intake Manifold 2021 Intake Manifold 2020 Intake Manifold 2019 Intake Manifold 2018 Intake Manifold 2017 Intake Manifold 2016 Intake Manifold 2015 Intake Manifold 2014 Intake Manifold 2013 Intake Manifold 2012 Intake Manifold 2011 Intake Manifold 2010 Intake Manifold 2009 Intake Manifold 2008 Intake Manifold 2007 Intake Manifold 2006 Intake Manifold 2005 Intake Manifold 2004 Intake Manifold 2003 Intake Manifold 2002 Intake Manifold 2001 Intake Manifold
