
My Garage
My Account
Cart
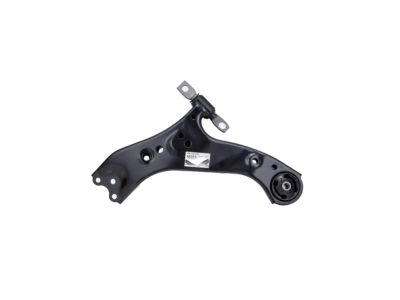
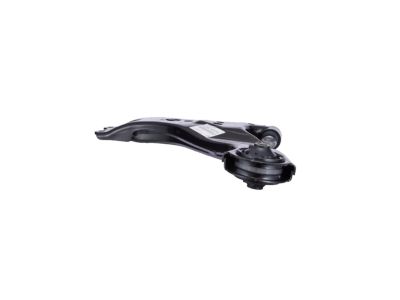
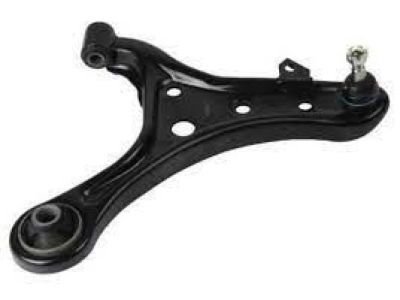
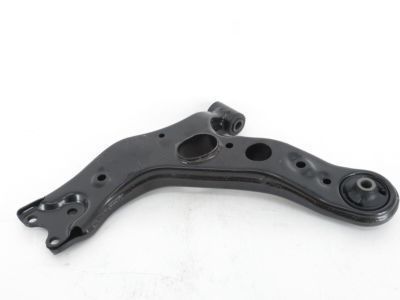
Genuine Toyota RAV4 Control Arm
Suspension Arm- Select Vehicle by Model
- Select Vehicle by VIN
Select Vehicle by Model
orMake
Model
Year
Select Vehicle by VIN
For the most accurate results, select vehicle by your VIN (Vehicle Identification Number).
48 Control Arms found
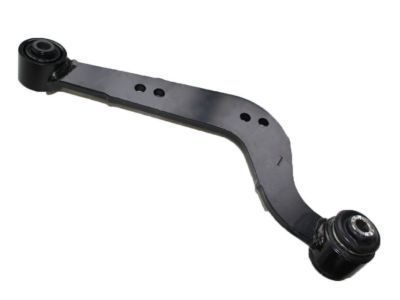
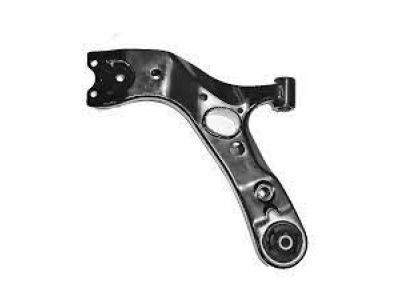
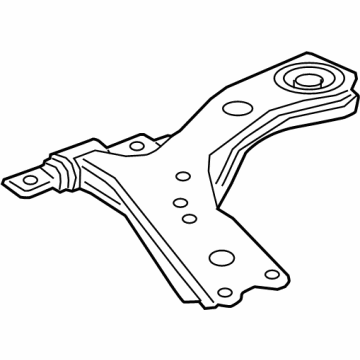
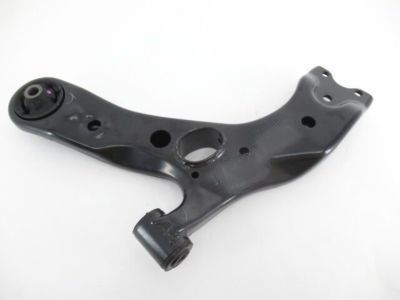
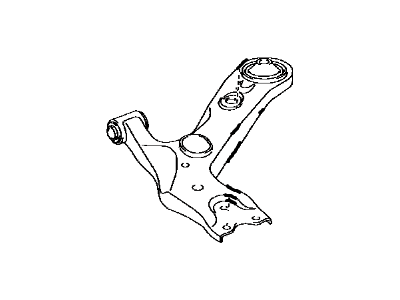
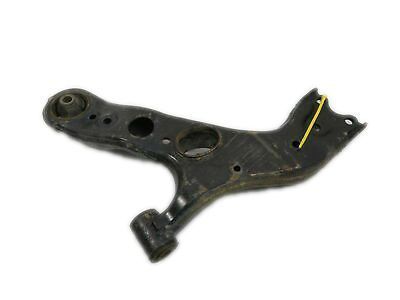
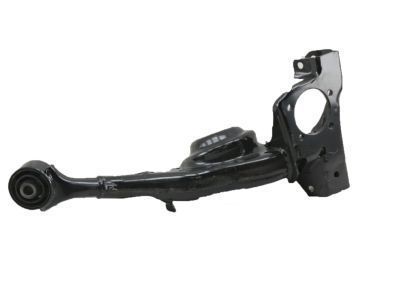
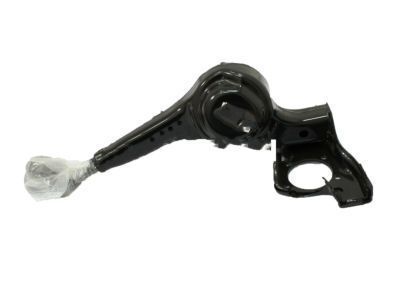
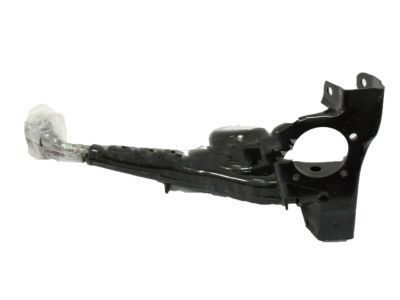
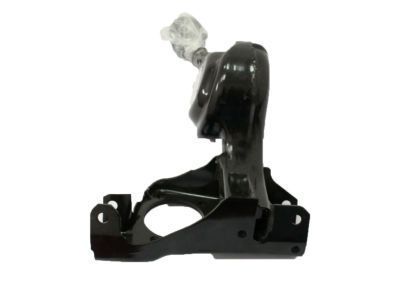
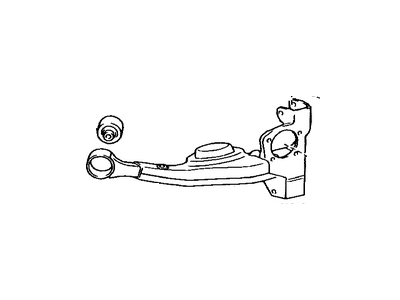
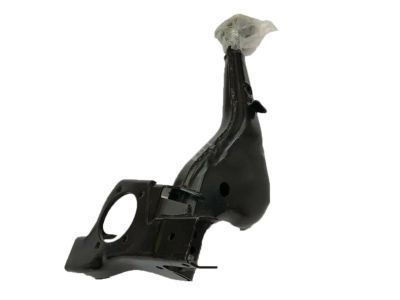
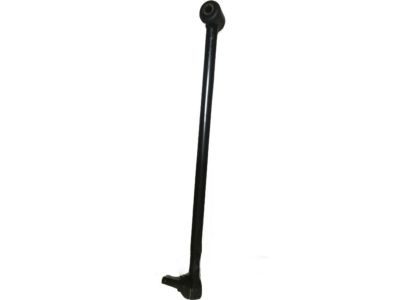
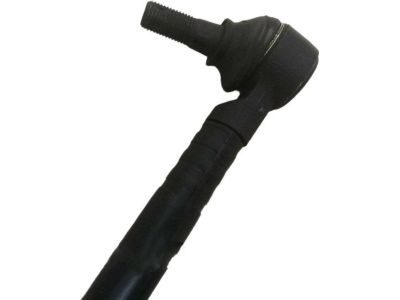
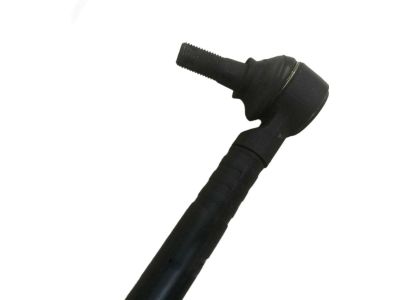
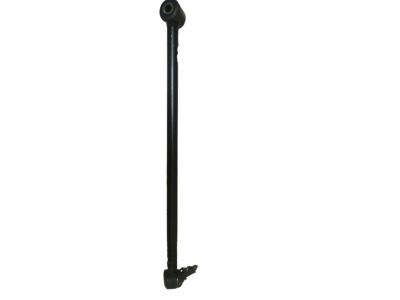
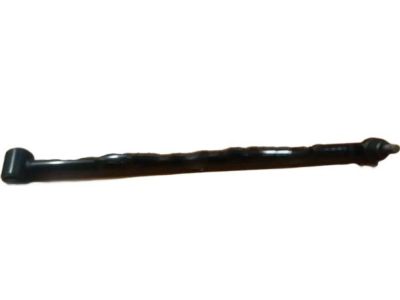
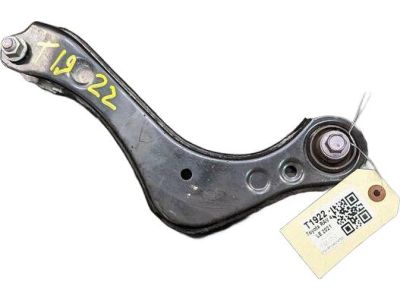
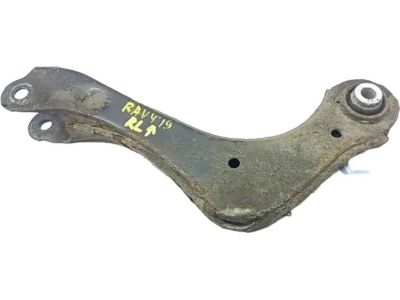
Toyota RAV4 Arm Assembly, Upper Control, Rear Left
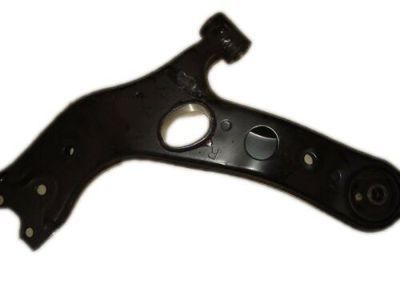
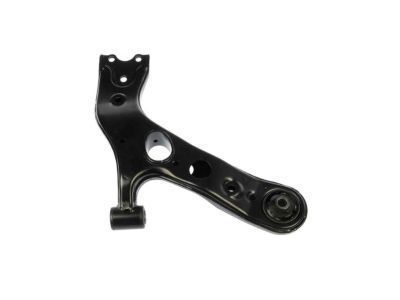
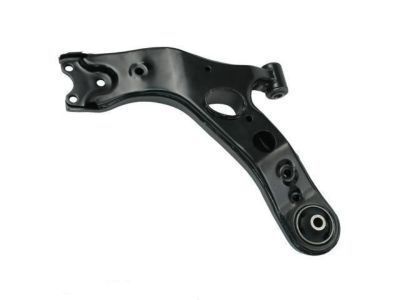
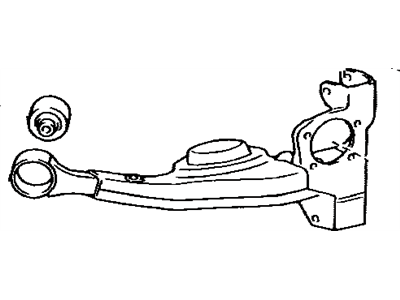
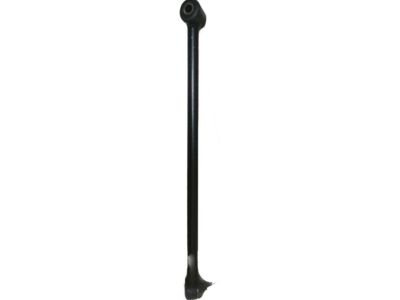
Part Number: 48790-42020$107.37 MSRP: $151.34You Save: $43.97 (30%)Ships in 1-3 Business DaysToyota RAV4 Front Suspension Control Arm Sub-Assembly No.1 Right
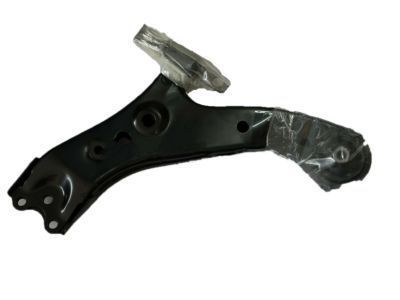
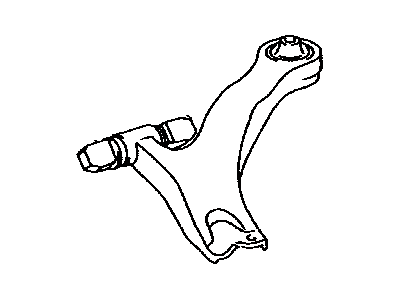
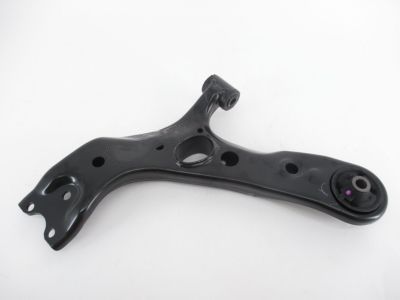
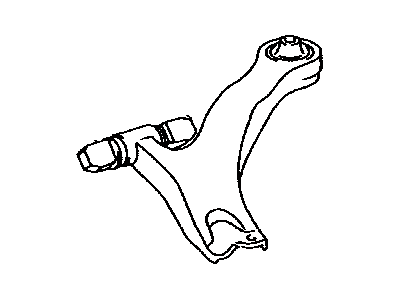
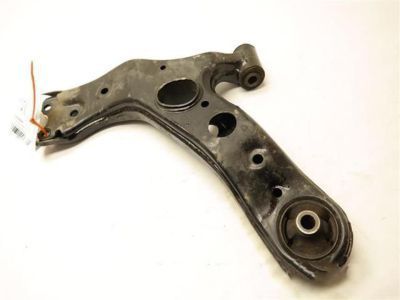
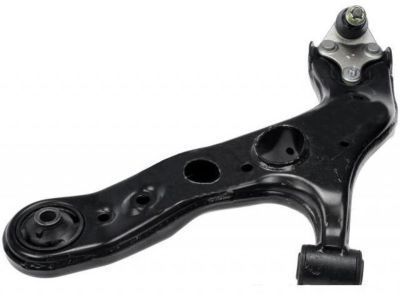
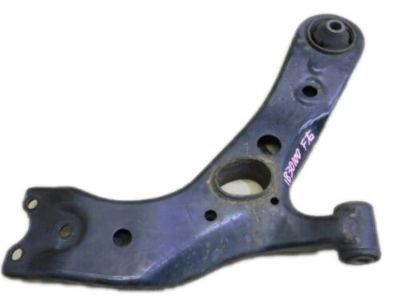
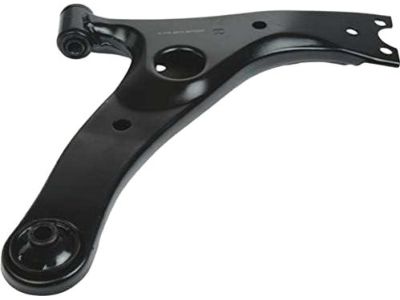
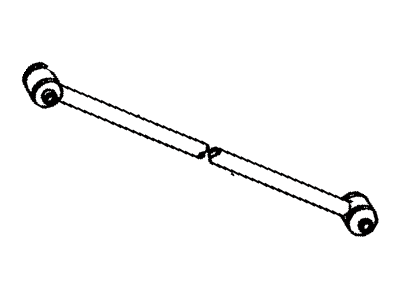
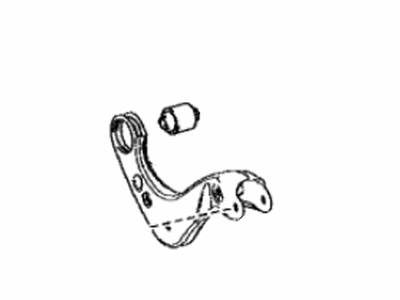
Part Number: 48068-42060$190.58 MSRP: $273.27You Save: $82.69 (31%)Ships in 1-3 Business DaysToyota RAV4 Suspension Control Arm Sub-Assembly
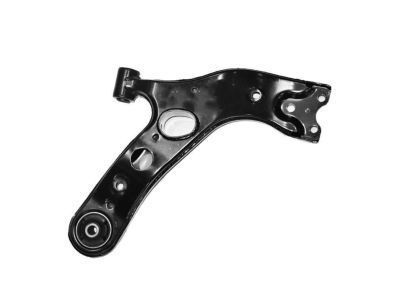
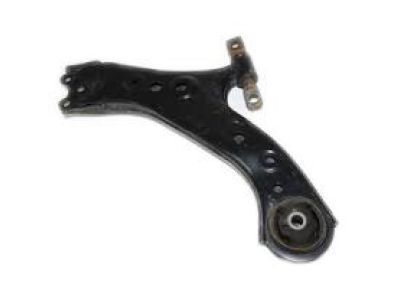
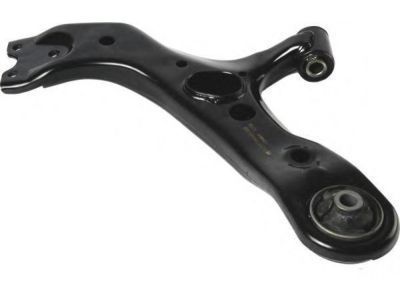
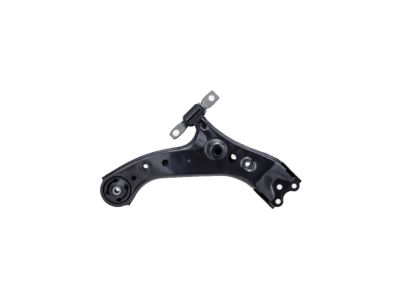
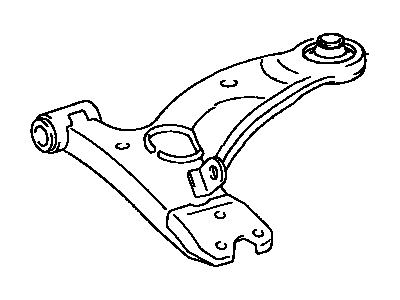
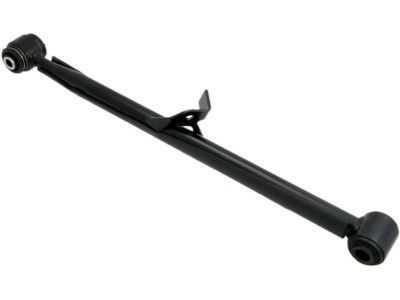
Part Number: 48068-42070$47.95 MSRP: $67.01You Save: $19.06 (29%)Ships in 1-3 Business DaysToyota RAV4 Front Suspension Control Arm Sub-Assembly Lower Right
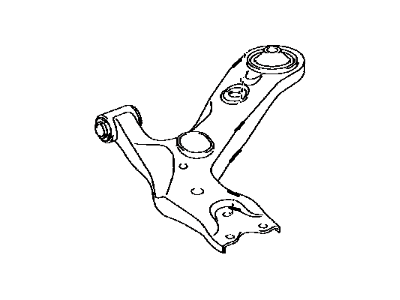
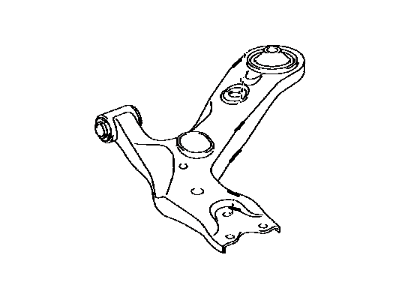
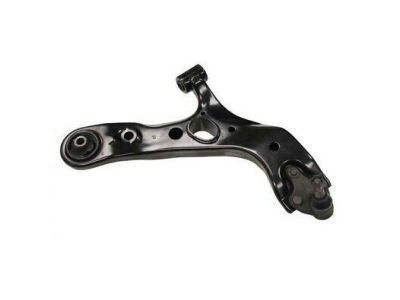
Part Number: 48068-42050$189.07 MSRP: $271.11You Save: $82.04 (31%)Ships in 1-3 Business DaysToyota RAV4 No.1 Left Front Suspension Control Arm Sub-Assembly
Part Number: 48069-0R030$192.43 MSRP: $275.94You Save: $83.51 (31%)Ships in 1-3 Business DaysToyota RAV4 No.1 Left Front Suspension Control Arm Sub-Assembly
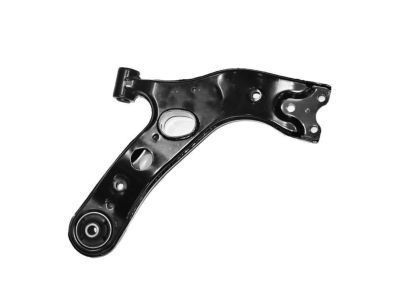
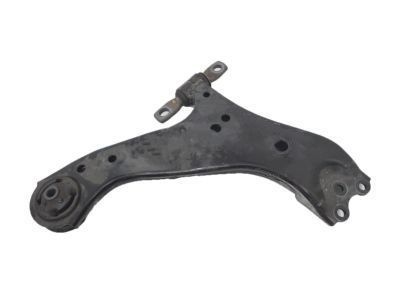
Part Number: 48069-42060$192.43 MSRP: $275.94You Save: $83.51 (31%)Ships in 1-2 Business DaysToyota RAV4 Front Suspension Control Arm Sub-Assembly Lower Left
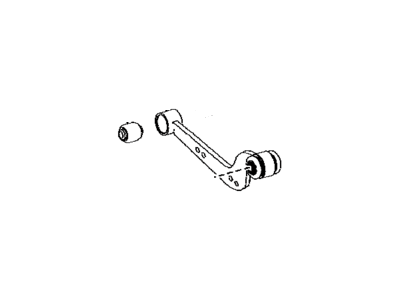
Part Number: 48069-42050$203.57 MSRP: $291.91You Save: $88.34 (31%)Ships in 1-3 Business DaysToyota RAV4 Suspension Control Arm Sub-Assembly
Part Number: 48069-42070$47.95 MSRP: $67.01You Save: $19.06 (29%)Ships in 1-2 Business DaysToyota RAV4 Suspension Control Arm Sub-Assembly
Part Number: 48069-0R050$47.95 MSRP: $67.01You Save: $19.06 (29%)Ships in 1-2 Business DaysToyota RAV4 Front Suspension Control Arm Sub-Assembly No.1 Right
Part Number: 48068-0R030$190.58 MSRP: $273.27You Save: $82.69 (31%)Ships in 1-3 Business DaysToyota RAV4 Suspension Control Arm Sub-Assembly
Part Number: 48068-0R050$51.87 MSRP: $72.51You Save: $20.64 (29%)Ships in 1-2 Business DaysToyota RAV4 Front Suspension Control Arm Sub-Assembly No.1 Right
Part Number: 48068-0R010$189.07 MSRP: $271.11You Save: $82.04 (31%)Ships in 1 Business DayToyota RAV4 No.1 Left Front Suspension Control Arm Sub-Assembly
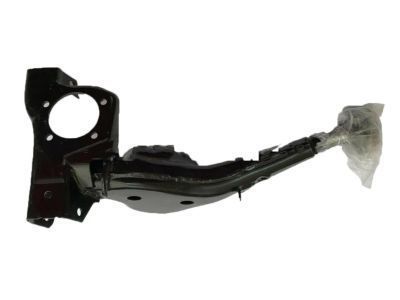
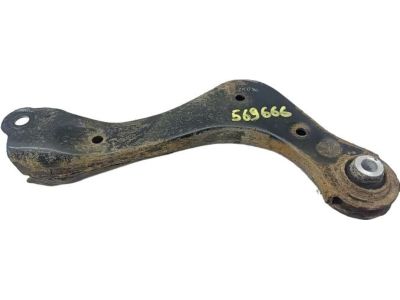
Part Number: 48069-0R010$178.28 MSRP: $255.64You Save: $77.36 (31%)Ships in 1 Business DayToyota RAV4 Arm Sub-Assembly, Rear Suspension, Left
Part Number: 48720-42030$276.76 MSRP: $396.87You Save: $120.11 (31%)Ships in 1-3 Business DaysToyota RAV4 Front Suspension Control Arm Sub-Assembly Lower Right
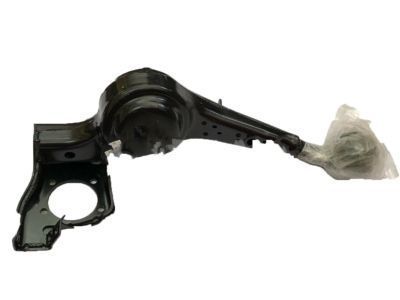
Part Number: 48068-42051$189.07 MSRP: $271.11You Save: $82.04 (31%)Ships in 1-3 Business DaysToyota RAV4 Arm Sub-Assy, Rear Suspension, RH
Part Number: 48710-42010$276.76 MSRP: $396.87You Save: $120.11 (31%)Ships in 1-3 Business DaysToyota RAV4 Front Suspension Control Arm Sub-Assembly Lower Right
Part Number: 48068-42040$209.48 MSRP: $300.38You Save: $90.90 (31%)Ships in 1-3 Business DaysToyota RAV4 Arm Assembly, Lower Control, Left
Part Number: 48730-42010$137.58 MSRP: $195.60You Save: $58.02 (30%)Ships in 1-3 Business DaysToyota RAV4 Arm Assembly, Lower Control, Left
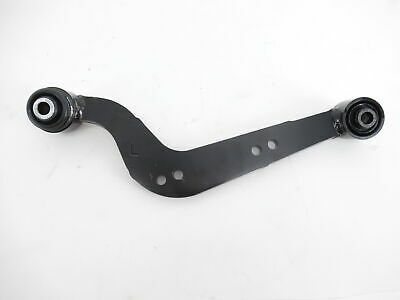
Part Number: 48730-42020$174.22 MSRP: $249.82You Save: $75.60 (31%)Ships in 1-3 Business DaysToyota RAV4 Upper Control Arm Assembly Rear Left Hand
Part Number: 48790-0R020$128.10 MSRP: $182.12You Save: $54.02 (30%)Ships in 1-3 Business Days
| Page 1 of 3 |Next >
1-20 of 48 Results
Toyota RAV4 Control Arm
If you are in demand for superior quality and affordable OEM Toyota RAV4 Control Arm, then shop with us! We own a wide range of the reduced-priced genuine Toyota RAV4 Control Arm. You can purchase in confidence as all parts come with a manufacturer's warranty. Any issues with our products? No need to worry as we have a hassle-free return policy to guide you every step of the way.
Toyota RAV4 Control Arm Parts Questions & Experts Answers
- Q: How to remove, inspect, and install the control arm on Toyota Rav4?A:To remove the control arm, first loosen the wheel lug nuts on the side to be dismantled, raise the front of the vehicle, support it securely on jackstands, and remove the wheel. Next, disconnect the stabilizer bar link from the control arm, then remove the bolt and two nuts securing the balljoint to the control arm. Use a prybar to disconnect the control arm from the Steering Knuckle by removing the bolt and nuts, and prying the control arm and balljoint apart. Support the subframe with a floor jack, unbolt, and lower it just enough to allow removal of the control arm fasteners. Slowly lower the subframe to remove the front and rear control arm mounting fasteners, then remove the control arm. For inspection, check the control arm for distortion and the bushings for wear, replacing parts as necessary, and do not attempt to straighten a bent control arm. For installation, raise the outer end of the control arm with a floor jack to simulate normal ride height before tightening the pivot bolt. Installation follows the reverse order of removal, ensuring all fasteners are tightened. Finally, install the wheel and lug nuts, lower the vehicle, tighten the lug nuts, and consider having the front wheel alignment checked and adjusted if necessary after completing the job.
Related Toyota RAV4 Parts
Browse by Year
2024 Control Arm 2023 Control Arm 2022 Control Arm 2021 Control Arm 2020 Control Arm 2019 Control Arm 2018 Control Arm 2017 Control Arm 2016 Control Arm 2015 Control Arm 2014 Control Arm 2013 Control Arm 2012 Control Arm 2011 Control Arm 2010 Control Arm 2009 Control Arm 2008 Control Arm 2007 Control Arm 2006 Control Arm 2005 Control Arm 2004 Control Arm 2003 Control Arm 2002 Control Arm 2001 Control Arm 2000 Control Arm 1999 Control Arm 1998 Control Arm 1997 Control Arm 1996 Control Arm
