
My Garage
My Account
Cart
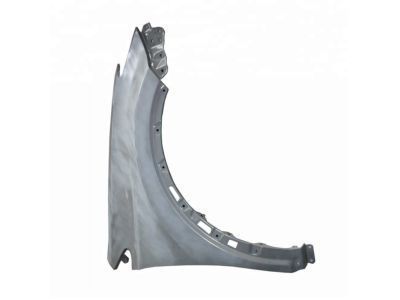
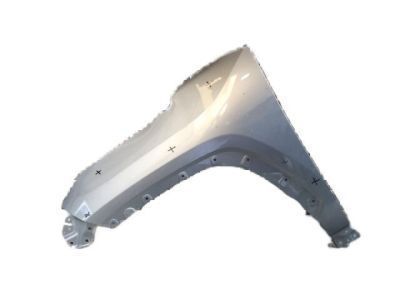
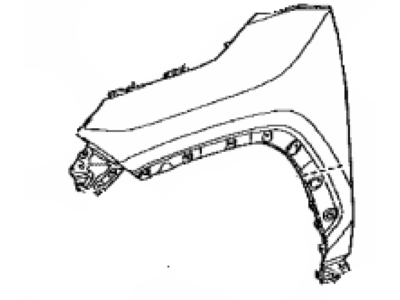
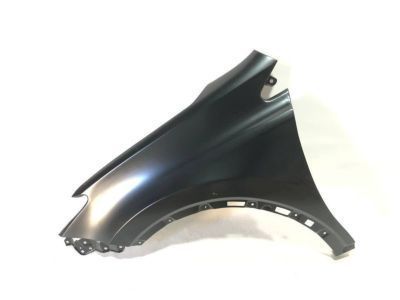
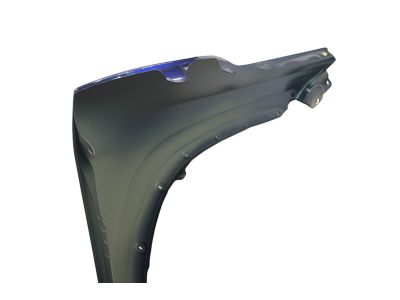
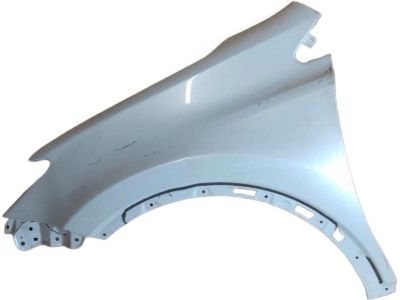
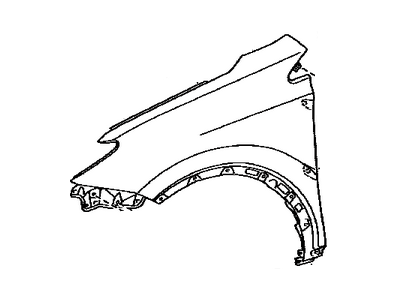
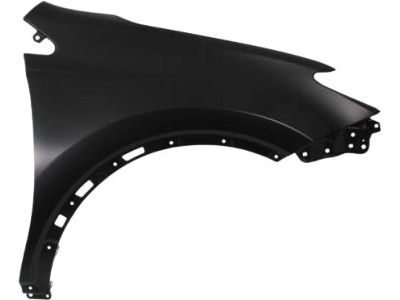
Genuine Toyota RAV4 Fender
Wheel Fender- Select Vehicle by Model
- Select Vehicle by VIN
Select Vehicle by Model
orMake
Model
Year
Select Vehicle by VIN
For the most accurate results, select vehicle by your VIN (Vehicle Identification Number).
33 Fenders found
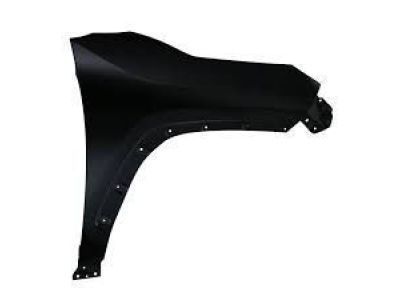
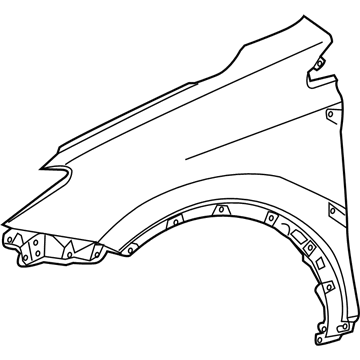
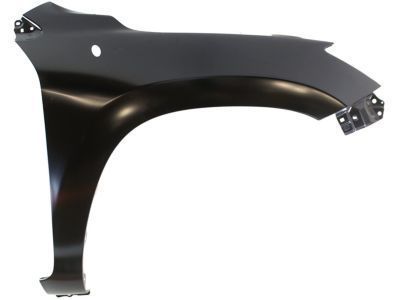
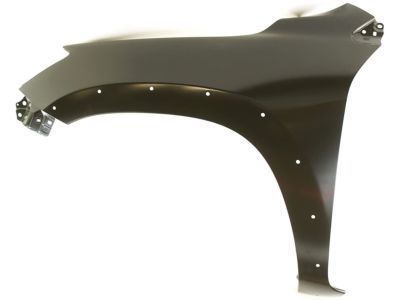
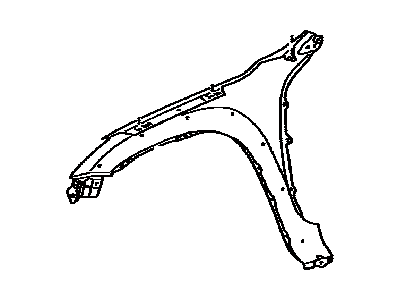
Toyota RAV4 Front Right Fender Panel
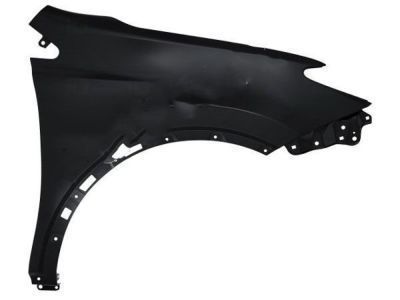
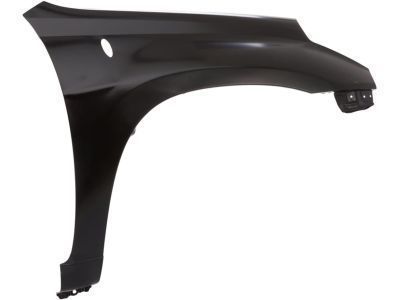
Part Number: 53811-0R130$229.90 MSRP: $329.66You Save: $99.76 (31%)Ships in 1-3 Business DaysToyota RAV4 Panel Fr Fender RH
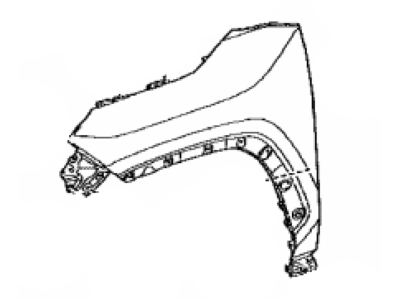
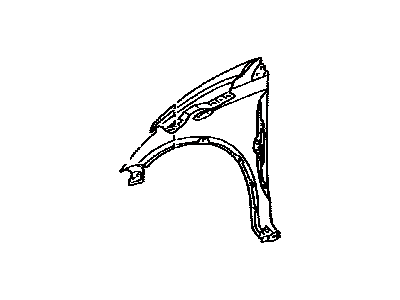
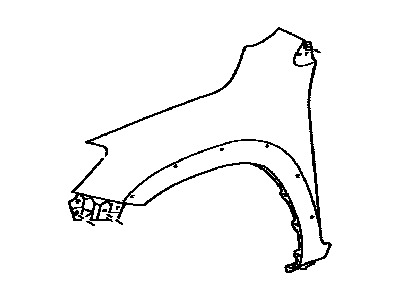
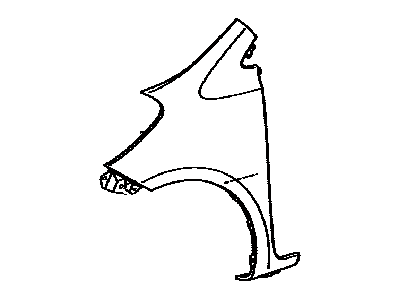
Part Number: 53811-42330$229.90 MSRP: $329.66You Save: $99.76 (31%)Ships in 1-3 Business DaysToyota RAV4 Front Fender Panel Left Hand
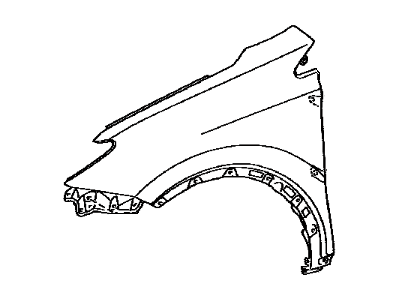
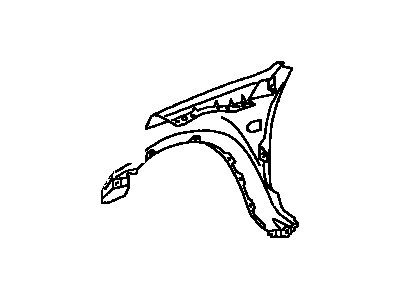
Part Number: 53812-0R110$229.90 MSRP: $329.66You Save: $99.76 (31%)Ships in 1-3 Business DaysToyota RAV4 Front Fender Sub-Assembly
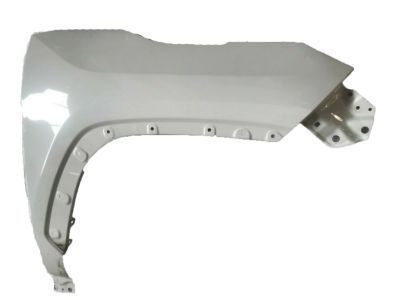
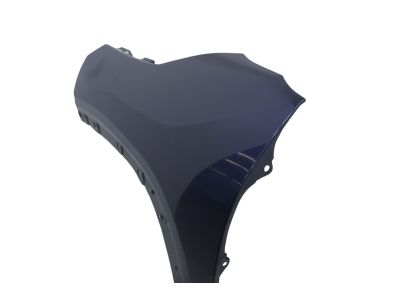
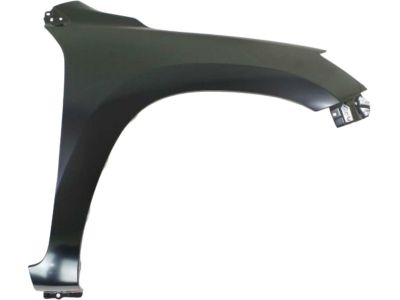
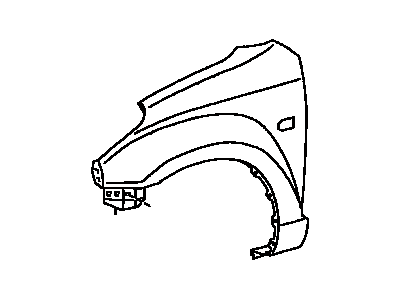
Part Number: 53802-0R050$219.23 MSRP: $314.36You Save: $95.13 (31%)Ships in 1-3 Business DaysToyota RAV4 Front Fender Sub-Assembly
Part Number: 53801-0R070$219.23 MSRP: $314.36You Save: $95.13 (31%)Ships in 1-3 Business DaysToyota RAV4 Panel Fr Fender LH
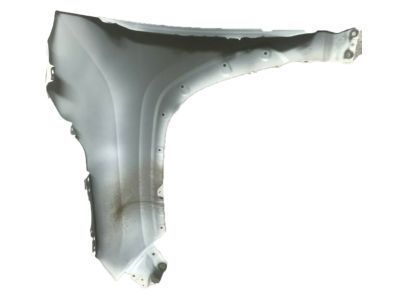
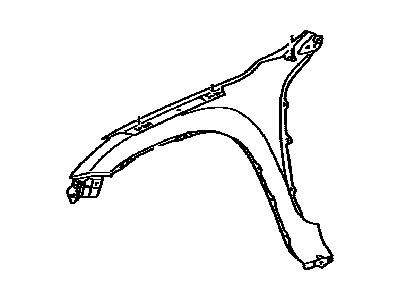
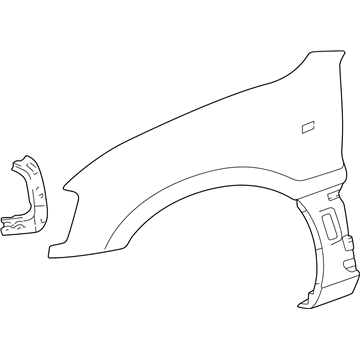
Part Number: 53812-42360$229.90 MSRP: $329.66You Save: $99.76 (31%)Ships in 1-3 Business DaysToyota RAV4 Front Fender Sub-Assembly
Part Number: 53802-42200$219.23 MSRP: $314.36You Save: $95.13 (31%)Ships in 1-3 Business DaysToyota RAV4 Front Fender Sub-Assembly
Part Number: 53801-42170$219.23 MSRP: $314.36You Save: $95.13 (31%)Ships in 1-2 Business DaysToyota RAV4 Front Fender Sub-Assembly Right Hand
Part Number: 53801-42130$270.62 MSRP: $388.04You Save: $117.42 (31%)Ships in 1-3 Business DaysToyota RAV4 Front Fender Sub-Assembly
Part Number: 53801-0R050$256.70 MSRP: $368.08You Save: $111.38 (31%)Ships in 1-3 Business DaysToyota RAV4 Front Fender Sub-Assembly
Part Number: 53802-0R040$239.53 MSRP: $343.46You Save: $103.93 (31%)Ships in 1-3 Business DaysToyota RAV4 Front Fender Sub-Assembly Right Hand
Part Number: 53811-42170$267.95 MSRP: $384.21You Save: $116.26 (31%)Ships in 1-3 Business DaysToyota RAV4 Front Fender Sub-Assembly
Part Number: 53801-0R060$256.70 MSRP: $368.08You Save: $111.38 (31%)Ships in 1-3 Business DaysToyota RAV4 Front Fender Sub-Assembly Front Hand
Part Number: 53802-42180$239.53 MSRP: $343.46You Save: $103.93 (31%)Ships in 1-3 Business DaysToyota RAV4 Front Fender Sub-Assembly
Part Number: 53801-42150$256.70 MSRP: $368.08You Save: $111.38 (31%)Ships in 1-3 Business DaysToyota RAV4 Front Fender Sub-Assembly Right Hand
Part Number: 53811-42180$267.95 MSRP: $384.21You Save: $116.26 (31%)Ships in 1-3 Business DaysToyota RAV4 Front Fender Sub-Assembly
Part Number: 53801-42160$256.70 MSRP: $368.08You Save: $111.38 (31%)Ships in 1-3 Business DaysToyota RAV4 Front Fender Sub-Assembly Right Hand
Part Number: 53801-42140$268.18 MSRP: $384.55You Save: $116.37 (31%)Ships in 1-3 Business DaysToyota RAV4 Front Fender Sub-Assembly Front Hand
Part Number: 53812-42180$267.95 MSRP: $384.21You Save: $116.26 (31%)Ships in 1-3 Business Days
| Page 1 of 2 |Next >
1-20 of 33 Results
Toyota RAV4 Fender
If you are in demand for superior quality and affordable OEM Toyota RAV4 Fender, then shop with us! We own a wide range of the reduced-priced genuine Toyota RAV4 Fender. You can purchase in confidence as all parts come with a manufacturer's warranty. Any issues with our products? No need to worry as we have a hassle-free return policy to guide you every step of the way.
Toyota RAV4 Fender Parts Questions & Experts Answers
- Q: How to remove and install a fender on Toyota Rav4?A:Park the car at a level ground and ensure that there is enough room to move the fender, Bumper and the inner liner away from the body of the car, after which the car Hood needs to be lifted and placed on a jack. Turning the front wheel lug nuts counterclockwise, chock the wheels, lift the car up on jack stands, and take off the front wheels. Tell the driver to unlock the front bumper and thereafter, release the headlight housing as well as cowl paneling. For the fender removal, follow the sequence of tasks: passenger fender end cap, it is necessary to release the fenderwell splash shield fasteners, the fender end cap screws, use the screwdriver to disengage the square clips of the inner fender, the pushpin clip of the pushpin data link connector, and unfasten the three clips inside the fenderwell using the needle-nose pliers of the mechanic. Raise and pull up the black upper fender cover and perform the removal of both the fender upper bolts. Take out the lower fender bolt by pulling the plastic fender guard up, reach in through the front door to unscrew the bolt that is exposed, Then while the door is still open you can pull down the ceiling clips of the inner plastic shield and pulling it out from the fenderwell to remove the other exposed bolt of the fenderwell. remove the fender end bolts and gently pry up with a plastic trim tool to reveal a bolt that connects it, remove that bolt and very carefully ease the fender off the car. With the help of the second person, help support the fender so that it can be slid out of the vehicle delicately in a way that does not harm other body parts. Removing means the process that is opposite to installation, aligning of the fender with the hood, door and other parts of a car's body before final tightening of the fender bolts and nuts, aligning the bolt head indentations in the fender body during the process.
Related Toyota RAV4 Parts
Browse by Year
2024 Fender 2023 Fender 2022 Fender 2021 Fender 2020 Fender 2019 Fender 2018 Fender 2017 Fender 2016 Fender 2015 Fender 2014 Fender 2013 Fender 2012 Fender 2011 Fender 2010 Fender 2009 Fender 2008 Fender 2007 Fender 2006 Fender 2005 Fender 2004 Fender 2003 Fender 2002 Fender 2001 Fender 2000 Fender 1999 Fender 1998 Fender 1997 Fender 1996 Fender
