
My Garage
My Account
Cart
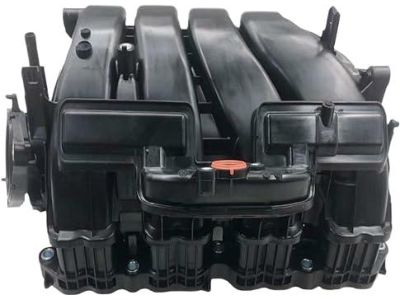
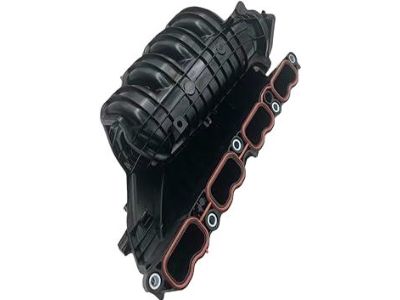
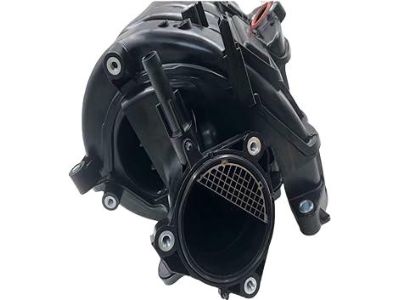
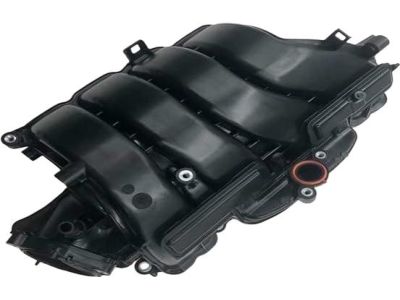
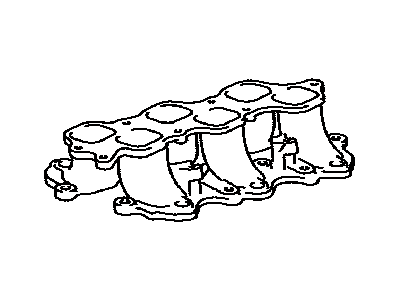
Genuine Toyota RAV4 Intake Manifold
Engine Intake Manifold- Select Vehicle by Model
- Select Vehicle by VIN
Select Vehicle by Model
orMake
Model
Year
Select Vehicle by VIN
For the most accurate results, select vehicle by your VIN (Vehicle Identification Number).
18 Intake Manifolds found
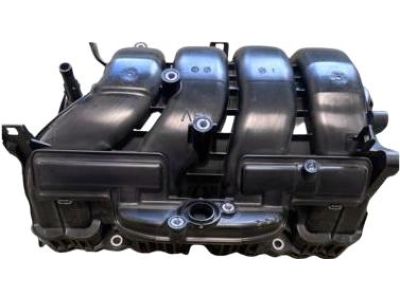
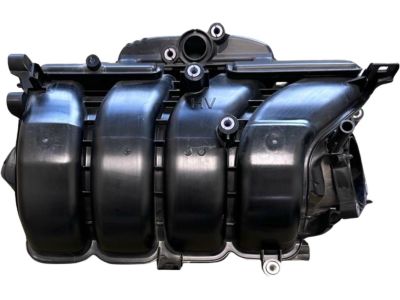
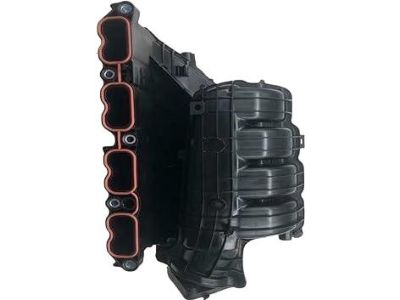
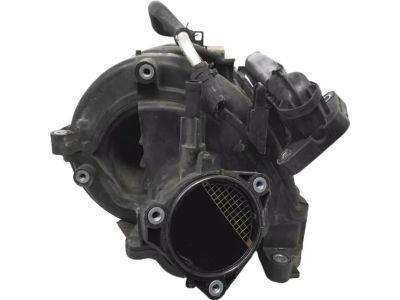
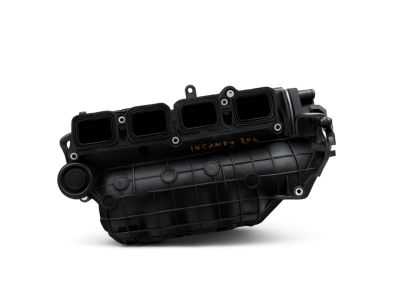
Toyota RAV4 Intake Manifold Assembly
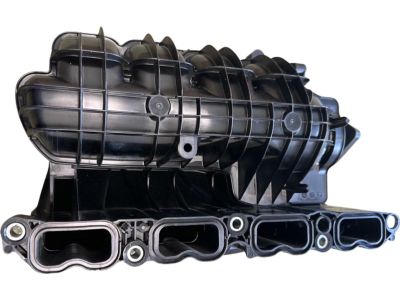
Part Number: 17120-F0020$365.93 MSRP: $545.89You Save: $179.96 (33%)Ships in 1-2 Business DaysToyota RAV4 Intake Manifold Assembly
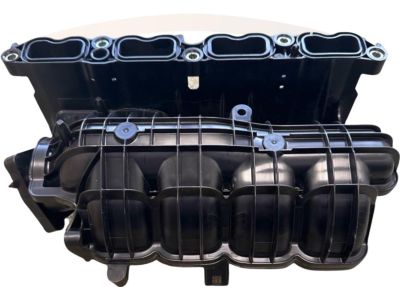
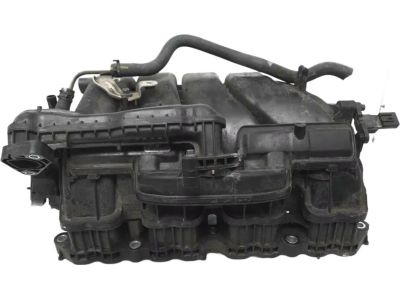
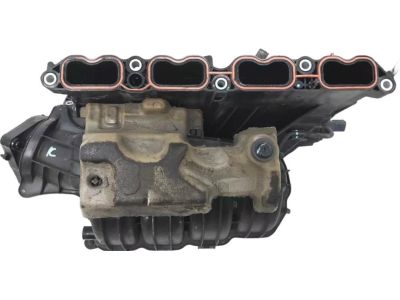
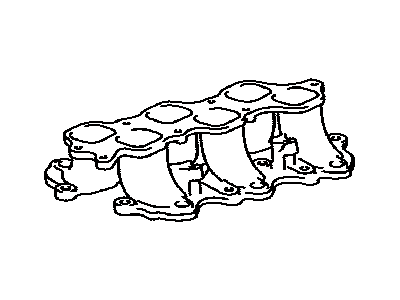
Part Number: 17120-25010$365.93 MSRP: $545.89You Save: $179.96 (33%)Ships in 1-3 Business DaysToyota RAV4 Manifold Assembly INTAK
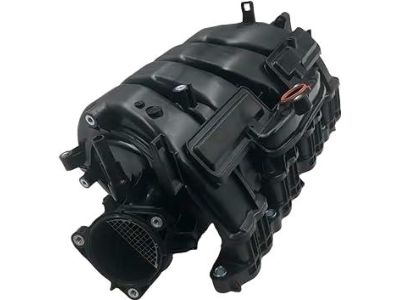
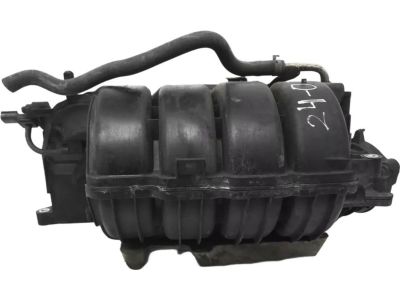
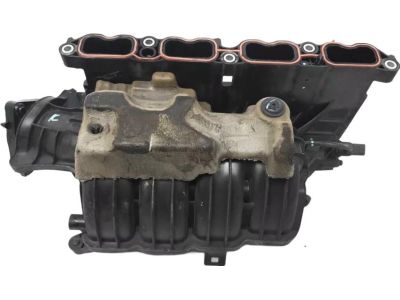
Part Number: 17120-F0060$365.93 MSRP: $545.89You Save: $179.96 (33%)Ships in 1-3 Business DaysToyota RAV4 Intake Manifold Assembly
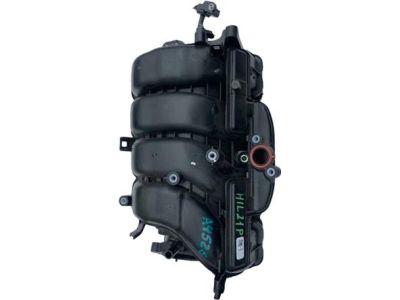
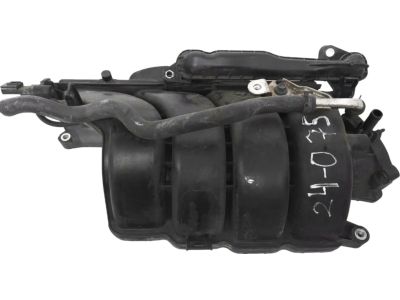
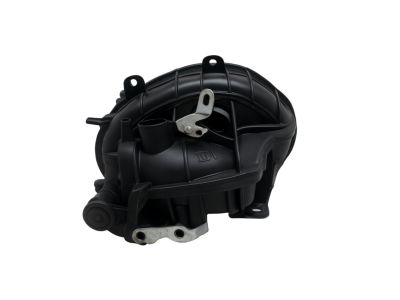
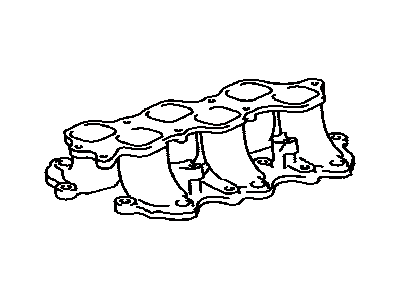
Part Number: 17120-36010$761.74 MSRP: $1137.39You Save: $375.65 (34%)Ships in 1-3 Business DaysToyota RAV4 Intake Manifold Assembly
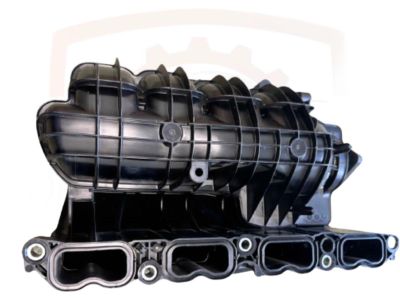
Part Number: 17120-0V010$644.16 MSRP: $961.81You Save: $317.65 (34%)Ships in 1-3 Business DaysToyota RAV4 Intake Manifold Assembly
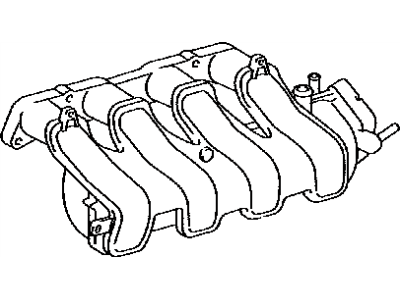
Part Number: 17120-36021$761.74 MSRP: $1137.39You Save: $375.65 (34%)Ships in 1-3 Business DaysToyota RAV4 Intake Manifold
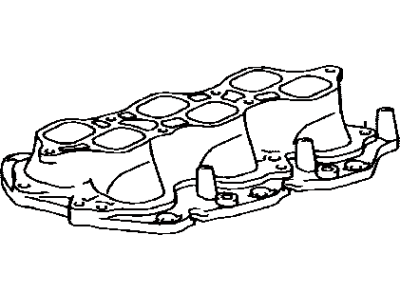
Part Number: 17111-31141$391.47 MSRP: $583.99You Save: $192.52 (33%)Ships in 1-3 Business DaysToyota RAV4 Intake Manifold Assembly
Part Number: 17120-36011$761.74 MSRP: $1137.39You Save: $375.65 (34%)Ships in 1-3 Business DaysToyota RAV4 Intake Manifold
Part Number: 17120-28090$321.89 MSRP: $461.56You Save: $139.67 (31%)Ships in 1-3 Business DaysToyota RAV4 Intake Manifold Assembly
Part Number: 17120-25020$365.93 MSRP: $545.89You Save: $179.96 (33%)Toyota RAV4 Intake Manifold
Part Number: 17120-28010$333.49 MSRP: $478.19You Save: $144.70 (31%)Ships in 1-3 Business DaysToyota RAV4 Intake Manifold
Part Number: 17111-0P030$397.60 MSRP: $593.14You Save: $195.54 (33%)Ships in 1-3 Business DaysToyota RAV4 Intake Manifold Assembly
Part Number: 17120-36020$761.74 MSRP: $1137.39You Save: $375.65 (34%)Ships in 1-3 Business DaysToyota RAV4 Intake Manifold Assembly
Part Number: 17120-36050$336.27 MSRP: $482.19You Save: $145.92 (31%)
Toyota RAV4 Intake Manifold
If you are in demand for superior quality and affordable OEM Toyota RAV4 Intake Manifold, then shop with us! We own a wide range of the reduced-priced genuine Toyota RAV4 Intake Manifold. You can purchase in confidence as all parts come with a manufacturer's warranty. Any issues with our products? No need to worry as we have a hassle-free return policy to guide you every step of the way.
Toyota RAV4 Intake Manifold Parts Questions & Experts Answers
- Q: How to remove and install the intake manifold on Toyota Rav4?A:To remove the components, first relieve the fuel system pressure and disconnect the cable from the negative battery terminal. Next, remove the air intake duct and resonator, followed by the cowl cover and vent tray/sub-frame, ensuring the wiper motor and linkage are completely removed. After that, take off the engine cover and disconnect the vacuum hose connection tube from the hoses and retainers at the firewall. Drain the cooling system and remove the heater hoses going into the firewall. Then, remove the throttle body from the intake manifold and disconnect the vent tubes. Disconnect the electrical connector to the vacuum switching valve, remove the harness bracket fasteners, and move the harness aside. Disconnect the fuel inlet line to the fuel rail and, from under the intake manifold, disconnect the tumble control valve actuator electrical connector. Disconnect the electrical connectors from the fuel rail, remove the harness mounting fasteners, and set the harness aside. Disconnect and remove the main harness connector to the intake manifold and tumble control valves. Apply battery voltage to terminal no.8 of the tumble control valve electrical connector while grounding terminal no.4 for no longer than three seconds to close the tumble control valve, preventing damage during manifold removal. Remove the intake manifold lower bolts, unscrew the upper mounting fasteners, and take off the manifold. For installation, clean the mating surfaces of the intake manifold and Cylinder Head with lacquer thinner or acetone, checking for warpage and replacing the manifold if necessary. Press a new gasket into the grooves on the intake manifold, then install the manifold and gasket over the studs on the cylinder head. Tighten the manifold-to-cylinder head nuts/bolts in three or four equal steps, working from the center out to avoid warping. Finally, reinstall the remaining parts in reverse order, check the coolant level, and run the engine to check for leaks.
Related Toyota RAV4 Parts
Browse by Year
2024 Intake Manifold 2023 Intake Manifold 2022 Intake Manifold 2021 Intake Manifold 2020 Intake Manifold 2019 Intake Manifold 2018 Intake Manifold 2017 Intake Manifold 2016 Intake Manifold 2015 Intake Manifold 2014 Intake Manifold 2013 Intake Manifold 2012 Intake Manifold 2011 Intake Manifold 2010 Intake Manifold 2009 Intake Manifold 2008 Intake Manifold 2007 Intake Manifold 2006 Intake Manifold 2005 Intake Manifold 2004 Intake Manifold 2003 Intake Manifold 2002 Intake Manifold 2001 Intake Manifold 2000 Intake Manifold 1999 Intake Manifold 1998 Intake Manifold 1997 Intake Manifold 1996 Intake Manifold
