
My Garage
My Account
Cart
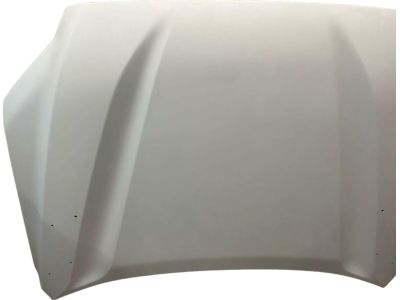
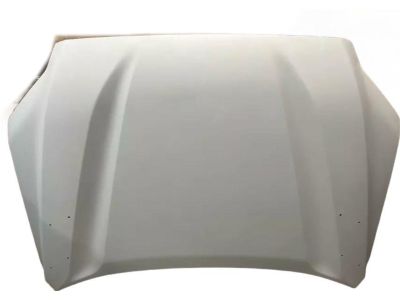
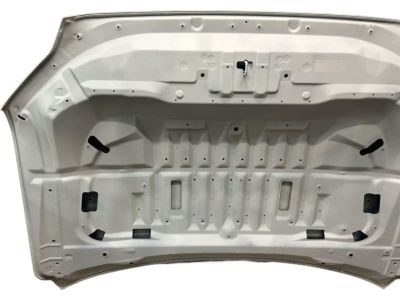
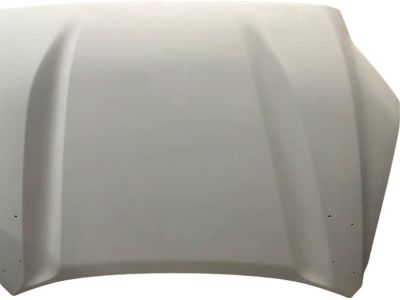
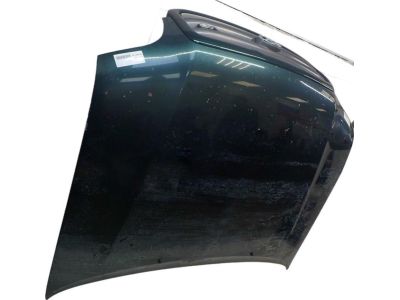
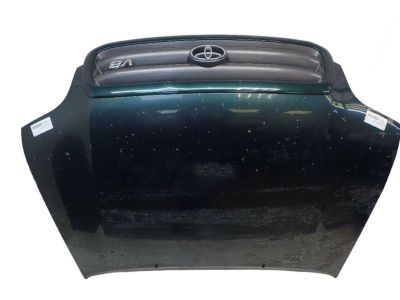
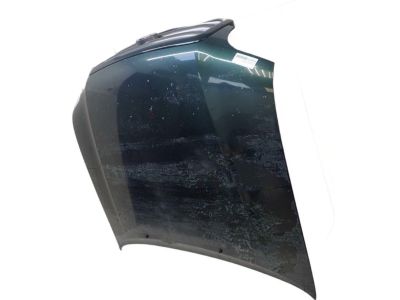
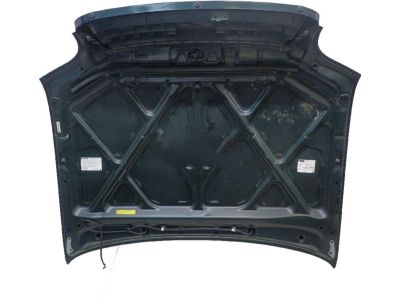
Genuine Toyota Sequoia Hood
Engine Hood- Select Vehicle by Model
- Select Vehicle by VIN
Select Vehicle by Model
orMake
Model
Year
Select Vehicle by VIN
For the most accurate results, select vehicle by your VIN (Vehicle Identification Number).
6 Hoods found
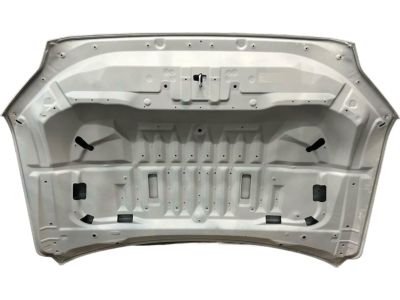
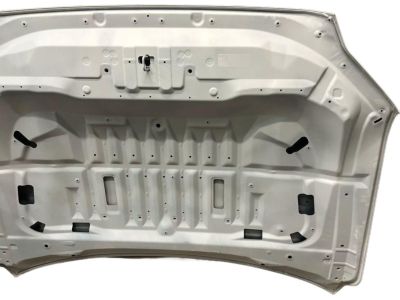
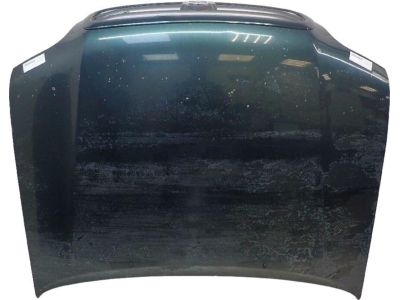
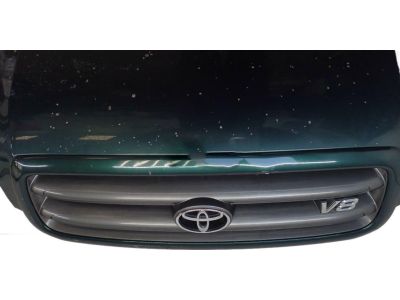
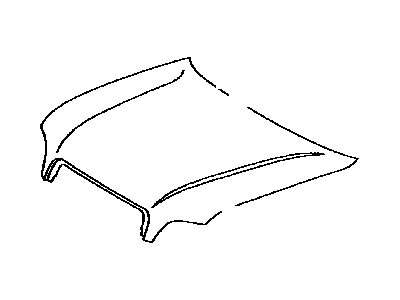
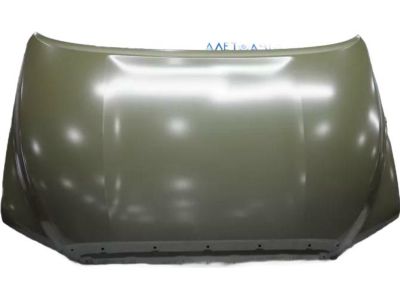
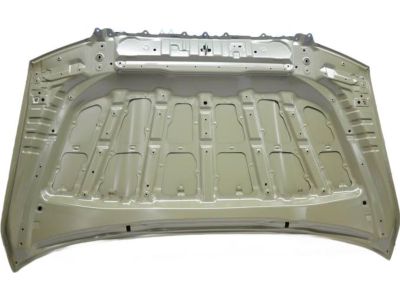
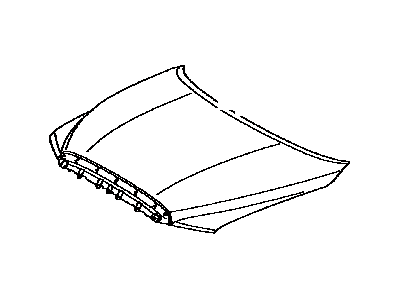
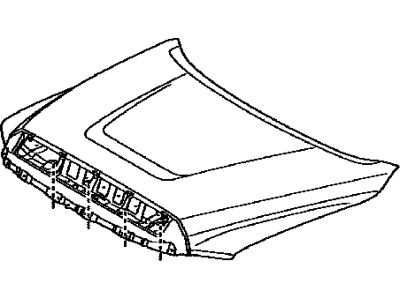
Toyota Sequoia Hood Sub-Assembly
Part Number: 53301-0C070$575.37 MSRP: $859.10You Save: $283.73 (34%)Ships in 1-3 Business DaysToyota Sequoia Hood Sub-Assembly
Part Number: 53301-0C021$525.93 MSRP: $784.59You Save: $258.66 (33%)Ships in 1-3 Business DaysToyota Sequoia Hood Sub-Assembly
Part Number: 53301-0C030$389.46 MSRP: $581.00You Save: $191.54 (33%)Ships in 1-3 Business DaysToyota Sequoia HOOD SUB-ASSY
Part Number: 53301-0C080$562.22 MSRP: $839.48You Save: $277.26 (34%)Ships in 1-3 Business DaysToyota Sequoia Hood Sub-Assembly
Part Number: 53301-0C040$389.46 MSRP: $581.00You Save: $191.54 (33%)Ships in 1-3 Business DaysToyota Sequoia Hood Sub-Assembly
Part Number: 53301-0C020$525.93 MSRP: $784.59You Save: $258.66 (33%)Ships in 1-3 Business Days
Toyota Sequoia Hood
If you are in demand for superior quality and affordable OEM Toyota Sequoia Hood, then shop with us! We own a wide range of the reduced-priced genuine Toyota Sequoia Hood. You can purchase in confidence as all parts come with a manufacturer's warranty. Any issues with our products? No need to worry as we have a hassle-free return policy to guide you every step of the way.
Toyota Sequoia Hood Parts Questions & Experts Answers
- Q: How to remove and install the hood on Toyota Sequoia?A:The hood is somewhat awkward to remove and install, so at least two people should perform this procedure. Begin by opening the hood and placing rags or covers over the windshield and fenders for protection. Disconnect the windshield washer fluid lines and mark the relationship of the hood to the hinges before removing the hinge bolts. Use a screwdriver to detach the hood support struts by prying off the clips. With an assistant supporting one side of the hood, take turns removing the hinge-to-hood bolts and then remove the hood. For installation, reverse the removal steps. If necessary after installation, adjust the entire Hood Latch assembly up and down as well as side to side on the upper radiator support to ensure the hood closes securely and is flush with the fenders. Scribe a line around the hood latch mounting bolts for reference, loosen the bolts, and reposition the latch as needed. Note that factory bolts are centering types that do not allow adjustment; replace them with standard bolts, flat washers, and lock washers for proper adjustment. After making adjustments, retighten the mounting bolts. Finally, adjust the hood bumpers to ensure the hood is flush with the fenders when closed, and periodically lubricate the hood latch and hinges with white lithium-based grease to prevent sticking and wear.
