
My Garage
My Account
Cart
Genuine Toyota Sequoia Hood Latch
Engine Hood Latch- Select Vehicle by Model
- Select Vehicle by VIN
Select Vehicle by Model
orMake
Model
Year
Select Vehicle by VIN
For the most accurate results, select vehicle by your VIN (Vehicle Identification Number).
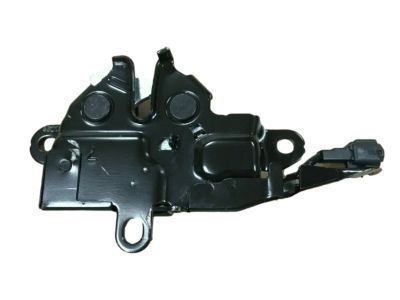
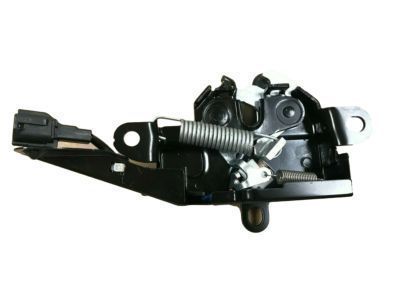
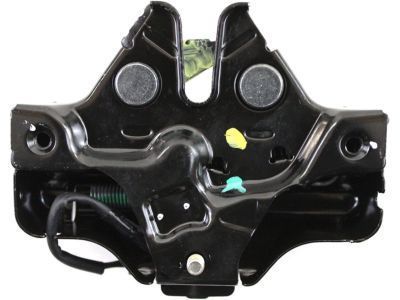
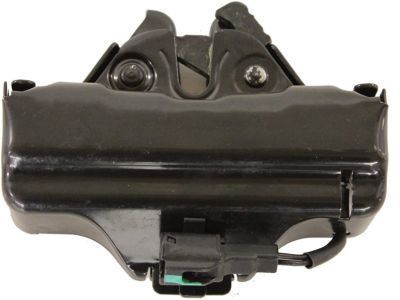
4 Hood Latches found
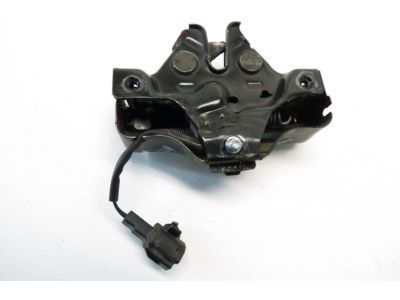
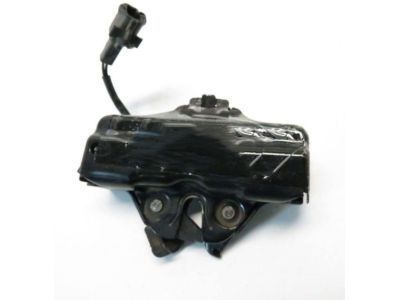
Toyota Sequoia Hood Lock Assembly
Part Number: 53510-0C090$72.09 MSRP: $101.62You Save: $29.53 (30%)Ships in 1-3 Business Days
Toyota Sequoia Hood Latch
If you are in demand for superior quality and affordable OEM Toyota Sequoia Hood Latch, then shop with us! We own a wide range of the reduced-priced genuine Toyota Sequoia Hood Latch. You can purchase in confidence as all parts come with a manufacturer's warranty. Any issues with our products? No need to worry as we have a hassle-free return policy to guide you every step of the way.
Toyota Sequoia Hood Latch Parts Questions & Experts Answers
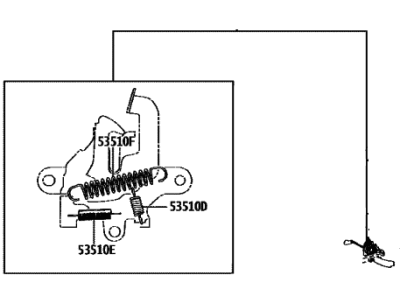
- Q: How to remove and install Hood Cable and Hood Latch for the hood release on Toyota Sequoia?A:To replace the latch, first, remove the retaining screw and tap out the cover, use a Phillips screwdriver to remove the nut and unload the plastic cap on the back side. It is advisable to pry a pencil and scribe a line around the latch for use as a reference when installing the same; remove the retaining bolts that fasten the hood latch to the radiators support and disconnect the same. Next, the hood cable should be disconnected from the latch assembly of the car's engine compartment. To remove it, first remove the screws that connect the hinge to the hood, take off the brackets and just turn the latch the other way around when you're done, make certain the bumpers are slightly depressed. To replace the cable, unscrew the driver's side kick panel on the passenger side of the car. Pull the hood release handle lever up, unscrew and free the cable with the handle. Pull a thin wire or thread through the end of the cable and in the engine compartment first remove the switch for the hood cable on its latch assembly and pull out all the cable clips on the radiator support and the inner fender well. Slide the cable forward over the exit hole until the wire or string is exposed to you, take it off the old cable, and secure it to the new cable. Once the new cable is in place, slowly retract the wire/string through the firewall until the new cable comes out at the inside handle of the door. Insert the new cable back into the hood release lever experiencing the cable housing into the groove around the handle bracket, and from the interior of the vehicle apply pressure on the cable until it rests properly in the grommet on the firewall. To finish it, revert all the actions that were performed in the Removal subsection.
Related Toyota Sequoia Parts
Browse by Year
2025 Hood Latch 2024 Hood Latch 2023 Hood Latch 2022 Hood Latch 2021 Hood Latch 2020 Hood Latch 2019 Hood Latch 2018 Hood Latch 2017 Hood Latch 2016 Hood Latch 2015 Hood Latch 2014 Hood Latch 2013 Hood Latch 2012 Hood Latch 2011 Hood Latch 2010 Hood Latch 2009 Hood Latch 2008 Hood Latch 2007 Hood Latch 2006 Hood Latch 2005 Hood Latch 2004 Hood Latch 2003 Hood Latch 2002 Hood Latch 2001 Hood Latch
