
My Garage
My Account
Cart
Genuine Toyota Sequoia Spoiler
Spoiler Wing- Select Vehicle by Model
- Select Vehicle by VIN
Select Vehicle by Model
orMake
Model
Year
Select Vehicle by VIN
For the most accurate results, select vehicle by your VIN (Vehicle Identification Number).
15 Spoilers found
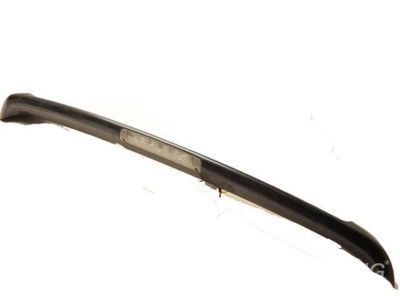
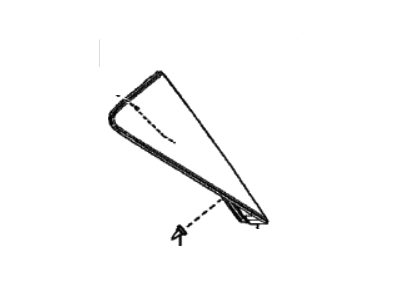
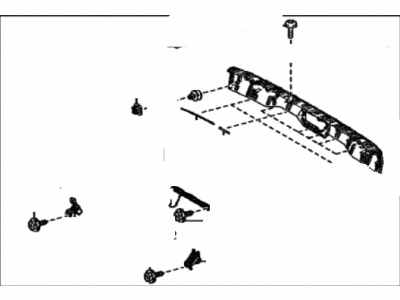
Toyota Sequoia Cover, Rear Spoiler
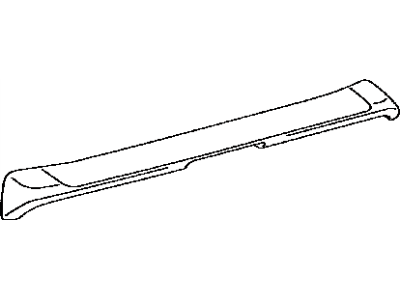
Part Number: 76871-0C902$510.55 MSRP: $761.63You Save: $251.08 (33%)Toyota Sequoia SPOILER SUB-ASSY, RR
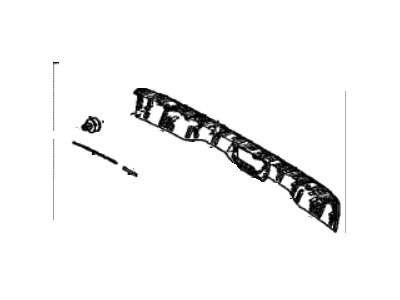
Part Number: 76085-0C060$447.10 MSRP: $666.98You Save: $219.88 (33%)Toyota Sequoia SPOILER, RR SIDE, LH
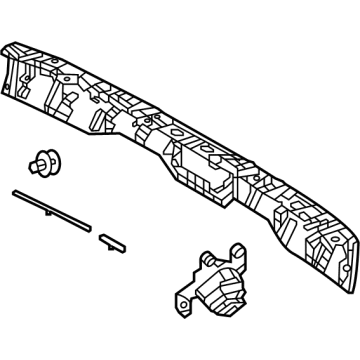
Part Number: 76898-0C020$311.22 MSRP: $446.27You Save: $135.05 (31%)Ships in 1-3 Business DaysToyota Sequoia SPOILER ASSY, RR
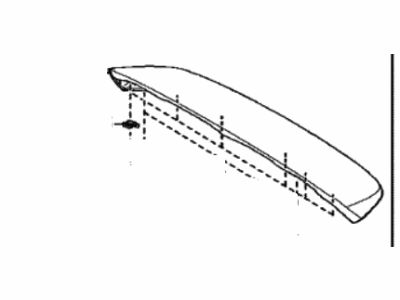
Part Number: 76870-0C070$2137.98 MSRP: $3192.29You Save: $1054.31 (34%)Toyota Sequoia SPOILER, RR SIDE, RH
Part Number: 76897-0C020$311.20 MSRP: $446.24You Save: $135.04 (31%)Ships in 1-3 Business DaysToyota Sequoia SPOILER SUB-ASSY, RR
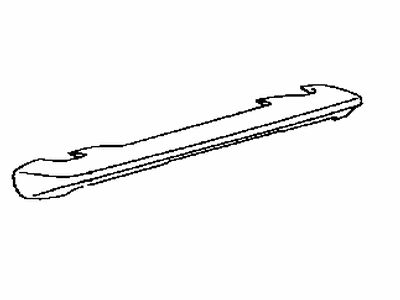
Part Number: 76085-0C010$434.84 MSRP: $648.70You Save: $213.86 (33%)Ships in 1-3 Business DaysToyota Sequoia SPOILER SUB-ASSY, RR
Part Number: 76085-0C900$340.10 MSRP: $487.68You Save: $147.58 (31%)Ships in 1-3 Business DaysToyota Sequoia SPOILER ASSY, RR
Part Number: 76870-0C020$759.07 MSRP: $1133.40You Save: $374.33 (34%)Ships in 1-3 Business DaysToyota Sequoia COVER, RR SPOILER L
Part Number: 76871-0C903$532.40 MSRP: $794.23You Save: $261.83 (33%)Ships in 1-3 Business DaysToyota Sequoia Rear Spoiler Sub-Assembly
Part Number: 76871-0C901$557.77 MSRP: $832.83You Save: $275.06 (34%)Ships in 1-3 Business DaysToyota Sequoia SPOILER ASSY, RR
Part Number: 76870-0C060$2086.73 MSRP: $3115.78You Save: $1029.05 (34%)Ships in 1-3 Business DaysToyota Sequoia Rear Spoiler Sub-Assembly
Part Number: 76871-0C900$557.77 MSRP: $832.83You Save: $275.06 (34%)Ships in 1-3 Business DaysToyota Sequoia SPOILER ASSY, RR
Part Number: 76870-0C010$1881.76 MSRP: $2809.72You Save: $927.96 (34%)Ships in 1-3 Business DaysToyota Sequoia SPOILER ASSY, RR
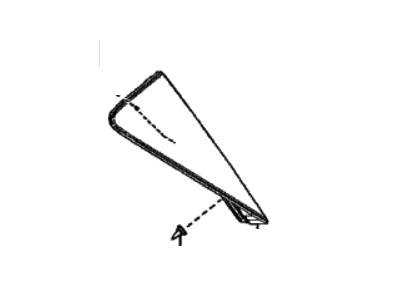
Part Number: 76870-0C022$759.74 MSRP: $1134.39You Save: $374.65 (34%)Ships in 1-2 Business DaysToyota Sequoia COVER, RR SPOILER, R
Part Number: 76893-0C020$8.71 MSRP: $12.18You Save: $3.47 (29%)Ships in 1-3 Business Days
Toyota Sequoia Spoiler
If you are in demand for superior quality and affordable OEM Toyota Sequoia Spoiler, then shop with us! We own a wide range of the reduced-priced genuine Toyota Sequoia Spoiler. You can purchase in confidence as all parts come with a manufacturer's warranty. Any issues with our products? No need to worry as we have a hassle-free return policy to guide you every step of the way.
Toyota Sequoia Spoiler Parts Questions & Experts Answers
- Q: How to remove and install the Spoiler on Toyota Sequoia?A:The liftgate is quite bulky and somewhat difficult to maneuver therefore it should ideally be managed by two people if it is to be removed or installed. Start by removing the negative terminal of the battery by unclamping it. Open the lift gate, making sure it is well supported then unbolt the lift gate struts or power door rod by pulling on the clip with the screw driver. What is important here is that the wire harness between the liftgate and the body be disconnected, with the relationship between the hinges and the liftgate qualified before removing the bolts. To install the studs, reverse the previous process and make sure that the liftgate is aligned as needed. To adjust the liftgate for proper closure, there are four available adjustments: to advance, retreat or alter its position vertically, the nuts and bolts holding the hinges to the body should be loosened, then with a small effort the hinges should be shifted in the intended direction and the nuts tightened firmly. As for left or right adjustment, you need to remove the hinge bolts of the liftgate then shift it in the required direction and fasten the bolts of the hinge again. For the liftgate striker, you should free it by unscrewing the striker screws, followed by hammering on the striker until you hear a click implying that it has established the correct lock with the striker, and then screwing the striker screws back. Liftgate-to-body gap can be set free by the removal of the mounting bolts from the stoppers and sliding into the proper position of the needed gap. For the liftgate spoiler, take out the trims that surround the window, use the trim tool to pry out the two hole covers, and the rear spoiler bolts have to be removed. Pop the spoiler outwards from the outside of the liftgate to release the clips and pins that hold it to release it and for installation just reverse the process.
Related Toyota Sequoia Parts
Browse by Year
2025 Spoiler 2024 Spoiler 2023 Spoiler 2022 Spoiler 2021 Spoiler 2020 Spoiler 2019 Spoiler 2018 Spoiler 2017 Spoiler 2016 Spoiler 2015 Spoiler 2014 Spoiler 2013 Spoiler 2012 Spoiler 2011 Spoiler 2010 Spoiler 2009 Spoiler 2008 Spoiler 2007 Spoiler 2006 Spoiler 2005 Spoiler 2004 Spoiler 2003 Spoiler 2002 Spoiler 2001 Spoiler
