
My Garage
My Account
Cart
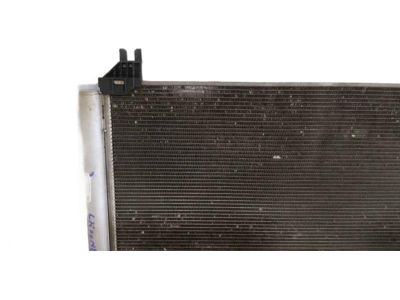
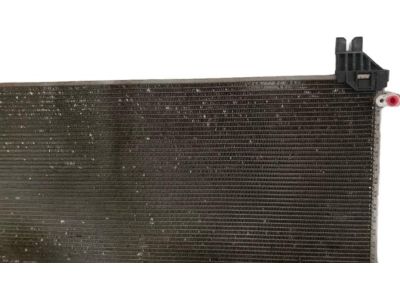
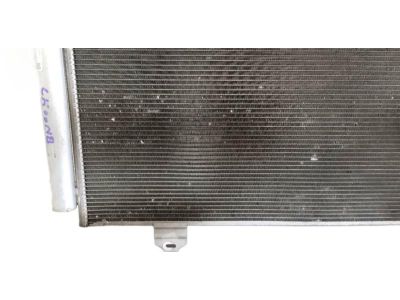
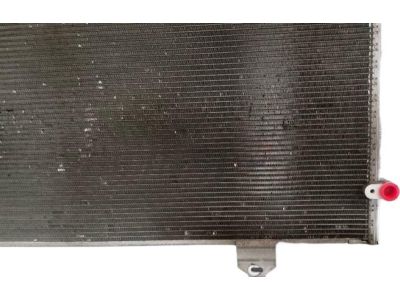
Genuine Toyota Sienna A/C Condenser
Air Conditioning Condenser- Select Vehicle by Model
- Select Vehicle by VIN
Select Vehicle by Model
orMake
Model
Year
Select Vehicle by VIN
For the most accurate results, select vehicle by your VIN (Vehicle Identification Number).
6 A/C Condensers found
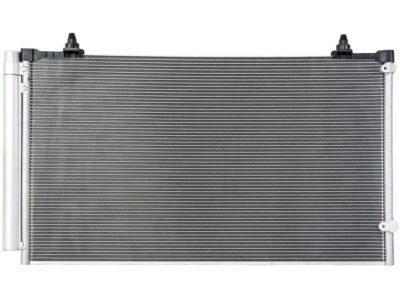
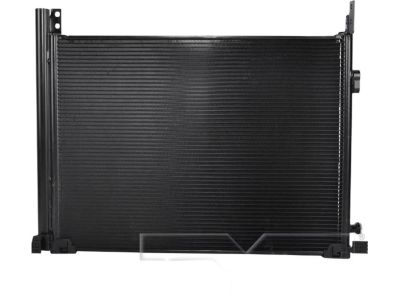
Toyota Sienna Condenser Assembly
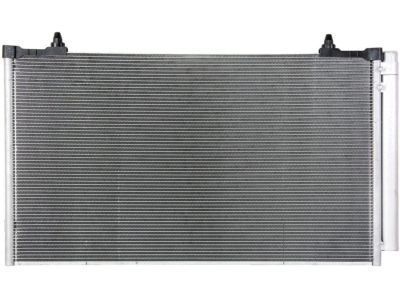
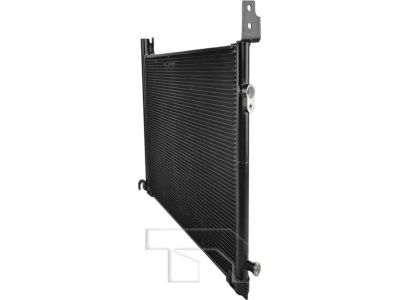
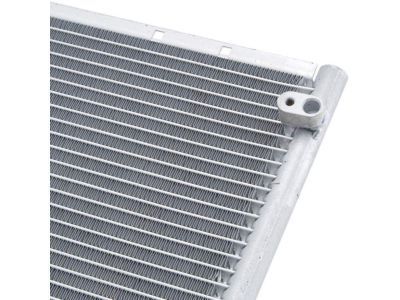
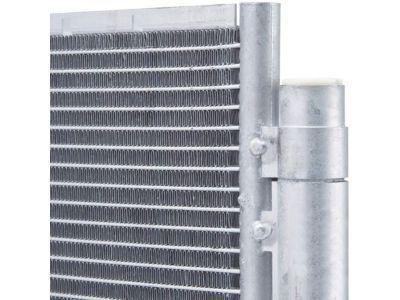
Part Number: 88460-08020$283.61 MSRP: $406.67You Save: $123.06 (31%)Ships in 1-3 Business DaysToyota Sienna A/C Condenser Assembly
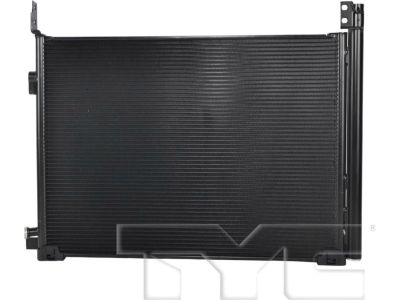
Part Number: 884A0-08010$293.82 MSRP: $421.31You Save: $127.49 (31%)Ships in 1-3 Business DaysToyota Sienna Condenser
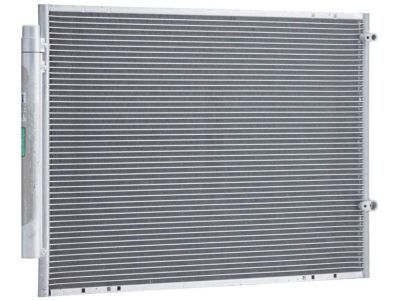
Part Number: 88461-08010$313.83 MSRP: $450.01You Save: $136.18 (31%)Ships in 1-3 Business DaysToyota Sienna Condenser Assembly
Part Number: 88460-08040$251.23 MSRP: $360.24You Save: $109.01 (31%)Ships in 1-3 Business DaysToyota Sienna Condenser Assembly
Part Number: 88460-08030$250.39 MSRP: $359.03You Save: $108.64 (31%)Ships in 1-3 Business DaysToyota Sienna Cooler Condenser Assembly
Part Number: 88460-08010$313.07 MSRP: $448.93You Save: $135.86 (31%)Ships in 1-3 Business Days
Toyota Sienna A/C Condenser
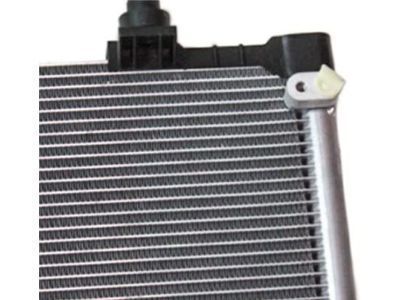
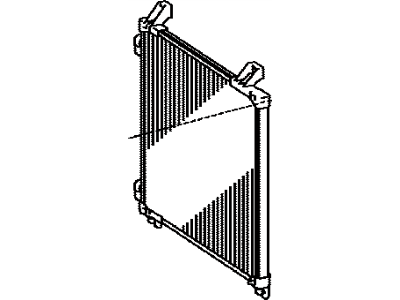
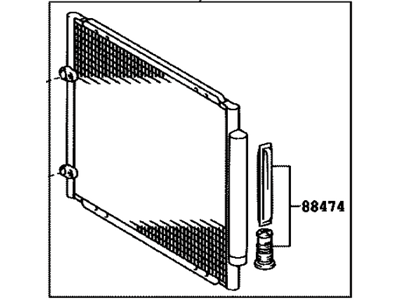
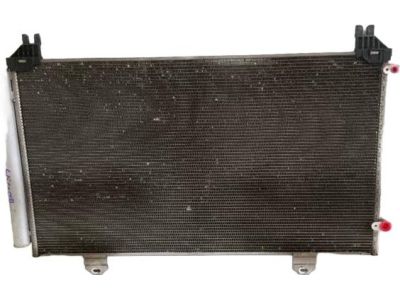
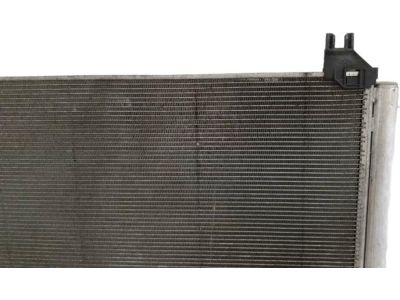
The A/C Condenser on Toyota Sienna vehicles serves the duty of a cooler, where the gaseous refrigerant is cooled in its journey to turn back into a liquid form before it goes to the next chamber which according to Toyota Sienna is the accumulator. Normally located in front of the radiator, the A/C Condenser is mainly a series of tubes through which this cooling is effected. Although the overview does not indicate differences in kinds or form of A/C Condenser for the varied models of Sienna, the layouts and processes still involve the precise control of refrigerant flow so as to have the optimal air conditioning. This part called A/C Condenser plays an influential role in delivering right cabin condition in the vehicle.
If you are in demand for superior quality and affordable OEM Toyota Sienna A/C Condenser, then shop with us! We own a wide range of the reduced-priced genuine Toyota Sienna A/C Condenser. You can purchase in confidence as all parts come with a manufacturer's warranty. Any issues with our products? No need to worry as we have a hassle-free return policy to guide you every step of the way.
Toyota Sienna A/C Condenser Parts Questions & Experts Answers
- Q: How to Remove and Install a Front A/C Condenser in a Toyota Sienna?A:Have the refrigerant discharged by an air conditioning technician. For 2006 and earlier models, remove the radiator upper mounts and the grille. Disconnect the inlet and outlet fittings, using two wrenches for the liquid line. Remove the bolt holding the refrigerant line to the right side of the condenser. On some models, the line is clamped to the side of the condenser. Cap the open fittings immediately to keep moisture and dirt out of the system. Remove the mounting nuts on each side, near the top of the condenser. Push the radiator back toward the engine, then push the condenser rearward until it's free of the radiator support and can be pulled up and out of the vehicle. For 2007 and later models, remove the front bumper assembly. Disconnect the refrigerant lines and discard the O-rings. They must be replaced with new ones. Remove both air inlet scoops. Remove the hood latch and its vertical support. Disconnect the cooling fan wiring. Remove the four bolts and lift off the upper radiator support with the horns attached. Disconnect the oil cooler tube assembly from the top of the radiator assembly. Remove the six bolts and the upper radiator support. Remove the two screws from the bottom of the condenser, then lift the condenser carefully out of the vehicle. For all models, install the condenser, brackets, and bolts, making sure the rubber cushions fit on the mounting points properly. Reconnect the refrigerant lines, using new O-rings where needed. If a new condenser is installed, add 14 to 1.7 ounces of refrigerant oil. Reinstall the remaining parts in the reverse order of removal. Have the system evacuated, charged, and leak tested by the shop that discharged it.
Related Toyota Sienna Parts
Browse by Year
2024 A/C Condenser 2023 A/C Condenser 2022 A/C Condenser 2021 A/C Condenser 2020 A/C Condenser 2019 A/C Condenser 2018 A/C Condenser 2017 A/C Condenser 2016 A/C Condenser 2015 A/C Condenser 2014 A/C Condenser 2013 A/C Condenser 2012 A/C Condenser 2011 A/C Condenser 2010 A/C Condenser 2009 A/C Condenser 2008 A/C Condenser 2007 A/C Condenser 2006 A/C Condenser 2005 A/C Condenser 2004 A/C Condenser 2003 A/C Condenser 2002 A/C Condenser 2001 A/C Condenser 2000 A/C Condenser 1999 A/C Condenser 1998 A/C Condenser
