
My Garage
My Account
Cart
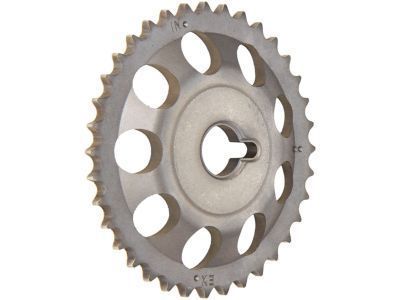
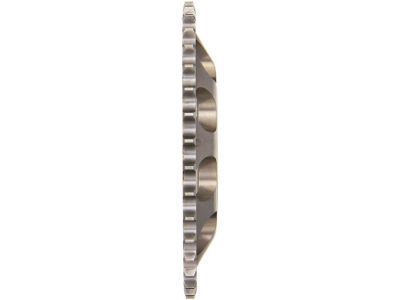
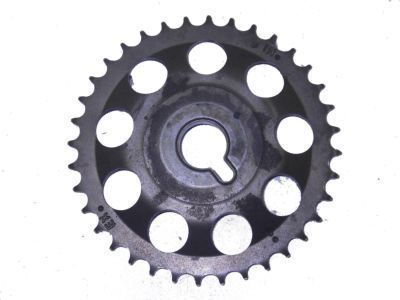
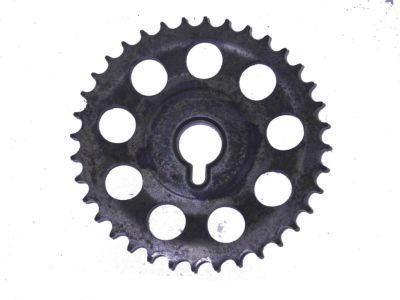
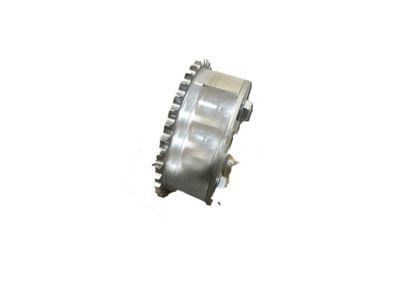
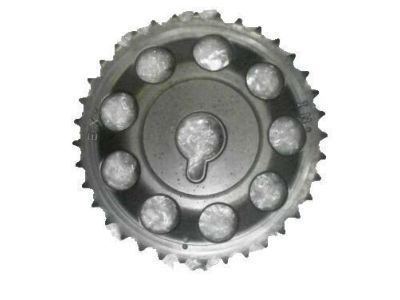
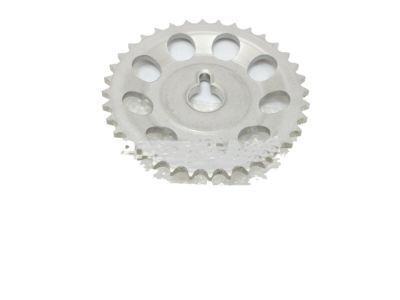
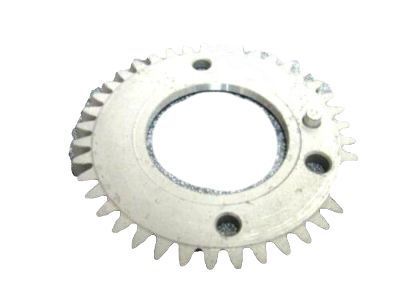
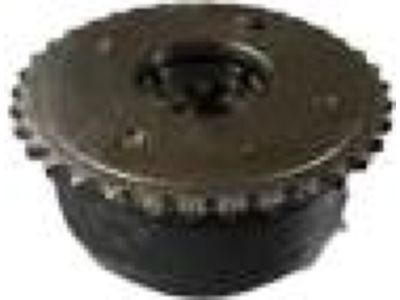
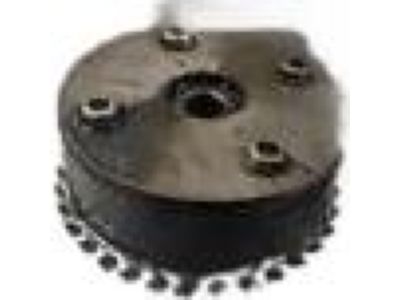
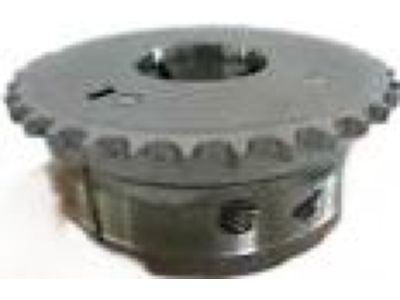
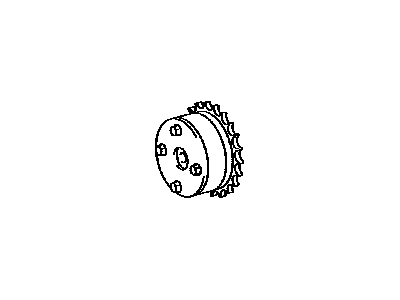
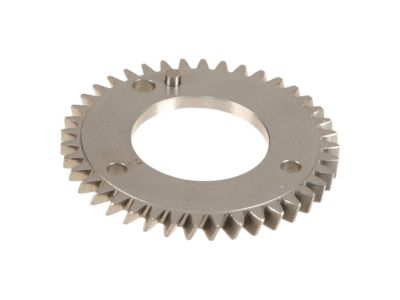
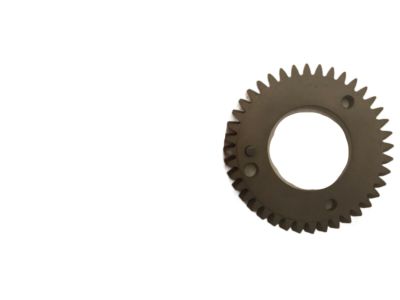
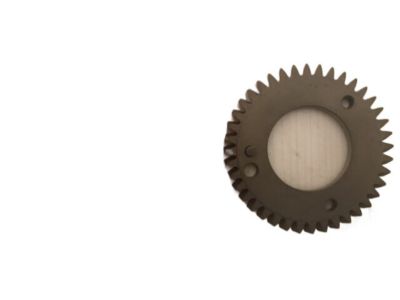
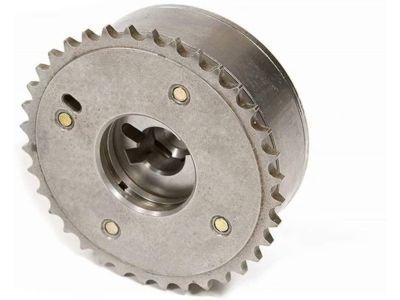
Genuine Toyota Solara Variable Timing Sprocket
Timing Gear Sprocket- Select Vehicle by Model
- Select Vehicle by VIN
Select Vehicle by Model
orMake
Model
Year
Select Vehicle by VIN
For the most accurate results, select vehicle by your VIN (Vehicle Identification Number).
12 Variable Timing Sprockets found
Toyota Solara Camshaft Gear
Part Number: 13523-0D010$43.66 MSRP: $61.03You Save: $17.37 (29%)Ships in 1-2 Business DaysToyota Solara Camshaft Gear Assembly
Part Number: 13050-28021$259.25 MSRP: $371.75You Save: $112.50 (31%)Ships in 1 Business DayToyota Solara Sprocket, Camshaft Timing
Part Number: 13523-22020$43.66 MSRP: $61.03You Save: $17.37 (29%)Ships in 1-2 Business DaysToyota Solara Gear, Camshaft Sub
Part Number: 13529-74900$69.73 MSRP: $98.29You Save: $28.56 (30%)Ships in 1-3 Business DaysToyota Solara Gear Assembly, Camshaft
Part Number: 13050-0H010$259.25 MSRP: $371.75You Save: $112.50 (31%)Ships in 1-2 Business DaysToyota Solara Gear, Camshaft Sub
Part Number: 13529-20900$49.97 MSRP: $69.84You Save: $19.87 (29%)Ships in 1-3 Business DaysToyota Solara Gear Assembly, Camshaft Timing
Part Number: 13050-28020$259.25 MSRP: $371.75You Save: $112.50 (31%)Ships in 1-2 Business DaysToyota Solara Engine Timing Camshaft Gear Assembly
Part Number: 13050-20011$337.50 MSRP: $503.48You Save: $165.98 (33%)Ships in 1 Business DayToyota Solara Gear Assembly, Camshaft Timing
Part Number: 13050-28011$271.20 MSRP: $388.88You Save: $117.68 (31%)Ships in 1-3 Business DaysToyota Solara Gear Assembly, Camshaft Timing
Part Number: 13050-20010$337.50 MSRP: $503.48You Save: $165.98 (33%)Ships in 1 Business DayToyota Solara Gear Assembly, Camshaft Timing
Part Number: 13050-0A010$337.50 MSRP: $503.48You Save: $165.98 (33%)Ships in 1 Business DayToyota Solara Sprocket, Camshaft Timing
Part Number: 13523-22050$43.66 MSRP: $61.03You Save: $17.37 (29%)Ships in 1-3 Business Days
Toyota Solara Variable Timing Sprocket
If you are in demand for superior quality and affordable OEM Toyota Solara Variable Timing Sprocket, then shop with us! We own a wide range of the reduced-priced genuine Toyota Solara Variable Timing Sprocket. You can purchase in confidence as all parts come with a manufacturer's warranty. Any issues with our products? No need to worry as we have a hassle-free return policy to guide you every step of the way.
Toyota Solara Variable Timing Sprocket Parts Questions & Experts Answers
- Q: How to Remove and Install a Timing Belt and Variable Timing Sprocket on a V6 Engine in a 1997-2001 Toyota Solara?A:At the start, remove the engine's ground wire. Pull down the fluid tank and windshield spray tank. On Solara models, take off the four area nuts and the upper front suspension connecting brace. Use these steps: remove the drive belts from your alternator and power steering pump, loosen only the right front wheel's lug nuts, raise the front end of the vehicle, place it on jack stands to securely support it, set the parking brakes, block the rear wheels, and take off the right front wheel. After removing the lower fender on the right side of the engine bay, manually turn the first cylinder to its peak opening point, raise the engine on the jack from underneath, and take off a bar that keeps the engine from shifting. First, pull out the three spark plugs on the engine. Then remove the cover, the upper timing belt gasket, and timing belt. Make sure the camshaft pulley's two key marks match before you loosen the timing belt tensioner. Lower tension between the rear and front camshaft sprockets first, then pull the timing belt off from both camshaft sprockets, and take off the camshaft sprockets if needed - loosen the sprocket bolt while holding the camshaft with a wrench. Take off the upper idler pulley, the crankshaft pulley bolt, and look to see where the crankshaft's top position is. You should be able to take the crankshaft pulley off with hand strength, but if not, get two prybars to remove it. Take off the lower belt cover and gasket, put the crankshaft instruction through the timing gap, and look closely for a factory dot on the belt that matches the marked spot on the crankshaft gears. To find out if the idler pulley and plate washer need replacing, take off the idler pulley and plate washer. If they look worn or damaged, remove the crankshaft sprocket carefully. Look for oil leaks on the belt tensioner, check for moisture inside the valve, measure the pushrod tip, and make sure the idler pulley turns without trouble. Wipe the timing belt area clean, correctly position the crankshaft timing sprocket keyway over the crankshaft key, and put the sprocket into place. Before fitting the idler pulley to the car, apply thread-locking substance to hold the bolt in place. Then place the idler pulley and its washer, and screw in the bolt. Start putting the timing belt on at the crankshaft sprocket, push a belt guide over the end of the crankshaft, and put on the lower timing belt cover with its gasket. Put the crankshaft pulley onto the shaft and attach its bolt. Hold the crankshaft still to keep it from moving. Put the top idler pulley into place, tighten the bolt, and make sure it spins effortlessly. Place the front camshaft sprocket, and attach its bolt before double-checking engine timing. Attach the rear sprocket to its bolt, and check if the timing marks align properly. Gently rotate the front camshaft sprocket until the belt fitting imprint lines up with the camshaft timing pointer. Slide the belt onto this sprocket. Feeding the belt around the rear sprocket, you push down on the timing belt tensioner rod, put the tensioner in place, and secure its bolts. Rotation the crankshaft two full circles while checking the timing markers. Replace the bracket for the engine movement control rod, put back the upper timing belt cover and its gasket, mount the rod with the brackets, and tighten all the bolts firmly. Put back the parts in the opposite order you took them out.
