
My Garage
My Account
Cart
Genuine Toyota Supra Headlight
Headlamp- Select Vehicle by Model
- Select Vehicle by VIN
Select Vehicle by Model
orMake
Model
Year
Select Vehicle by VIN
For the most accurate results, select vehicle by your VIN (Vehicle Identification Number).
17 Headlights found
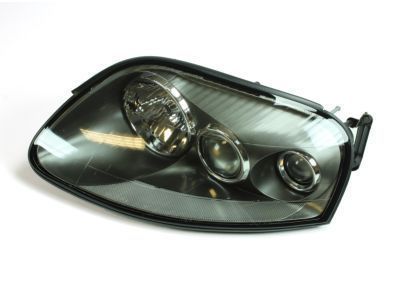
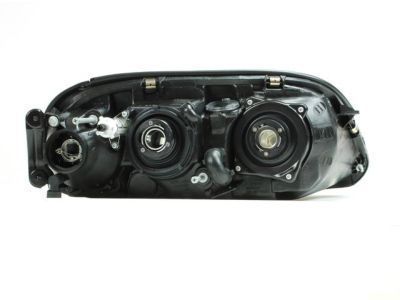
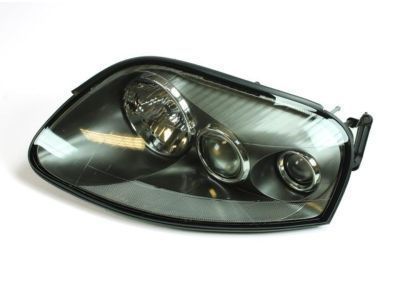
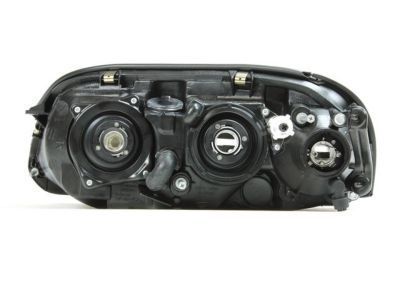
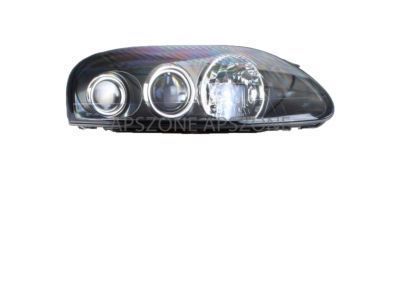
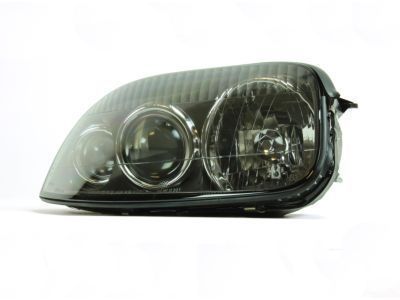
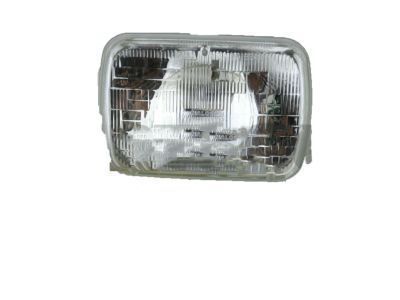
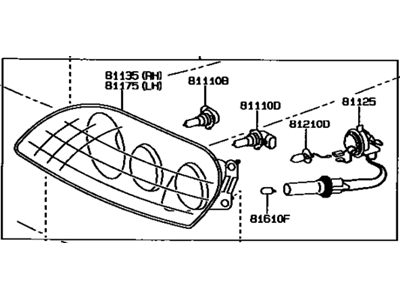
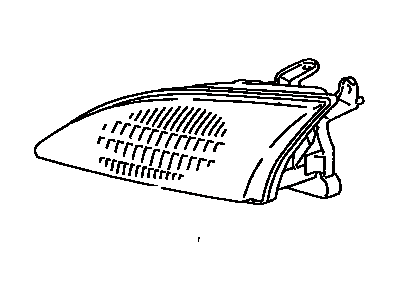
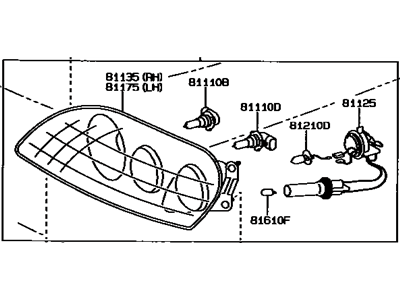
Toyota Supra Driver Side Headlight Unit Assembly
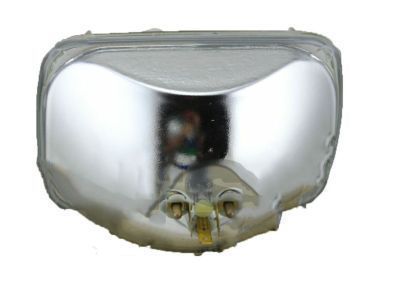
Part Number: 81151-1B241$494.27 MSRP: $737.35You Save: $243.08 (33%)Ships in 1-3 Business DaysToyota Supra Passenger Side Headlight Unit Assembly
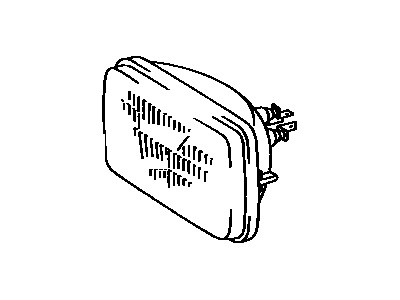
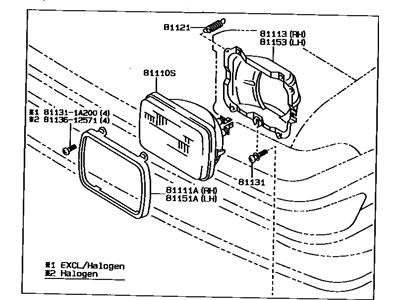
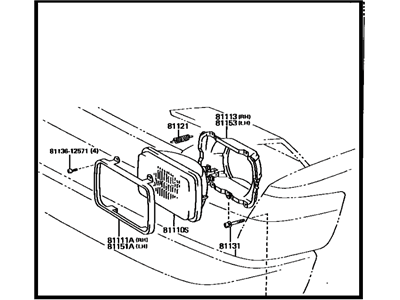
Part Number: 81111-1B241$494.27 MSRP: $737.35You Save: $243.08 (33%)Ships in 1-3 Business DaysToyota Supra Sealed Beam Unit No.1
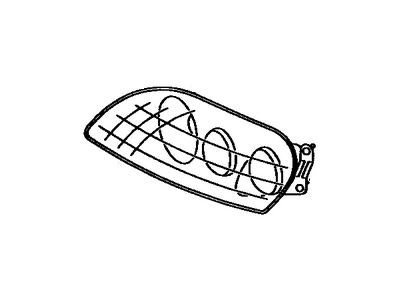
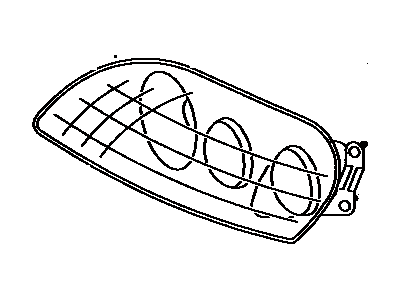
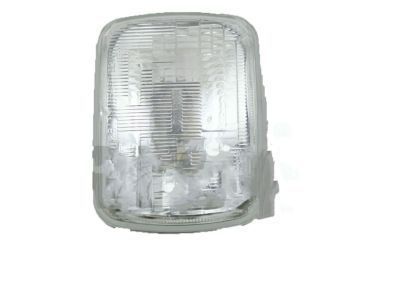
Part Number: 90981-04020$10.25 MSRP: $14.32You Save: $4.07 (29%)Ships in 1-3 Business DaysToyota Supra Driver Side Headlight Assembly
Part Number: 81150-1B241$496.13 MSRP: $740.13You Save: $244.00 (33%)
Toyota Supra Headlight
Headlight is an essential part in a car that represents the reliability and efficiency of the Toyota Supra brand. Meant to make readings clearer at night the Headlight also seeks to make the drivers and their automobiles more visible to other drivers. Different versions of the Toyota Supra have employed the halogen, LED and xenon or HID Headlight which have their own advantages. Clarified acrylic lenses, halogen lamps are cheap, while LED lamps are energy-efficient and long-lasting, so they use it in new Supra models. The xenon Headlight which produce a white or bluish light enhances the driving experience the interior the seats, are comfortable with adequate leg space, the dashboard has neat and easily usable controls. Range compatibility across different Toyota Supra models guarantees that the owners will always get an appropriate Headlight to ease or enhance consumption and safety while driving. In the list of automotive specifications and components and options the Headlight is one that does not only focuses on functional characteristics but also aesthetic features within the over-all appealing package of the automobile. Something that is true of the current generation Supra is continuity, Toyota Supra is still hailed for its engineering and the Headlight helps to uphold this tradition. Therefore, the Headlight is not only a light, but is a symbol of quality in the automotive industry as a result of innovation by Toyota.
If you are in demand for superior quality and affordable OEM Toyota Supra Headlight, then shop with us! We own a wide range of the reduced-priced genuine Toyota Supra Headlight. You can purchase in confidence as all parts come with a manufacturer's warranty. Any issues with our products? No need to worry as we have a hassle-free return policy to guide you every step of the way.
Toyota Supra Headlight Parts Questions & Experts Answers
- Q: How important is it to aim headlights correctly on Toyota Supra?A:Adjustment of the headlights should be carried out properly so that they do not dazzle other users or that they offer the right angles for best illumination while on the road. The headlights should be inspected for correct alignment at least once every year and whenever a headlight and or front end accessory is added or replaced. The adjustment process involves two screws: So there is one bar on top for the up and down motion and one on the side for the left and right motion. This type of adjustment is simple and necessitates only a blank wall, set twenty-five feet away from the vehicle, and a level floor. It is suggested that vertical marking on the wall should be done as far as possible from the vehicle and also with respect to the bisector of the vehicle width and both headlights and a horizontal marking line of masking tape should also be done. The vehicle should be stationary and should not be loaded; the tank of the vehicle should be half-full. Low beam adjustment should be set at the high intensity zone two inches below the horizontal line and two inches to the right of the vertical headlight line. For the sealed beam models there is a top screw which when turned clockwise will move the beam up and when turned anti clockwise, it will move the beam down.Similarly there is a side screw to move the beam leftward and rightward. For bulb-type headlights the top screw will shifted the assembly towards the right or left, while the bottom screw will tilt the assembly up or down. The high intensity zone should span just below the horizontal line while using the high beam In most scenarios, low beams are more applicable since they are safer for the drivers hence frequently used. One ought to take the car to a dealer's service department as soon as possible for the headlights to be properly aligned.
