
My Garage
My Account
Cart
Genuine Toyota Supra Radiator
Cooling Radiator- Select Vehicle by Model
- Select Vehicle by VIN
Select Vehicle by Model
orMake
Model
Year
Select Vehicle by VIN
For the most accurate results, select vehicle by your VIN (Vehicle Identification Number).
16 Radiators found
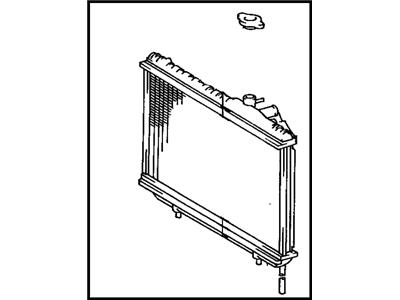
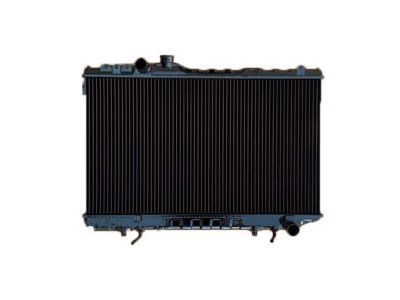
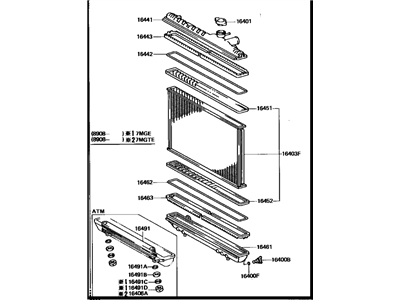
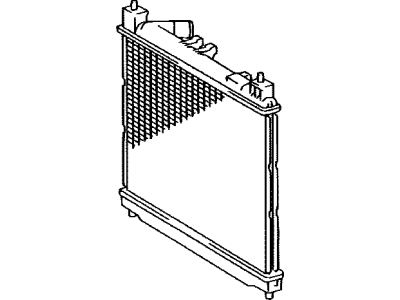
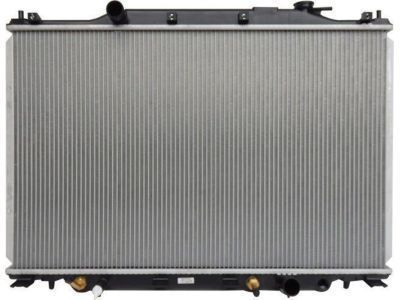
Toyota Supra Radiator Assembly
Part Number: 16400-42150$395.68 MSRP: $590.28You Save: $194.60 (33%)Ships in 1-3 Business Days
Toyota Supra Radiator
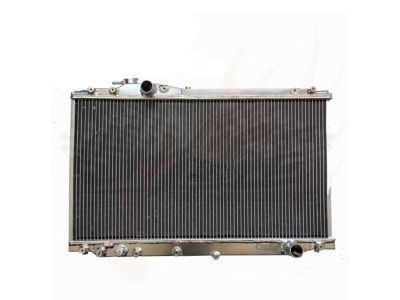
This Toyota Supra Radiator is the essential automotive part which contributes to controlling the engine heat build-up considerably. Thus, this heat exchanger plays the role of cooling by drawing heat from the engine coolant and dissipating heat to the air being blown through the radiator. The core of a Toyota Supra Radiator has most often aluminum with a plastic or aluminum tank, but copper/brass is also used. It is common to place a radiator at the front of a car as it takes advantage of the airflow; coolant circulates through the core tubes where it picks heat and the fins dissipate the same. The performance radiators for Toyota Supra automotive vehicles are usually lighter than the original equipment and are made of aluminum with enhanced designs for enhanced heat dissipation. Often, these radiators will have larger tubes and more fins per inch for better heat exchange to help reduce engine temperature. Kit models are also provided to ensure easy installation; this category includes high-Density and steel universal radiators. Even for street rods, custom cars and racing cars, Toyota Supra Radiators are specific in improving the cooling efficiency and improving the performance of cars.
If you are in demand for superior quality and affordable OEM Toyota Supra Radiator, then shop with us! We own a wide range of the reduced-priced genuine Toyota Supra Radiator. You can purchase in confidence as all parts come with a manufacturer's warranty. Any issues with our products? No need to worry as we have a hassle-free return policy to guide you every step of the way.
Toyota Supra Radiator Parts Questions & Experts Answers
- Q: How to remove and install a radiator in a Toyota Supra?A:Disconnect the cable from the negative terminal of the battery. Caution: If the stereo in your vehicle is equipped with an anti theft system, before detaching the cable. Drain the coolant. If the air cleaner housing is in the way, remove it. On models with a fan motor for the air conditioning condenser, unplug the condenser fan motor connector. On some models, you'll have to remove the lower shield to gain access to the lower hose clamps. Disconnect the upper and lower radiator hoses and the overflow hose. If the coolant reservoir hose is in the way, detach it from the reservoir. On models with automatic transmissions, wipe the area around the oil cooler pipe unions and then detach these pipes from the radiator. Plug the end to prevent dirt from entering the pipes and fluid loss. Remove the bolts that attach the upper radiator shroud to the lower half of the shroud. Remove the small bottom portion of the fan shroud by undoing the two retaining clips. Remove the upper radiator retaining bolts. Carefully lift the radiator, complete with the fan shroud, straight up and remove it. Take care not to damage the cooling fins, spill coolant on the vehicle or scratch the paint. Installation is the reverse of the removal procedure. After installation, fill the cooling system with the proper mixture of antifreeze and water. Start the engine and check for leaks. Allow the engine to reach normal operating temperature, indicated by the upper radiator hose becoming hot. Recheck the coolant level and add more if required. If you're working on an automatic transaxle equipped vehicle, check and add fluid as needed.
