
My Garage
My Account
Cart
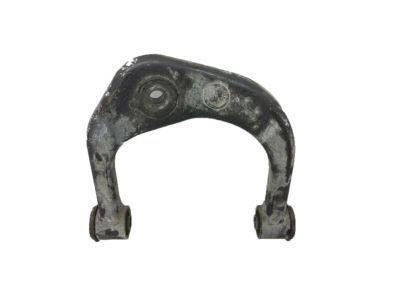
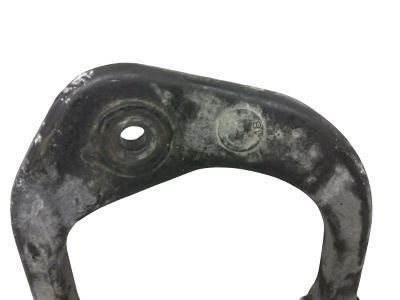
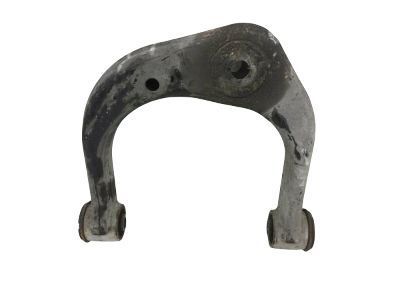
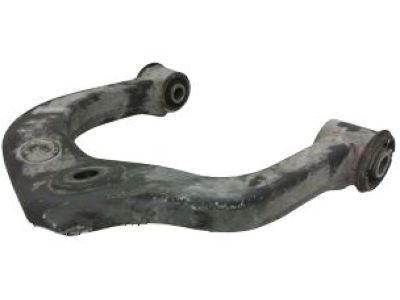
Genuine Toyota Tacoma Control Arm
Suspension Arm- Select Vehicle by Model
- Select Vehicle by VIN
Select Vehicle by Model
orMake
Model
Year
Select Vehicle by VIN
For the most accurate results, select vehicle by your VIN (Vehicle Identification Number).
40 Control Arms found
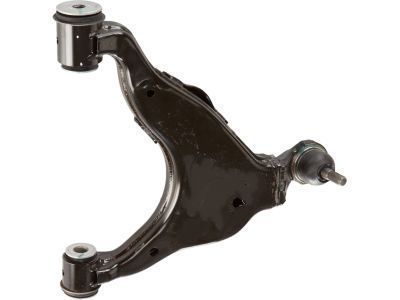
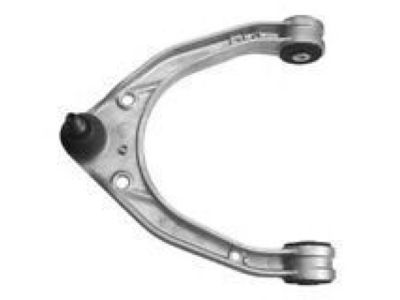
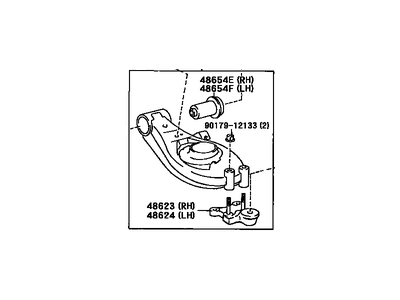
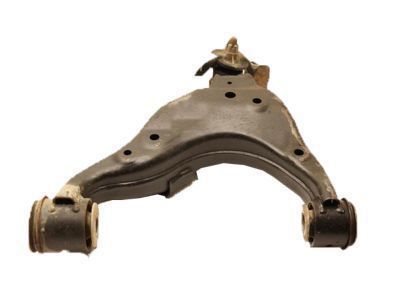
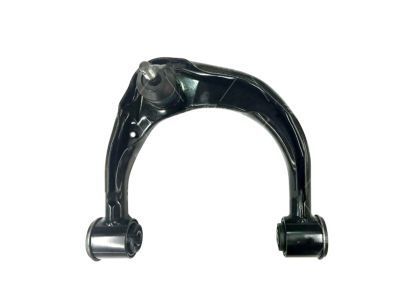
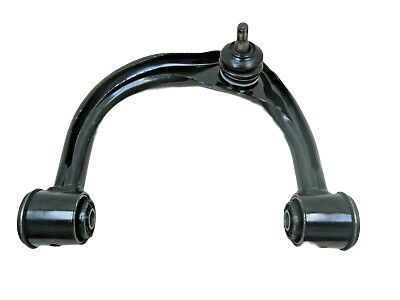
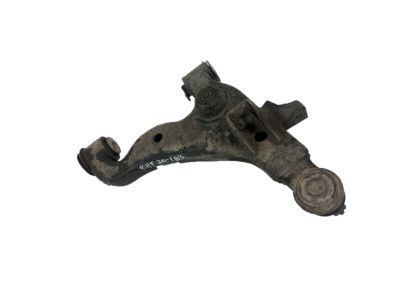
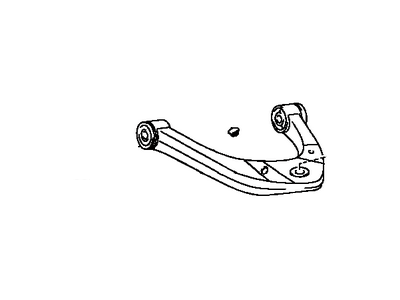
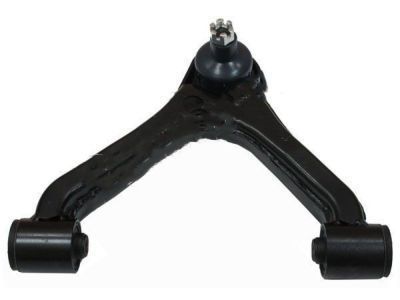
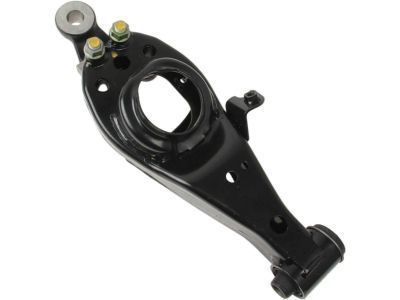
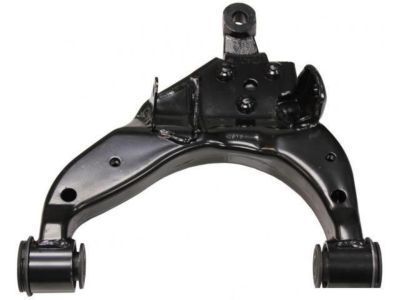
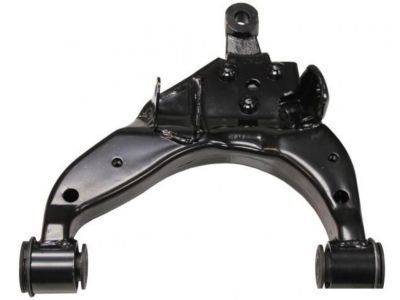
Toyota Tacoma Front Suspension Control Arm Sub-Assembly Lower Right
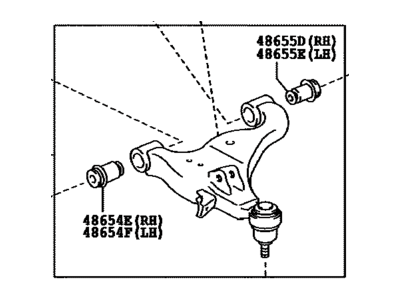
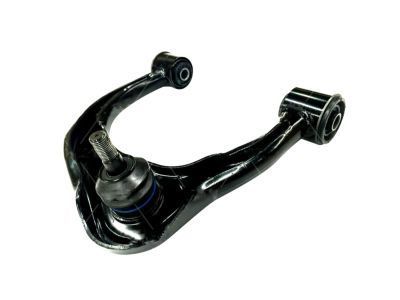
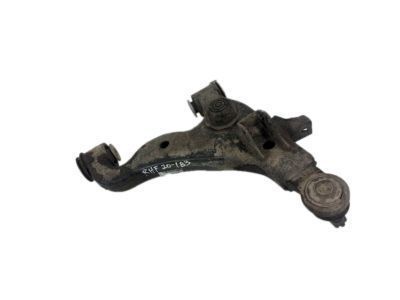
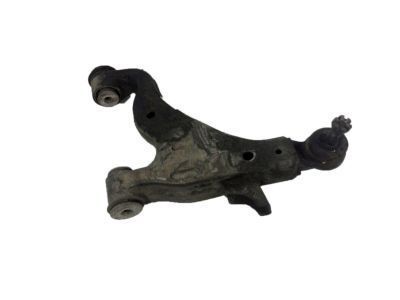
Part Number: 48068-04040$282.66 MSRP: $405.30You Save: $122.64 (31%)Toyota Tacoma Front Suspension Control Arm Sub-Assembly Lower Left
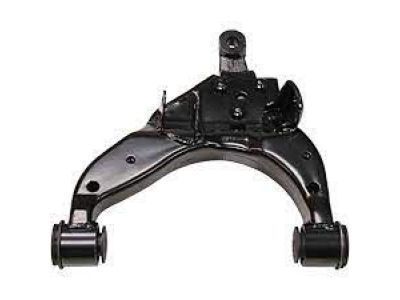
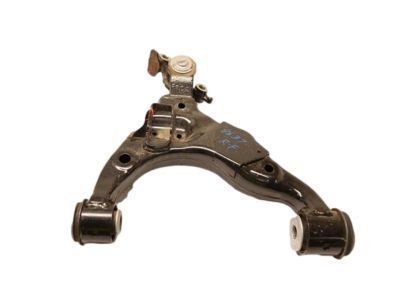
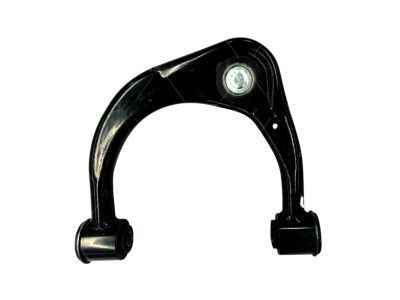
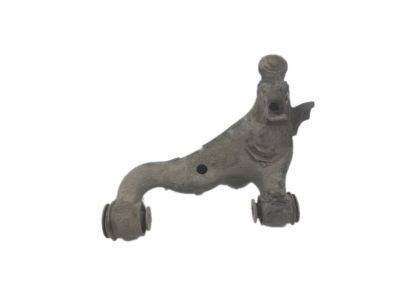
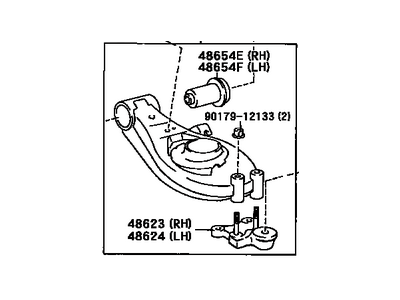
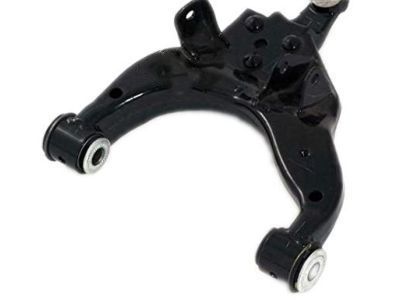
Part Number: 48069-04040$270.98 MSRP: $388.55You Save: $117.57 (31%)Toyota Tacoma Suspension Control Arm Assembly
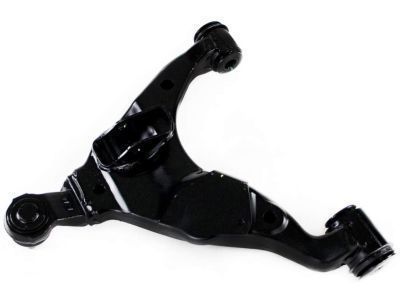
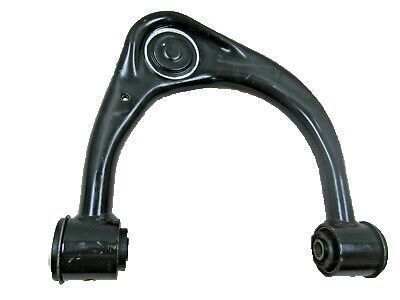
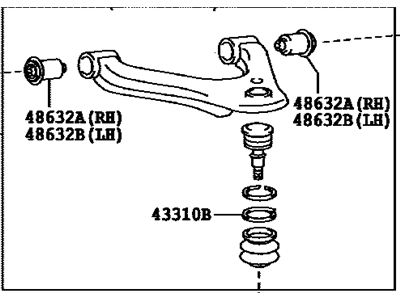
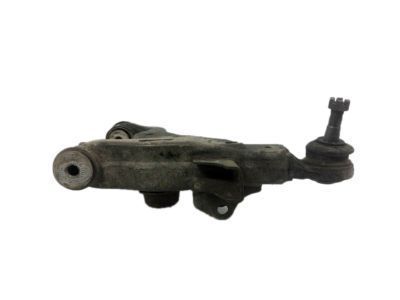
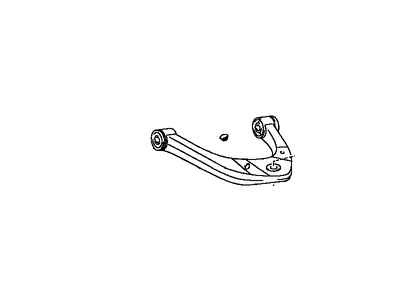
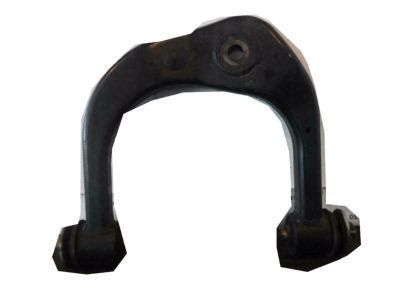
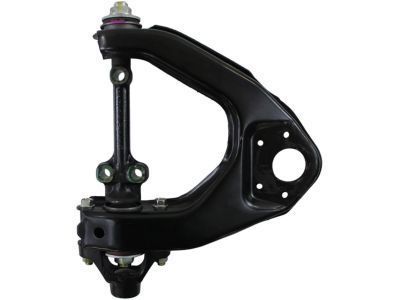
Part Number: 48610-04021$283.84 MSRP: $407.00You Save: $123.16 (31%)Ships in 1-2 Business DaysToyota Tacoma Front Suspension Control Arm Sub-Assembly Lower Left
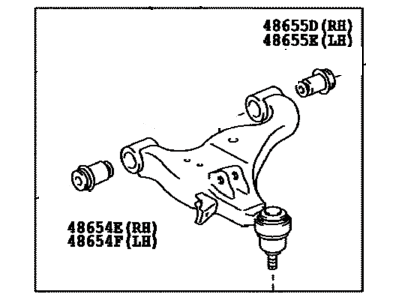
Part Number: 48069-35120$209.73 MSRP: $300.73You Save: $91.00 (31%)Toyota Tacoma Front Suspension Control Arm Sub-Assembly
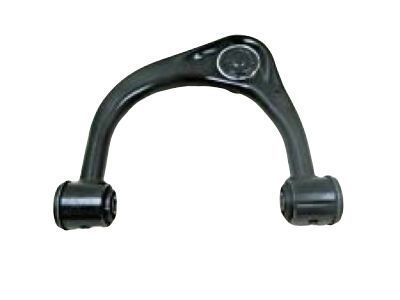
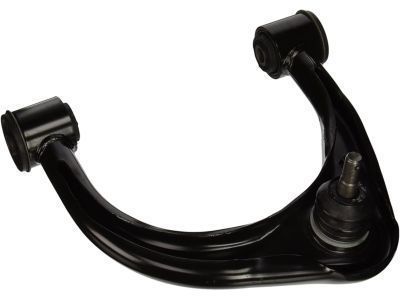
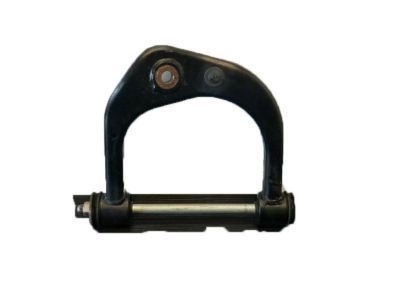
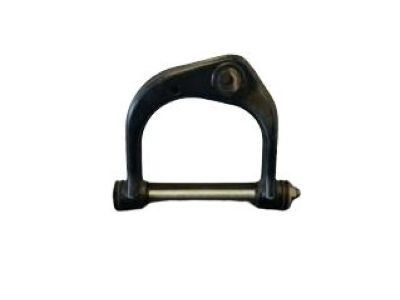
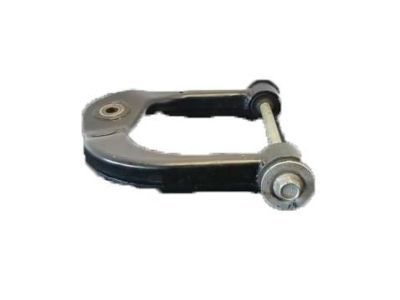
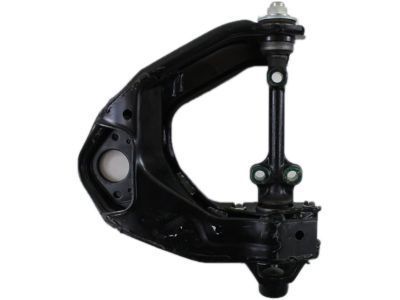
Part Number: 48068-04060$276.88 MSRP: $397.03You Save: $120.15 (31%)Toyota Tacoma Front Suspension Upper Control Arm Assembly Right
Part Number: 48610-04020$283.84 MSRP: $407.00You Save: $123.16 (31%)Ships in 1-2 Business DaysToyota Tacoma Suspension Control Arm Assembly
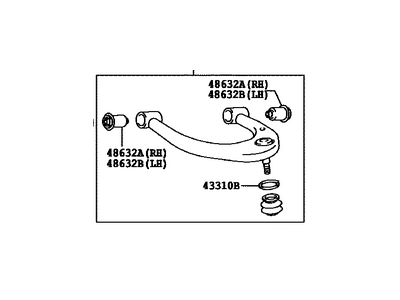
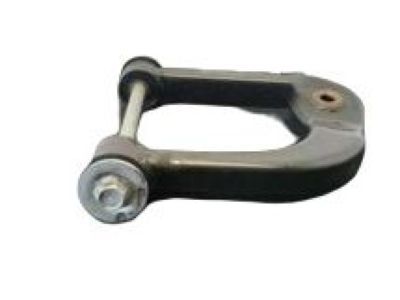
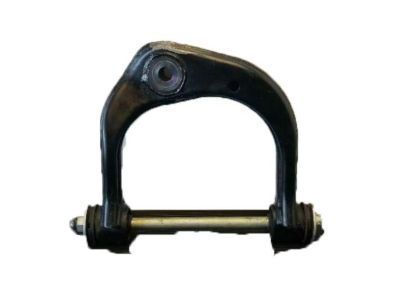
Part Number: 48630-04021$283.84 MSRP: $407.00You Save: $123.16 (31%)Ships in 1-3 Business DaysToyota Tacoma Front Suspension Upper Control Arm Assembly Left
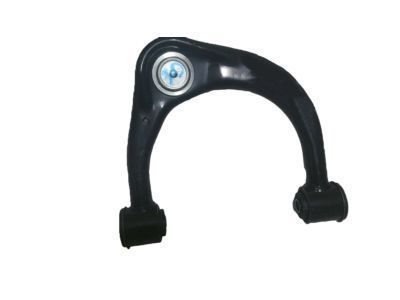
Part Number: 48630-04020$283.84 MSRP: $407.00You Save: $123.16 (31%)Ships in 1-2 Business DaysToyota Tacoma Front Suspension Control Arm Sub-Assembly Lower Right
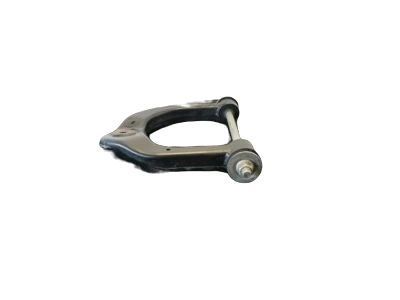
Part Number: 48068-04030$245.13 MSRP: $351.50You Save: $106.37 (31%)Ships in 1-3 Business DaysToyota Tacoma Front Suspension Upper Control Arm Assembly Left
Part Number: 48630-35030$222.36 MSRP: $318.85You Save: $96.49 (31%)Ships in 1-2 Business DaysToyota Tacoma Front Suspension Upper Control Arm Assembly Right
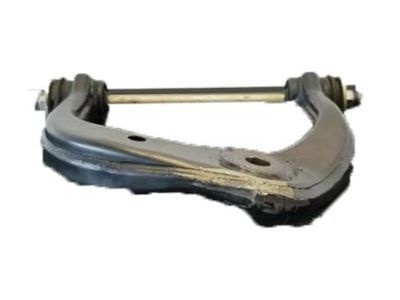
Part Number: 48610-35050$227.58 MSRP: $326.34You Save: $98.76 (31%)Ships in 1-2 Business DaysToyota Tacoma Front Suspension Upper Control Arm Assembly Right
Part Number: 48610-35030$193.48 MSRP: $277.43You Save: $83.95 (31%)Ships in 1-3 Business DaysToyota Tacoma Front Suspension Control Arm Sub-Assembly Lower Left
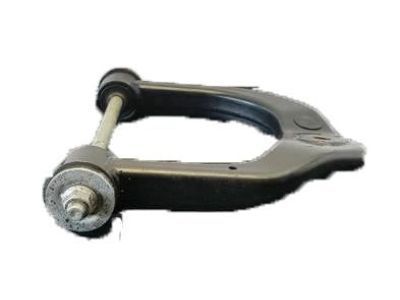
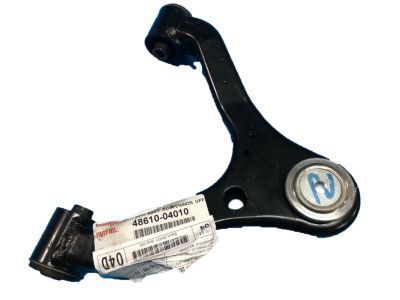
Part Number: 48069-04030$245.13 MSRP: $351.50You Save: $106.37 (31%)Ships in 1-3 Business DaysToyota Tacoma Front Suspension Upper Control Arm Assembly Right
Part Number: 48610-04010$281.75 MSRP: $404.01You Save: $122.26 (31%)Ships in 1-3 Business DaysToyota Tacoma Front Suspension Upper Control Arm Assembly Left
Part Number: 48630-35010$227.58 MSRP: $326.34You Save: $98.76 (31%)Ships in 1-3 Business DaysToyota Tacoma Upper Control Arm Assembly Left
Part Number: 48630-04010$281.75 MSRP: $404.01You Save: $122.26 (31%)Ships in 1-3 Business DaysToyota Tacoma Front Suspension Control Arm Sub-Assembly Lower Right
Part Number: 48068-35110$173.73 MSRP: $246.99You Save: $73.26 (30%)Ships in 1-3 Business DaysToyota Tacoma Front Suspension Control Arm Sub-Assembly Lower Left
Part Number: 48069-35110$133.93 MSRP: $190.41You Save: $56.48 (30%)Ships in 1-3 Business DaysToyota Tacoma Front Suspension Control Arm Sub-Assembly Lower Right
Part Number: 48068-35120$212.06 MSRP: $304.08You Save: $92.02 (31%)Toyota Tacoma Front Suspension Control Arm Sub-Assembly Lower Right
Part Number: 48068-04011$212.06 MSRP: $304.08You Save: $92.02 (31%)
| Page 1 of 2 |Next >
1-20 of 40 Results
Toyota Tacoma Control Arm
If you are in demand for superior quality and affordable OEM Toyota Tacoma Control Arm, then shop with us! We own a wide range of the reduced-priced genuine Toyota Tacoma Control Arm. You can purchase in confidence as all parts come with a manufacturer's warranty. Any issues with our products? No need to worry as we have a hassle-free return policy to guide you every step of the way.
Toyota Tacoma Control Arm Parts Questions & Experts Answers
- Q: How to replace the lower control arm on 2005 through 2009 Toyota Tacoma?A:Loosen the wheel lug nuts, raise the front of the vehicle, and support it securely on jackstands while applying the parking brake before removing the wheel. For 2WD models (except PreRunner), remove the stabilizer bar link from the lower control arm. Unbolt the Shock Absorber/coil spring assembly from the lower control arm and remove the bracket mounting bolts that hold the control arm to the steering knuckle at the balljoint. Make alignment marks on both sides of the front and rear pivot fasteners where the cam adjusters meet the frame, ensuring they are marked distinctly to avoid confusion, then remove the pivot bolts and detach the control arm from the frame. Inspect the bushings for wear and deterioration; if they are cracked or damaged, take the arm to an automotive machine shop for new bushings. If replacing the lower control arm, separate the bracket from the balljoint after removing the control arm by securing the arm, removing the cotter pin from the ballstud, loosening the lower balljoint nut about 1/4 inch, and using a two-jaw puller or balljoint separator to detach the balljoint from the bracket. Installation is the reverse of removal, ensuring that the alignment marks are lined up and all suspension fasteners are tightened to the specified torque values, using a new cotter pin and castle nut on the lower control arm balljoint, and adjusting the castle nut as needed to align the hole in the ballstud with the slots in the nut without loosening it. The pivot bolts should be tightened with the vehicle at normal ride height, which can be achieved after assembly by lowering the vehicle to the ground and bouncing it a few times or by raising the lower control arm with a floor jack. Finally, tighten the lug nuts to the specified torque and have the wheel alignment checked and adjusted if necessary.
Related Toyota Tacoma Parts
Browse by Year
2025 Control Arm 2024 Control Arm 2023 Control Arm 2022 Control Arm 2021 Control Arm 2020 Control Arm 2019 Control Arm 2018 Control Arm 2017 Control Arm 2016 Control Arm 2015 Control Arm 2014 Control Arm 2013 Control Arm 2012 Control Arm 2011 Control Arm 2010 Control Arm 2009 Control Arm 2008 Control Arm 2007 Control Arm 2006 Control Arm 2005 Control Arm 2004 Control Arm 2003 Control Arm 2002 Control Arm 2001 Control Arm 2000 Control Arm 1999 Control Arm 1998 Control Arm 1997 Control Arm 1996 Control Arm 1995 Control Arm
