
My Garage
My Account
Cart
Genuine Toyota Tacoma Hood Cable
Hood Release Cable- Select Vehicle by Model
- Select Vehicle by VIN
Select Vehicle by Model
orMake
Model
Year
Select Vehicle by VIN
For the most accurate results, select vehicle by your VIN (Vehicle Identification Number).
15 Hood Cables found
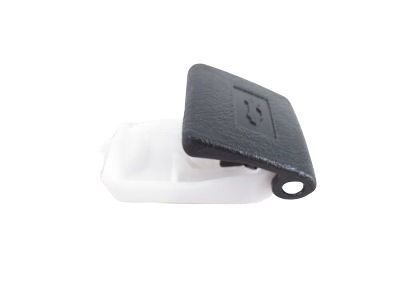
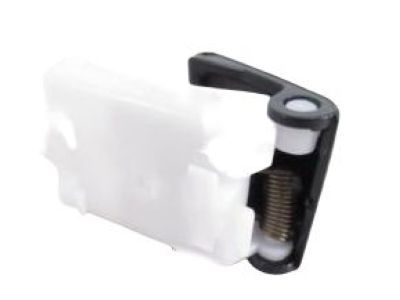
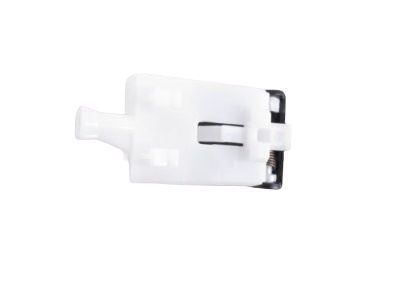
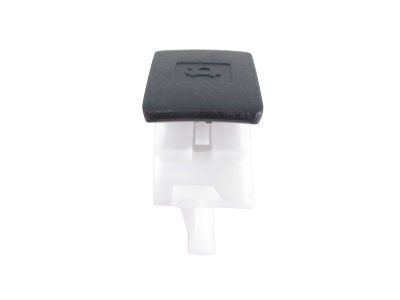
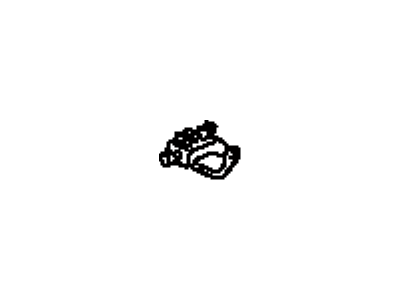
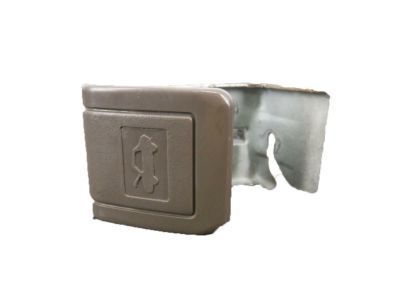
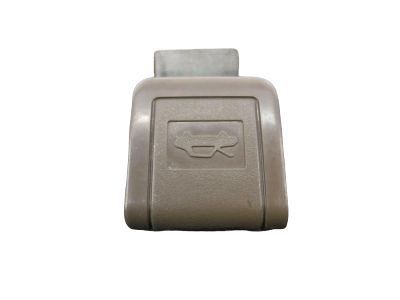
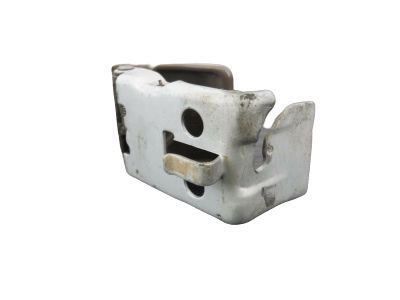
Toyota Tacoma Hood Lever Sub-Assembly
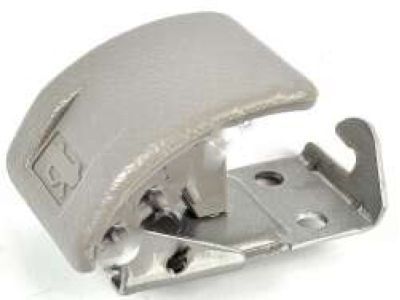
Part Number: 53601-02020-C0$55.92 MSRP: $78.16You Save: $22.24 (29%)Ships in 1-2 Business DaysToyota Tacoma Hood Lever Sub-Assembly
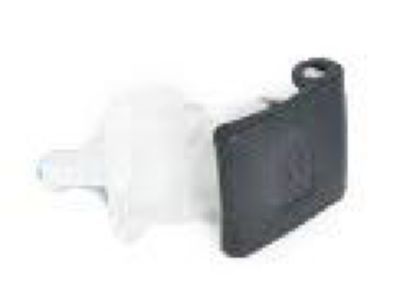
Part Number: 53601-02020-C3$42.47 MSRP: $59.36You Save: $16.89 (29%)Ships in 1-3 Business DaysToyota Tacoma Hood Lock Control Cable Assembly
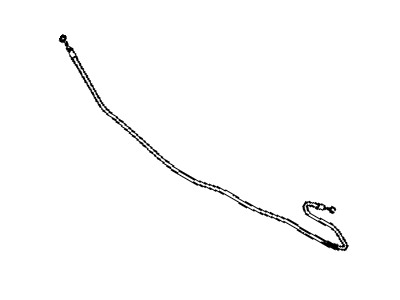
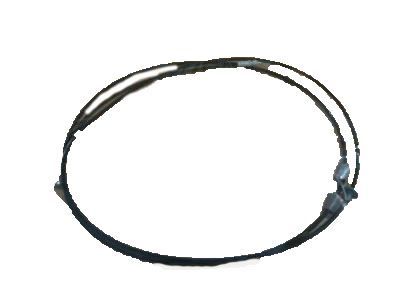
Part Number: 53630-04050$31.88 MSRP: $44.56You Save: $12.68 (29%)Toyota Tacoma Hood Lock Control Cable Assembly
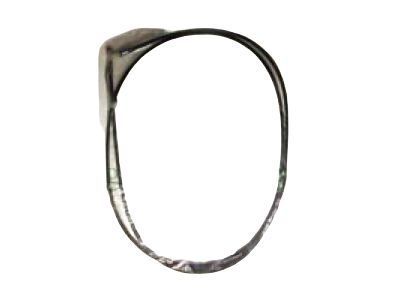
Part Number: 53630-04040$35.33 MSRP: $49.39You Save: $14.06 (29%)Toyota Tacoma Hood Lock Control Lever Sub-Assembly
Part Number: 53601-02020-B2$46.87 MSRP: $65.52You Save: $18.65 (29%)Ships in 1-3 Business DaysToyota Tacoma Hood Lever Sub-Assembly
Part Number: 53601-02040-C0$46.16 MSRP: $64.52You Save: $18.36 (29%)Ships in 1-3 Business DaysToyota Tacoma Cable Assembly, Hood Loc
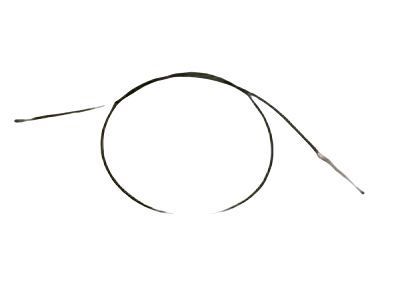
Part Number: 53630-04051$34.14 MSRP: $47.72You Save: $13.58 (29%)Ships in 1-3 Business DaysToyota Tacoma Hood Lock Control Lever Sub-Assembly
Part Number: 53601-02020-E3$46.87 MSRP: $65.52You Save: $18.65 (29%)Ships in 1-2 Business DaysToyota Tacoma Hood Lock Control Lever Sub-Assembly
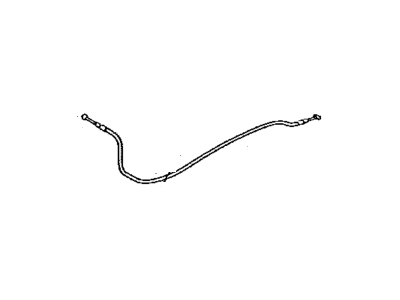
Part Number: 53601-02020-E1$53.78 MSRP: $75.17You Save: $21.39 (29%)Ships in 1-3 Business DaysToyota Tacoma CABLE ASSY, HOOD LOC
Part Number: 53630-AK010$31.82 MSRP: $44.48You Save: $12.66 (29%)Ships in 1-2 Business DaysToyota Tacoma Hood Lock Control Lever Sub-Assembly
Part Number: 53601-01020-B2$51.77 MSRP: $72.35You Save: $20.58 (29%)Ships in 1-3 Business Days
Toyota Tacoma Hood Cable
If you are in demand for superior quality and affordable OEM Toyota Tacoma Hood Cable, then shop with us! We own a wide range of the reduced-priced genuine Toyota Tacoma Hood Cable. You can purchase in confidence as all parts come with a manufacturer's warranty. Any issues with our products? No need to worry as we have a hassle-free return policy to guide you every step of the way.
Toyota Tacoma Hood Cable Parts Questions & Experts Answers
- Q: How to remove and install the Hood Cable and Hood Latch on a 2005 through 2009 Toyota Tacoma?A:Remove the radiator grill. Next remove the hood latch cover cylinder by unscrewing the mounting bolts and distinguish the position of the hood latch relative to the radiator support for the reassembly process. After that the mounting bolts and the latch assembly is to be taken off while the iterations of the hood latch whether it be horizontal or vertical is to be made if necessary. If the car has a hood cable disconnect it from the latch by pulling on the clips that hold the cable receptor to the small bracket and then unhook the cable from the lever. Installation on the other hand is in the reverse order that removal was done through the index marks that are put there to align the latch. Inside the cabin, pull the hood cable out of its clip in the lever and gently slide it out of the groove. Remove the cable end from the lever connection; free the lever assembly if needed-to do this, there's a retaining tab; to free it, pull it outwards while pushing it towards the firewall. Take a thin wire or string and fasten it to the end of the said cable. Starting from the driver's side the cab release cable should be removed from the hood latch by pulling the cable and following the cable surge toward the firewall and removing clips which hold the cable in place. Slide the cable towards you until you can see the wire/string; then, detach it from the previous cable and attach it to the new cable. Now, with the new cable in place, return the wire or the string through the firewall grommet in the passenger area up to the lever of the hood. When replacing the new cable make sure the cable housing is properly engaged in the retainer slot of the assembly. The rest of the installation proceeds in a backward order to the removal process that was explained above.
Related Toyota Tacoma Parts
Browse by Year
2025 Hood Cable 2024 Hood Cable 2023 Hood Cable 2022 Hood Cable 2021 Hood Cable 2020 Hood Cable 2019 Hood Cable 2018 Hood Cable 2017 Hood Cable 2016 Hood Cable 2015 Hood Cable 2014 Hood Cable 2013 Hood Cable 2012 Hood Cable 2011 Hood Cable 2010 Hood Cable 2009 Hood Cable 2008 Hood Cable 2007 Hood Cable 2006 Hood Cable 2005 Hood Cable 2004 Hood Cable 2003 Hood Cable 2002 Hood Cable 2001 Hood Cable 2000 Hood Cable 1999 Hood Cable 1998 Hood Cable 1997 Hood Cable 1996 Hood Cable 1995 Hood Cable
