
My Garage
My Account
Cart
Genuine Toyota Tacoma Sway Bar Link
Stabilizer Sway Bar Link- Select Vehicle by Model
- Select Vehicle by VIN
Select Vehicle by Model
orMake
Model
Year
Select Vehicle by VIN
For the most accurate results, select vehicle by your VIN (Vehicle Identification Number).
13 Sway Bar Links found
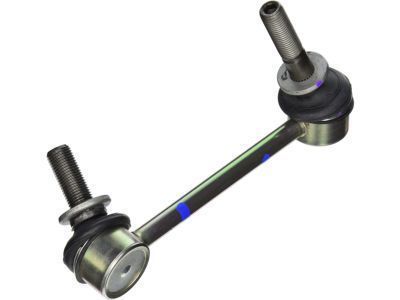
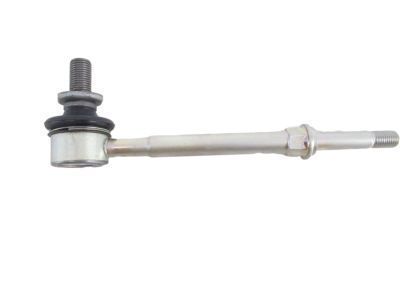
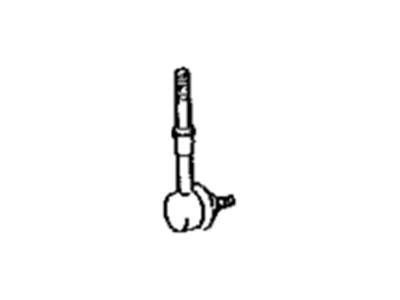
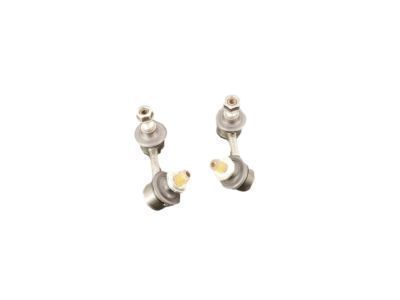
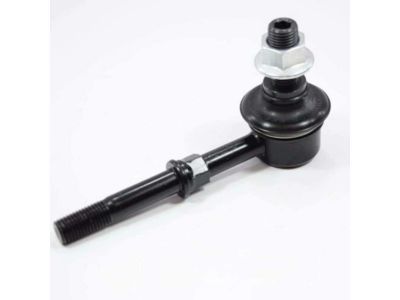
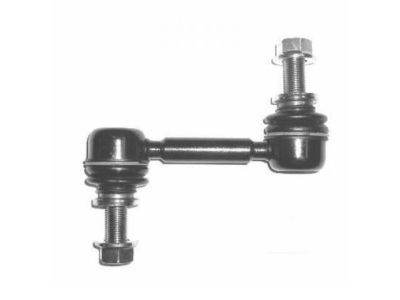
Toyota Tacoma Right Front Suspension Stabilizer Bar Link Kit
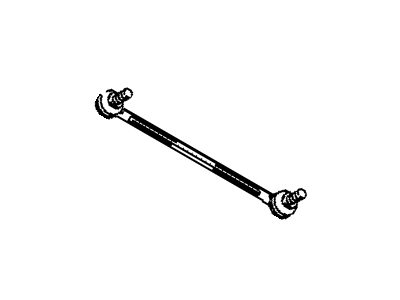
Part Number: 48820-04020$111.03 MSRP: $156.50You Save: $45.47 (30%)Toyota Tacoma Left Front Suspension Stabilizer Bar Link Kit
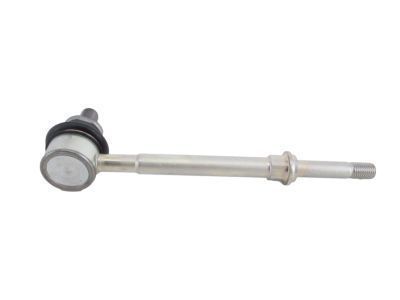
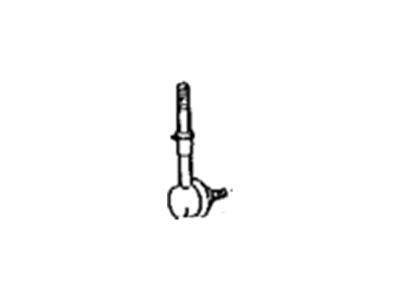
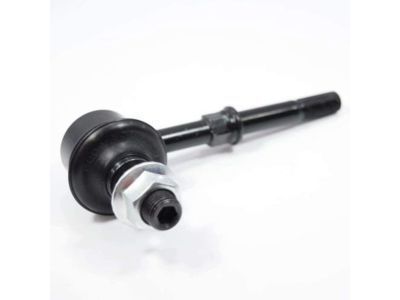
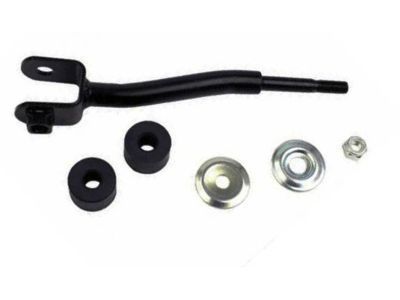
Part Number: 48810-04010$112.09 MSRP: $158.00You Save: $45.91 (30%)Toyota Tacoma Driver Side Front Stabilizer Link Assembly
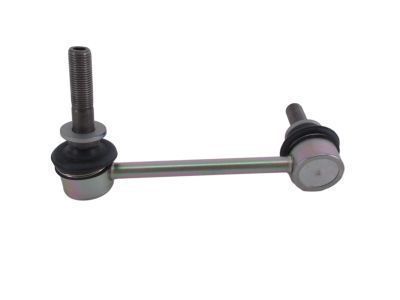
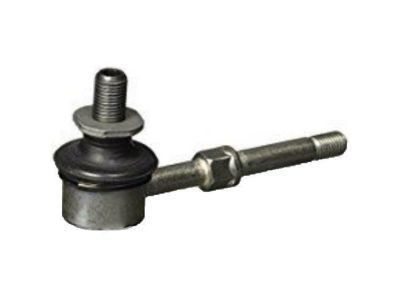
Part Number: 48820-AD010$93.21 MSRP: $131.39You Save: $38.18 (30%)Ships in 1-2 Business DaysToyota Tacoma Right Front Suspension Stabilizer Bar Link Kit
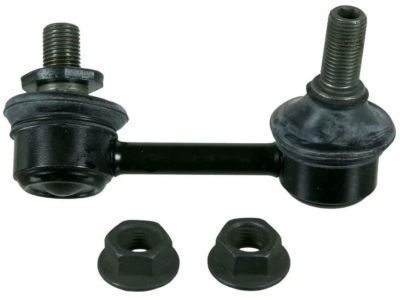
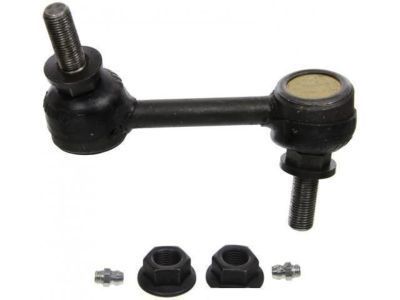
Part Number: 48820-35040$66.54 MSRP: $93.80You Save: $27.26 (30%)Ships in 1-3 Business DaysToyota Tacoma Left Front Suspension Stabilizer Bar Link Kit
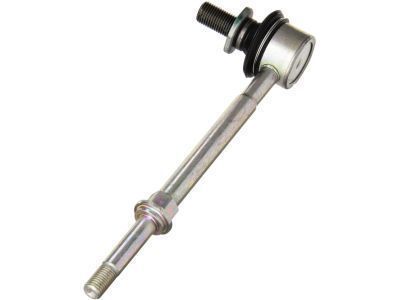
Part Number: 48810-35020$66.54 MSRP: $93.80You Save: $27.26 (30%)Ships in 1-3 Business DaysToyota Tacoma Passenger Side Front Stabilizer Link Assembly
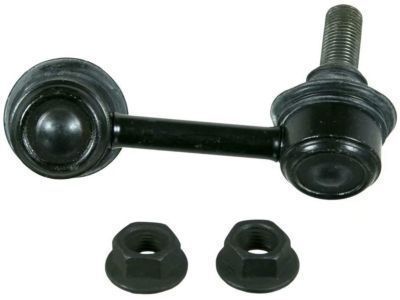
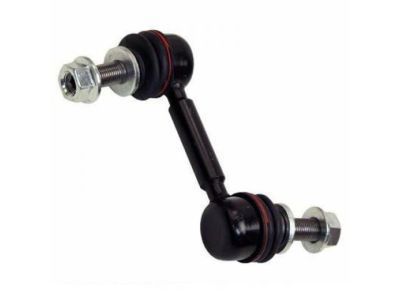
Part Number: 48820-35021$66.54 MSRP: $93.80You Save: $27.26 (30%)Ships in 1-3 Business DaysToyota Tacoma Driver Side Front Stabilizer Link Assembly
Part Number: 48820-35020$66.54 MSRP: $93.80You Save: $27.26 (30%)Ships in 1-3 Business DaysToyota Tacoma Rear Stabilizer Link Assembly
Part Number: 48830-AD020$112.09 MSRP: $158.00You Save: $45.91 (30%)Ships in 1-3 Business DaysToyota Tacoma Front Stabilizer Link Assembly
Part Number: 48810-60100$64.77 MSRP: $91.30You Save: $26.53 (30%)Ships in 1-2 Business DaysToyota Tacoma LINK ASSY, RR STABIL
Part Number: 48840-AK010$72.32 MSRP: $101.94You Save: $29.62 (30%)Ships in 1-2 Business DaysToyota Tacoma Rear Stabilizer Link Assembly
Part Number: 48830-AK010$72.32 MSRP: $101.94You Save: $29.62 (30%)Toyota Tacoma Front Stabilizer Link Assembly
Part Number: 48820-60150$64.77 MSRP: $91.30You Save: $26.53 (30%)
Toyota Tacoma Sway Bar Link
Thus, the Toyota Tacoma Sway Bar Link can be described as an essential element that increases the performance and durability of the suspension system. Through joining the sway bar with the control arm, the Sway Bar Link controls the body roll during cornering and increases the desirable load shift and maneuverability. This feature is quite relevant especially for different models and contributes to the stability of car handling under conditions of sharp turns or irregular territories. Today, the Toyota Tacoma is one of the highly reliable and efficient pickups out there, and the Sway Bar Link exemplifies this attribute. As a component of the suspension system, the Sway Bar Link is responsible for smooth connection between the sway bar and the control arm, meaning that it chiefly affects not only safety but the comfort as well, of a Toyota car. Over the years, the Toyota Tacoma has gone through several generations and has experienced a change in the Sway Bar Link, thus the compatibility. However, one that has received tremendous acknowledgment in the market is the Sway Bar Link that is well built to handle and is known to be very reliable hence ideal for any driver. Therefore, the Toyota Tacoma is hailed for its standout performance with the Sway Bar Link being a critical component of the car's highly acclaimed design.
If you are in demand for superior quality and affordable OEM Toyota Tacoma Sway Bar Link, then shop with us! We own a wide range of the reduced-priced genuine Toyota Tacoma Sway Bar Link. You can purchase in confidence as all parts come with a manufacturer's warranty. Any issues with our products? No need to worry as we have a hassle-free return policy to guide you every step of the way.
Toyota Tacoma Sway Bar Link Parts Questions & Experts Answers
- Q: How to remove and replace the front Sway Bar Bushing,Sway Bar Kit and Sway Bar Link on 2005 through 2009 Toyota Tacoma?A:Raise the front of the vehicle and support it securely on jackstands. Remove the nuts from the sway bar links and detach the links from the bar, also removing the nuts attaching the links to the steering knuckles for 4WD or Pre-Runner models, or to the lower Control Arms for 2WD models, then remove the links. On 2WD models, remove the rubber bushings from the top of the link, using an Allen wrench to prevent the ballstud from turning when necessary. Remove the sway bar bushing bracket bolts and brackets to separate the sway bar from the frame, noting the position of the bushing against the sleeve on the bar. Remove the sway bar kit and the rubber bushings from it, taking note of the position of the slit openings. Inspect the rubber bushings for cracks, tears, and deterioration, replacing them if worn or damaged. Check the balljoints on the ends of each link for looseness or excessive wear, measuring the rotational torque required to turn the balljoint with an inch-pound torque wrench and comparing the reading to the specified value. Install the rubber bushings against the bushing stoppers on the sway bar with the slit openings facing towards the front, and complete the installation by reversing the removal process, ensuring all fasteners are tightened to the specified torque values.
Related Toyota Tacoma Parts
Browse by Year
2025 Sway Bar Link 2024 Sway Bar Link 2023 Sway Bar Link 2022 Sway Bar Link 2021 Sway Bar Link 2020 Sway Bar Link 2019 Sway Bar Link 2018 Sway Bar Link 2017 Sway Bar Link 2016 Sway Bar Link 2015 Sway Bar Link 2014 Sway Bar Link 2013 Sway Bar Link 2012 Sway Bar Link 2011 Sway Bar Link 2010 Sway Bar Link 2009 Sway Bar Link 2008 Sway Bar Link 2007 Sway Bar Link 2006 Sway Bar Link 2005 Sway Bar Link 2004 Sway Bar Link 2003 Sway Bar Link 2002 Sway Bar Link 2001 Sway Bar Link 2000 Sway Bar Link 1999 Sway Bar Link 1998 Sway Bar Link 1997 Sway Bar Link 1996 Sway Bar Link 1995 Sway Bar Link
