
My Garage
My Account
Cart
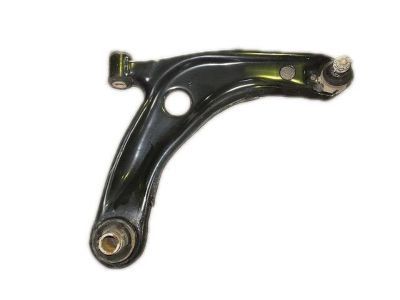
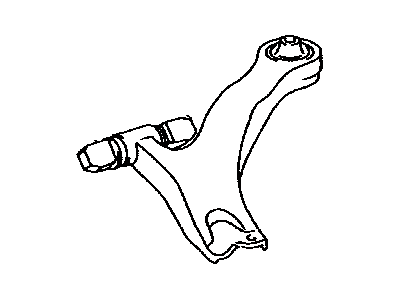
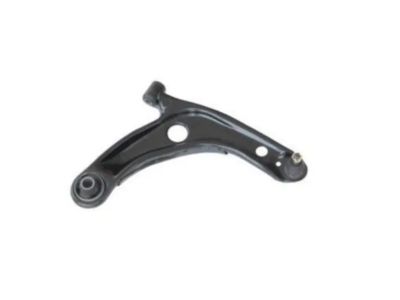
Genuine Toyota Yaris Control Arm
Suspension Arm- Select Vehicle by Model
- Select Vehicle by VIN
Select Vehicle by Model
orMake
Model
Year
Select Vehicle by VIN
For the most accurate results, select vehicle by your VIN (Vehicle Identification Number).
10 Control Arms found
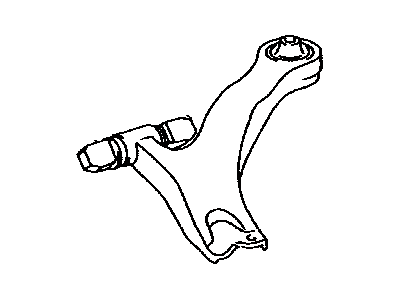
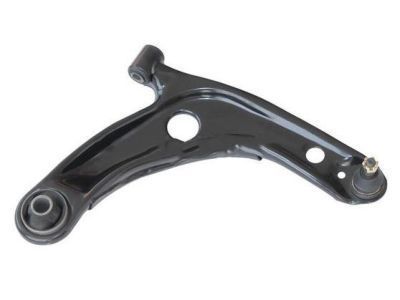
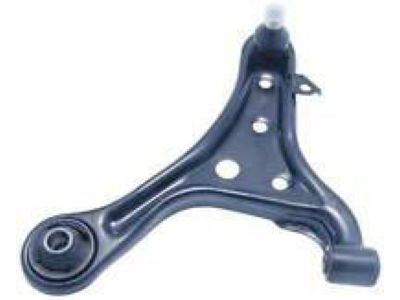
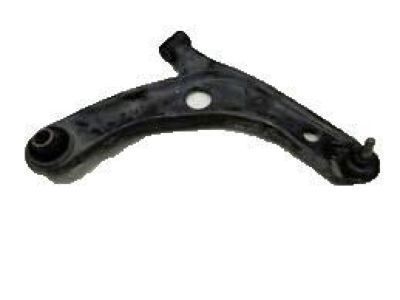
Toyota Yaris Front Suspension Control Arm Sub-Assembly No.1 Right
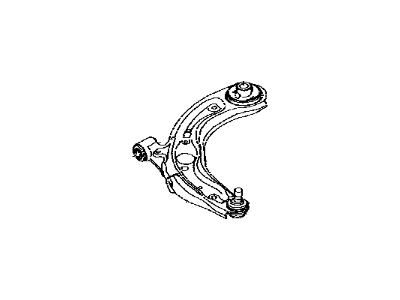
Part Number: 48068-59145$216.84 MSRP: $310.93You Save: $94.09 (31%)Ships in 1-3 Business DaysToyota Yaris No.1 Left Front Suspension Control Arm Sub-Assembly
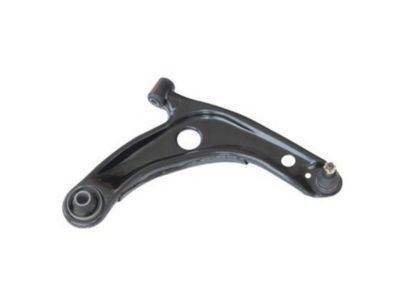
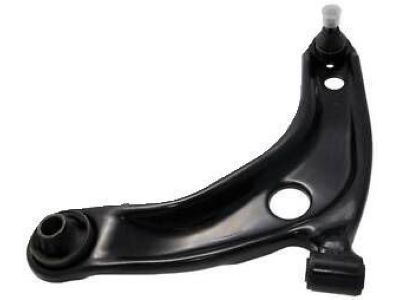
Part Number: 48069-59135$212.13 MSRP: $304.18You Save: $92.05 (31%)Ships in 1-3 Business DaysToyota Yaris Front Suspension Control Arm Sub-Assembly Lower Right
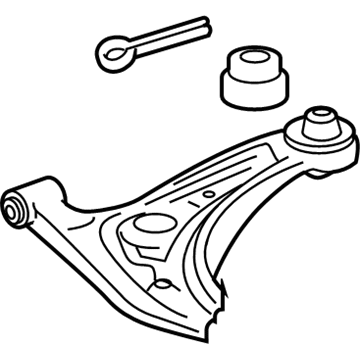
Part Number: 48068-59095$216.84 MSRP: $310.93You Save: $94.09 (31%)Ships in 1-2 Business DaysToyota Yaris Front Suspension Control Arm Sub-Assembly Lower Left
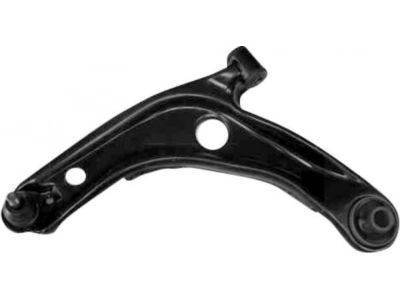
Part Number: 48069-59095$212.13 MSRP: $304.18You Save: $92.05 (31%)Ships in 1-2 Business DaysToyota Yaris Suspension Control Arm Sub-Assembly
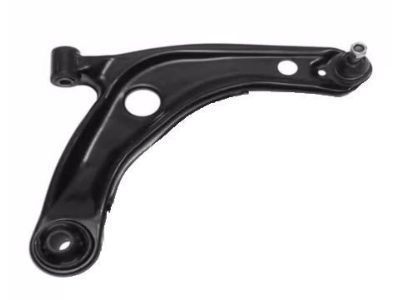
Part Number: 48068-WB002$131.54 MSRP: $187.01You Save: $55.47 (30%)Ships in 1-3 Business DaysToyota Yaris Front Suspension Control Arm Sub-Assembly No.1 Right
Part Number: 48068-59135$216.84 MSRP: $310.93You Save: $94.09 (31%)Ships in 1-3 Business DaysToyota Yaris Suspension Control Arm Sub-Assembly
Part Number: 48069-WB002$131.54 MSRP: $187.01You Save: $55.47 (30%)Ships in 1-3 Business DaysToyota Yaris Front Suspension Control Arm Sub-Assembly No.1 Left
Part Number: 48069-59125$212.13 MSRP: $304.18You Save: $92.05 (31%)Ships in 1-3 Business DaysToyota Yaris Front Suspension Control Arm Sub-Assembly No.1 Right
Part Number: 48068-09150$252.52 MSRP: $362.10You Save: $109.58 (31%)Ships in 1-3 Business DaysToyota Yaris No.1 Left Front Suspension Control Arm Sub-Assembly
Part Number: 48069-09140$242.78 MSRP: $348.13You Save: $105.35 (31%)Ships in 1-2 Business Days
Toyota Yaris Control Arm
If you are in demand for superior quality and affordable OEM Toyota Yaris Control Arm, then shop with us! We own a wide range of the reduced-priced genuine Toyota Yaris Control Arm. You can purchase in confidence as all parts come with a manufacturer's warranty. Any issues with our products? No need to worry as we have a hassle-free return policy to guide you every step of the way.
Toyota Yaris Control Arm Parts Questions & Experts Answers
- Q: How to remove, overhaul, and refit the Control arm on Toyota Yaris?A:To remove the lower arm, start by loosening the front wheel nuts on the relevant side, applying the handbrake, jacking up the front of the car, and securely supporting it on axle stands. Next, take off the roadwheel and the engine lower cover. Remove the spring clip and unscrew the lower arm balljoint nut, then push the end of the lower arm down to detach the balljoint from the swivel hub, using a large screwdriver if necessary while being careful not to damage the rubber seal. Hold the drop link against rotation with a spanner and remove the lower nut to disconnect it from the lower arm, ensuring to recover the washers and bushes in their fitted order. After that, remove the lower arm front pivot bolt and unscrew the rear mounting bolt to take the lower arm out from under the car. During the overhaul, check the rubber bushes and suspension lower balljoint for wear and damage, replacing the entire lower arm if any issues are found. For refitting, reverse the removal steps while ensuring all fixings are tightened to the specified torque, initially tightening the front pivot and rear mounting bolts by hand before fully tightening them once the car is lowered and the weight is on the suspension. Use a new spring clip on the lower arm balljoint nut, and if needed, tighten the balljoint nut up to 60° past its torque value to fit the spring clip. Finally, have the front wheel alignment checked upon completion.
