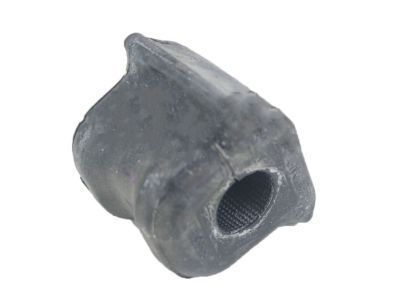
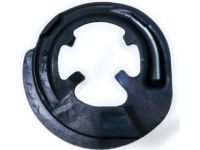
To disarm the sway bar, you should first loosen the front wheel lug bolts and elevate the front wheels of the vehicle onto jackstands and use the parking brake and blocks in the rear wheels. Take off the front wheels, and then take out the links from the bar; you should place an Allen key on the ballstud in case it rotates with the nut. Next, remove the engine bottom cover, then-the tie-rod ends from the steering knuckles, and finally the control arms from the ball joints. Paint match marks, and then release the steer shaft by turning it counterclockwise at the slide joint, and finally remove the pinch bolt. Place two floor jacks beneath the subframe and unbolt the engine torque strut from the suspension crossmember. Remove the four bolts that attached the crossmember to the body and slowly lay down the crossmember. Take out the bolts of the sway bar bracket and unbolt the sway bar from the crossmember. For the 2004 to 2009 model, remove the two link nuts of the sway bar, detach the steering gear from it, and then push the sway bar through the right side of the vehicle. On models since 2010, then put the sway bar and its bushings through the same opening but from the opposite end, and to do this: POP OFF the covers on the bottom of the engine compartment, DISCONNECT the link at each end of the sway bar, UNSCREW the ball joints from the lower control arm, and REMOVE the support brackets next to the inside ends of the control arms. However, disengage the sway bar, check the Sway Bar Bushing for any signs of cracking or wear on them, and then scrub the area with a wire brush. For installation, apply vegetable oil on the new bushing, and thereafter do the following in the reversed order: Tighten all the nuts/bolts to the recommended torque. When doing the subframe installations on the prior models, place a rod on either lateral side so that it can hold the position until the bolts can be put in, and ensure that none of the bolts are tightened until all the bolts have been put in loosely. Last, fit the wheel and the nuts and bolts, after that, lower the vehicle and further tighten the nuts as well as the bolts, then check the alignment of the front wheel if need be.
Posted by ToyotaPartsDeal Specialist 

