
My Garage
My Account
Cart
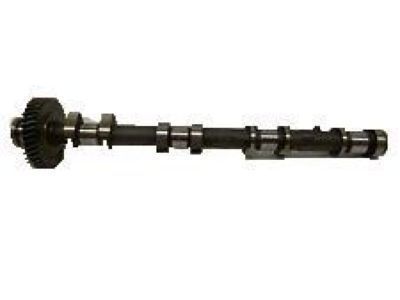
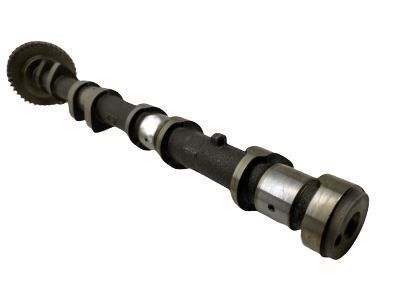
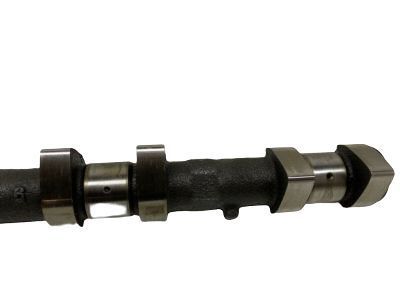
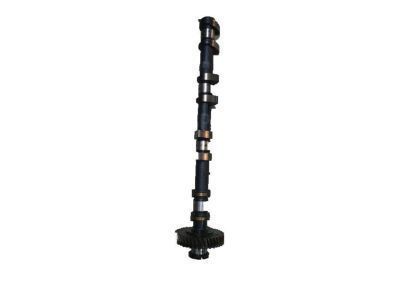
Genuine Toyota 4Runner Camshaft
Cam- Select Vehicle by Model
- Select Vehicle by VIN
Select Vehicle by Model
orMake
Model
Year
Select Vehicle by VIN
For the most accurate results, select vehicle by your VIN (Vehicle Identification Number).
34 Camshafts found
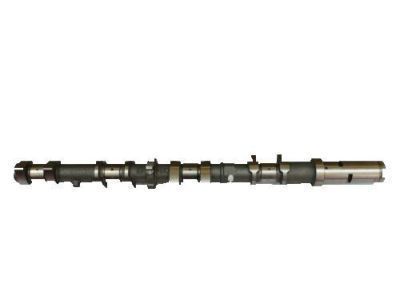
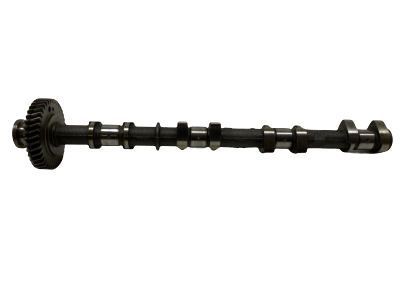
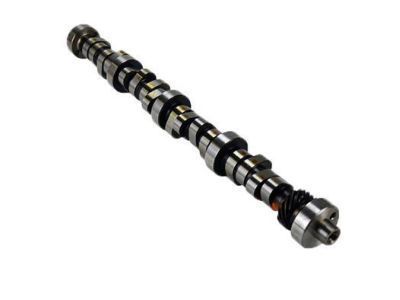
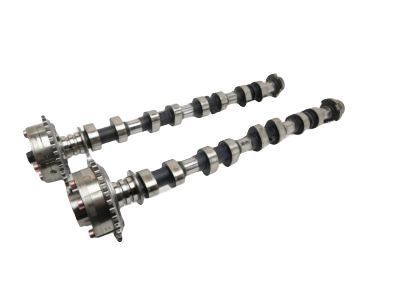
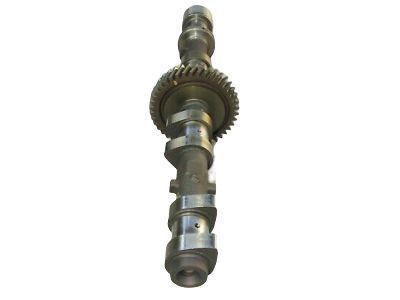
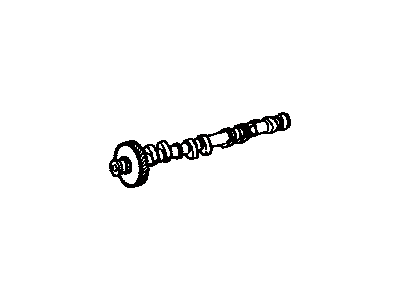
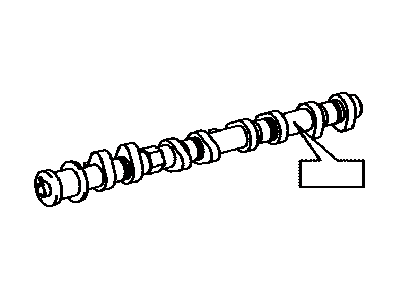
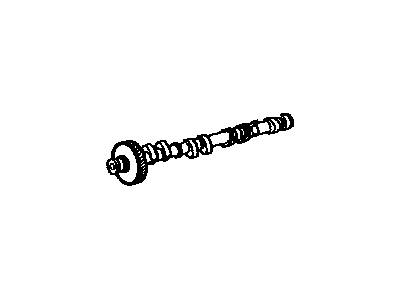
Toyota 4Runner Camshaft Sub-Assembly
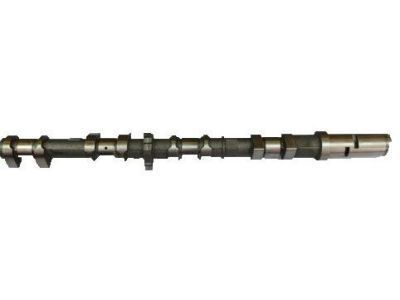
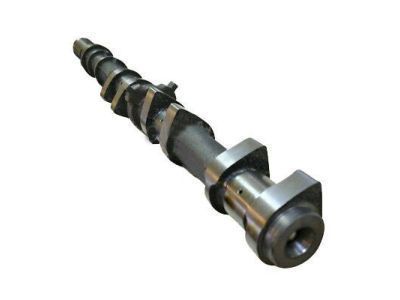
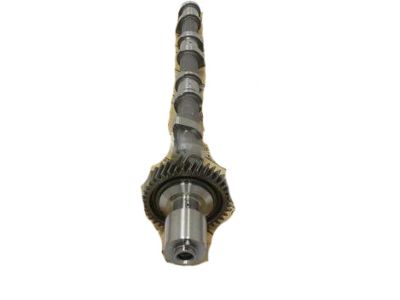
Part Number: 13053-50060$426.70 MSRP: $636.55You Save: $209.85 (33%)Ships in 1 Business DayToyota 4Runner Camshaft
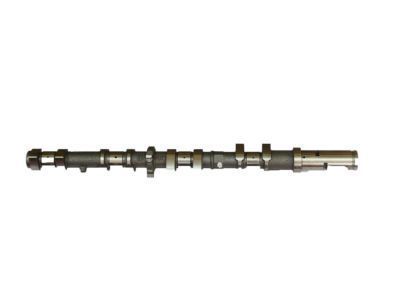
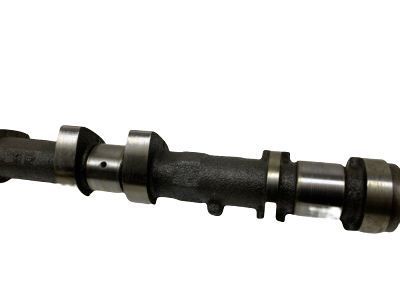
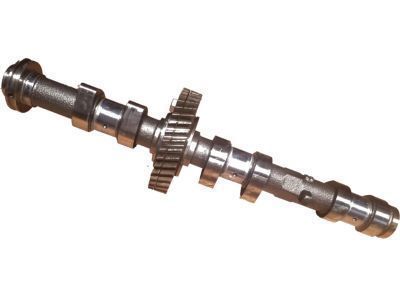
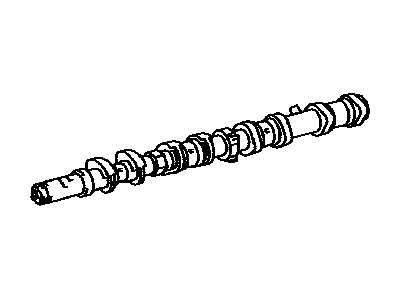
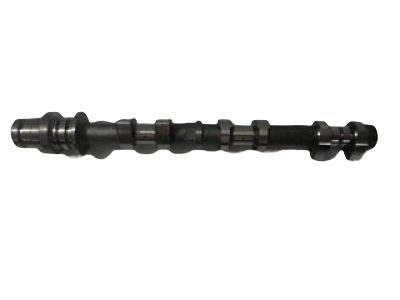
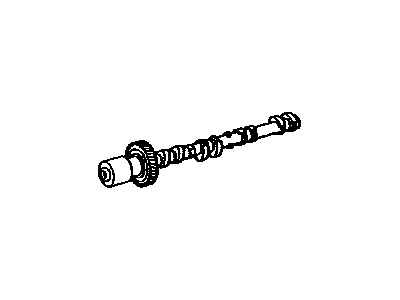
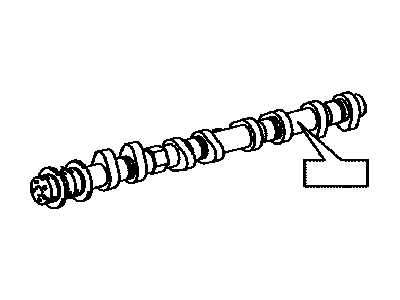
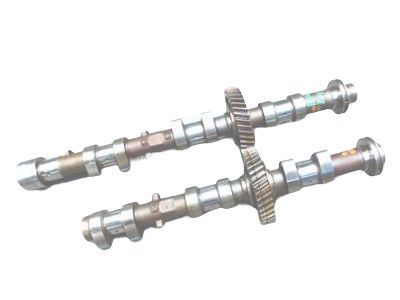
Part Number: 13501-50050$487.47 MSRP: $727.20You Save: $239.73 (33%)Ships in 1-3 Business DaysToyota 4Runner Camshaft Sub-Assembly
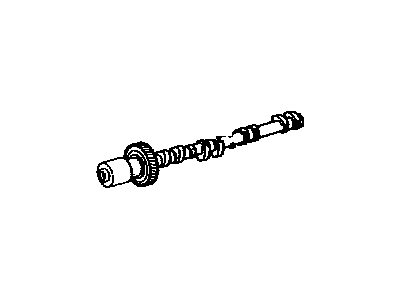
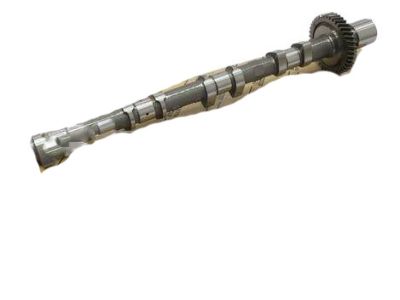
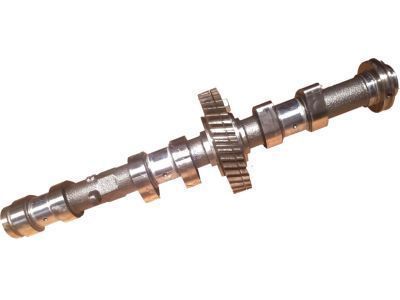
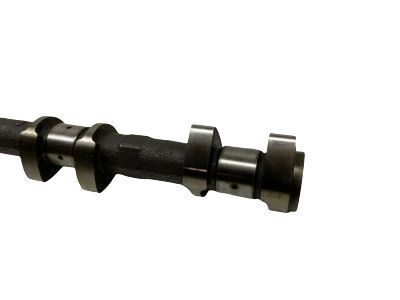
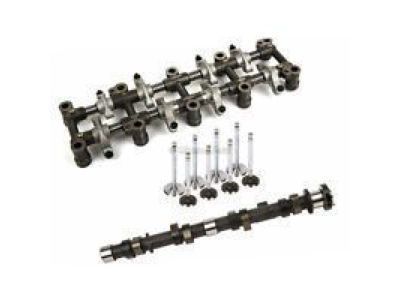
Part Number: 13054-62030$231.76 MSRP: $332.32You Save: $100.56 (31%)Ships in 1-3 Business DaysToyota 4Runner Camshaft
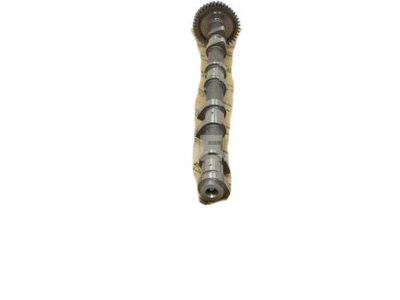
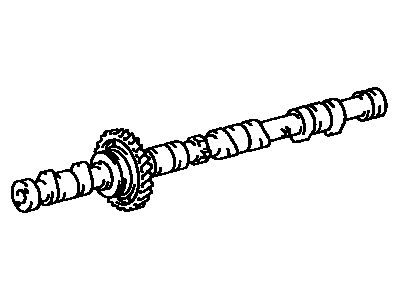
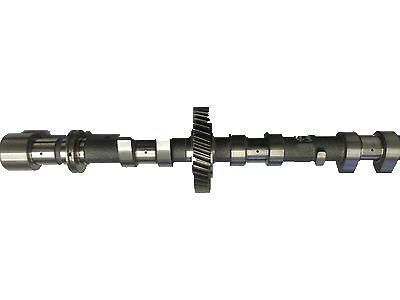
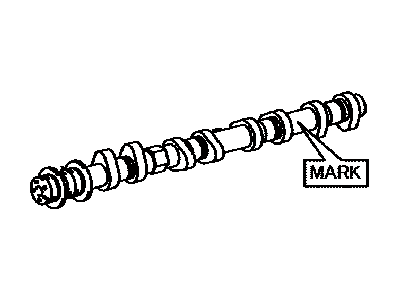
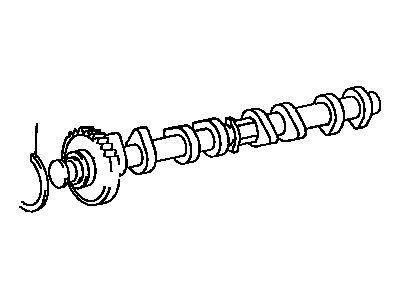
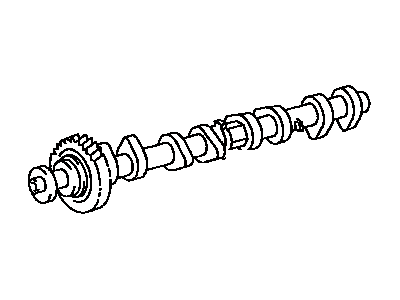
Part Number: 13502-50020$350.54 MSRP: $522.94You Save: $172.40 (33%)Ships in 1-3 Business DaysToyota 4Runner Camshaft
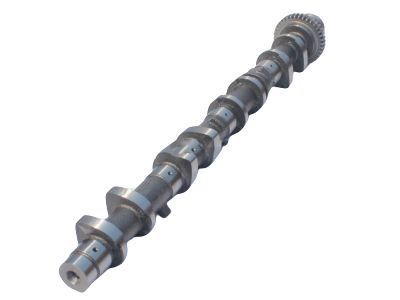
Part Number: 13501-31040$537.83 MSRP: $803.06You Save: $265.23 (34%)Ships in 1-3 Business DaysToyota 4Runner Camshaft
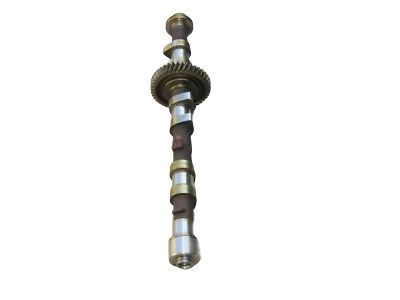
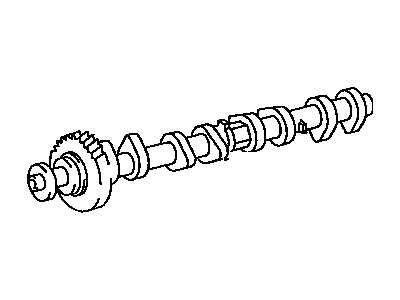
Part Number: 13502-62030$231.76 MSRP: $332.32You Save: $100.56 (31%)Ships in 1-3 Business DaysToyota 4Runner N Camshaft Sub-Assembly
Part Number: 13053-31090$482.34 MSRP: $719.55You Save: $237.21 (33%)Ships in 1-3 Business DaysToyota 4Runner Camshaft Sub-Assembly
Part Number: 13053-62050$336.97 MSRP: $483.19You Save: $146.22 (31%)Ships in 1-3 Business DaysToyota 4Runner Camshaft
Part Number: 13502-31010$537.83 MSRP: $803.06You Save: $265.23 (34%)Ships in 1-3 Business DaysToyota 4Runner Camshaft Sub-Assembly
Part Number: 13054-31010$537.83 MSRP: $803.06You Save: $265.23 (34%)Ships in 1-3 Business DaysToyota 4Runner Camshaft Sub-Assembly
Part Number: 13053-31010$537.83 MSRP: $803.06You Save: $265.23 (34%)Ships in 1-3 Business DaysToyota 4Runner Camshaft
Part Number: 13501-75070$317.60 MSRP: $455.41You Save: $137.81 (31%)Ships in 1-3 Business DaysToyota 4Runner Camshaft
Part Number: 13501-75030$426.48 MSRP: $636.22You Save: $209.74 (33%)Ships in 1-3 Business DaysToyota 4Runner Camshaft
Part Number: 13502-75050$311.80 MSRP: $447.09You Save: $135.29 (31%)Ships in 1-3 Business DaysToyota 4Runner Camshaft
Part Number: 13501-75060$317.60 MSRP: $455.41You Save: $137.81 (31%)Ships in 1-3 Business DaysToyota 4Runner Camshaft Sub-Assembly
Part Number: 13054-50020$350.54 MSRP: $522.94You Save: $172.40 (33%)
| Page 1 of 2 |Next >
1-20 of 34 Results
Toyota 4Runner Camshaft
If you are in demand for superior quality and affordable OEM Toyota 4Runner Camshaft, then shop with us! We own a wide range of the reduced-priced genuine Toyota 4Runner Camshaft. You can purchase in confidence as all parts come with a manufacturer's warranty. Any issues with our products? No need to worry as we have a hassle-free return policy to guide you every step of the way.
Toyota 4Runner Camshaft Parts Questions & Experts Answers
- Q: How to remove and install Camshaft in V6 engine on 2003 through 2009 Toyota 4Runner?A:The removal procedure is more complex and thus, it will be important that you go through it keenly before attempting it at home. First, start by removing the connection of the cable on the negative terminal of the battery, followed by the removal of engine oil, and coolant. Disconnect the timing chains and to withdraw the camshafts from the right Cylinder Head and rotate the camshafts anti-clockwise until the intake lobe of No.1 cylinder is at 7 O'clock position and exhaust camshaft lobe is at 12 o' clock position; for left cylinder head this process is not required. Slowly and evenly, undo all the camshaft bearing cap bolts in the manner that is opposite to the lightening sequence, then remove all the bearing caps and camshafts and store them in order and label them. Another magnet is applied in lifting and relocating it to the same box alongside the lifters, then they are also labeled. If in the other cylinder head you will be pulling camshafts out, follow all the steps described above paying attention to the clockwise rotation of the right cylinder. During the inspection look for flattened or scratched places on each lifter and they should visually look at the cam lobes and bearing journals to see if there is any damage done and look at the height of the camshaft lobe with the micrometer and check the diameter of each journal and if all the components are worn out replace them. For oil clearance, first free the bearing caps and journals, place the camshaft on its seat but don't need the lifters or any form of greasing, use Plastigage to determine the amount of clearance and if the amount is greater than the specified measurement, it will require replacement of the camshaft or cylinder head. While assembling, first, the lifter bores and lifters should be lubricated using clean engine oil; then, these parts should be returned to their initial positions while rotating them smoothly. For the right side, apply dry sum lubrication on the camshaft journals, position the camshaft in the correct manner, apply oil to the upper bearings before placing the bearing caps and use the torque wrench to tighten the bolts uniformly. Perform the same for the left side noting the position and the proper sequence of tightening the bonnet. To ensure a successful crankshaft installation, reverse the removal steps by following the applicable automaker's shop manual; while manually rotating the crankshaft to determine resistance or any difficulties at any point, correct the errors before proceeding. Last, add oil or coolant if needed, reconnect battery, start engine and examine it for leaks; however, lifter noise may take few minutes to settle down.
Related Toyota 4Runner Parts
Browse by Year
2024 Camshaft 2023 Camshaft 2022 Camshaft 2021 Camshaft 2020 Camshaft 2019 Camshaft 2018 Camshaft 2017 Camshaft 2016 Camshaft 2015 Camshaft 2014 Camshaft 2013 Camshaft 2012 Camshaft 2011 Camshaft 2010 Camshaft 2009 Camshaft 2008 Camshaft 2007 Camshaft 2006 Camshaft 2005 Camshaft 2004 Camshaft 2003 Camshaft 2002 Camshaft 2001 Camshaft 2000 Camshaft 1999 Camshaft 1998 Camshaft 1997 Camshaft 1996 Camshaft 1995 Camshaft 1994 Camshaft 1993 Camshaft 1992 Camshaft 1991 Camshaft 1990 Camshaft 1989 Camshaft 1988 Camshaft 1987 Camshaft 1986 Camshaft 1985 Camshaft 1984 Camshaft
