
My Garage
My Account
Cart
Genuine Toyota Corolla Car Batteries
Auto Battery- Select Vehicle by Model
- Select Vehicle by VIN
Select Vehicle by Model
orMake
Model
Year
Select Vehicle by VIN
For the most accurate results, select vehicle by your VIN (Vehicle Identification Number).
34 Car Batteries found
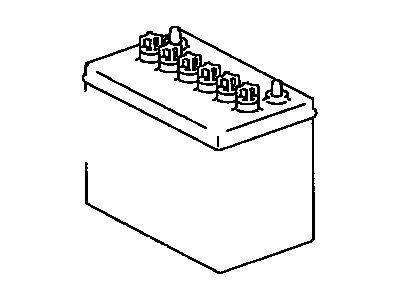
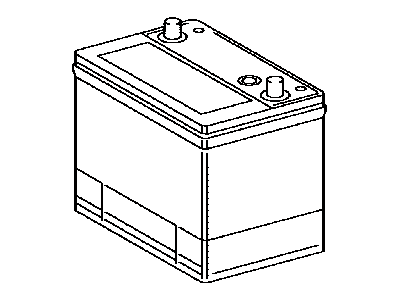
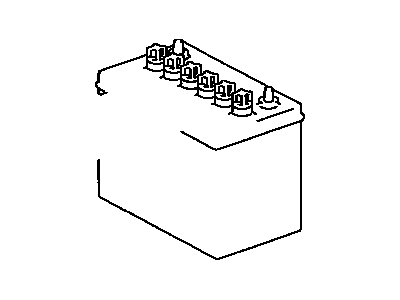
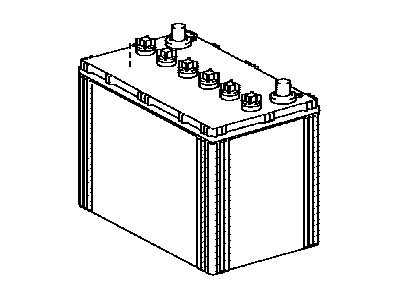
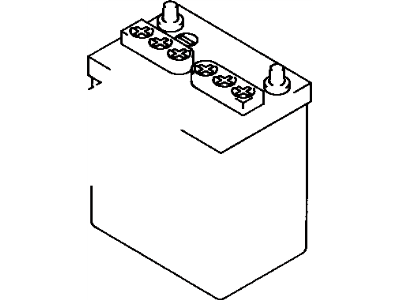
Toyota Corolla Battery
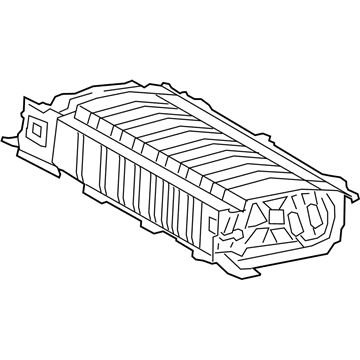
Part Number: 28800-37131$647.00 MSRP: $966.06You Save: $319.06 (34%)Ships in 1-2 Business DaysToyota Corolla BATTERY ASSY, HV SUP
Part Number: G9510-16020$3450.31 MSRP: $5151.79You Save: $1701.48 (34%)Ships in 1-2 Business Days
| Page 1 of 2 |Next >
1-20 of 34 Results
Toyota Corolla Car Batteries
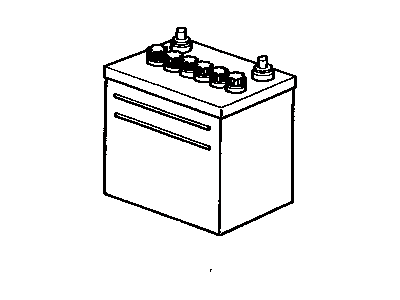
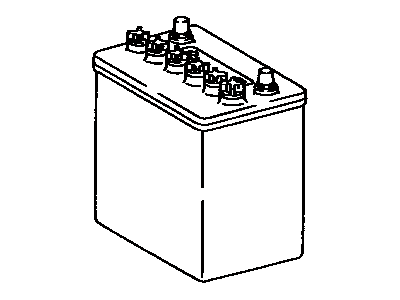
The Car Batteries in Toyota Corolla vehicles is greatly used in the supply of electrical power to the required part and in the regulation of voltage to enable proper running of the engine. Generally classical lead-acid batteries are designed as SLI - Starting, Lighting, Ignition batteries, which accommodate the necessary impulse of current for the engine's start and supplementary power in case of need. It usually contains six cells for 12 volt power system that is common in most passenger vehicles. For decades the kind of Car Batteries remained the same while in the new models of electric and hybrid cars, there are auxiliary batteries due to technology enhancements. These auxiliary batteries cater for standard vehicular equipment and are not to be confused with traditional batteries as they are recharged using a DC to DC charger as opposed to an alternator. This has been due to dynamics of power demands within cars and guaranteeing the efficiency in the Toyota Corolla series.
If you are in demand for superior quality and affordable OEM Toyota Corolla Car Batteries, then shop with us! We own a wide range of the reduced-priced genuine Toyota Corolla Car Batteries. You can purchase in confidence as all parts come with a manufacturer's warranty. Any issues with our products? No need to worry as we have a hassle-free return policy to guide you every step of the way.
Toyota Corolla Car Batteries Parts Questions & Experts Answers
- Q: How Should You Check and Replace Car Batteries on a Toyota Corolla?A:The battery's surface charge must be removed before accurate voltage measurements can be made; turn on the high beams for ten seconds, then turn them off, and let the vehicle stand for two minutes. Next, check the battery state of charge by visually inspecting the indicator eye on the top of the battery; if the indicator eye is clear, charge the battery. Perform an open voltage circuit test using a digital voltmeter, connecting the negative probe to the negative terminal and the positive probe to the positive terminal; a fully charged battery should measure at least 12.4 volts. If the voltage is less than specified, charge the battery before proceeding. For a battery load test, use a load tester to evaluate the battery's ability to operate the starter and accessories during heavy amperage draw; maintain the load for 15 seconds or less, ensuring the voltage does not drop below 9.6 volts, adjusting for cold temperatures as necessary. To replace the battery, disconnect the negative cable first, followed by the positive cable, then remove the hold-down clamp and take out the battery. Inspect the tray and related fasteners for corrosion or damage, cleaning any corroded areas with a baking soda/water solution and repainting as needed. If replacing the battery, ensure the new one matches the dimensions and ratings of the old one and is fully charged before installation. Reinstall by connecting the positive cable first and the negative cable last, applying a light coating of battery terminal corrosion inhibitor to the connections to help prevent corrosion.
Related Toyota Corolla Parts
Browse by Year
2024 Car Batteries 2023 Car Batteries 2022 Car Batteries 2021 Car Batteries 2020 Car Batteries 2019 Car Batteries 2013 Car Batteries 2012 Car Batteries 2011 Car Batteries 2010 Car Batteries 2009 Car Batteries 2008 Car Batteries 2007 Car Batteries 2006 Car Batteries 2005 Car Batteries 2004 Car Batteries 2003 Car Batteries 2002 Car Batteries 2001 Car Batteries 2000 Car Batteries 1999 Car Batteries 1998 Car Batteries 1997 Car Batteries 1996 Car Batteries 1995 Car Batteries 1994 Car Batteries 1993 Car Batteries 1992 Car Batteries 1991 Car Batteries 1990 Car Batteries 1989 Car Batteries 1988 Car Batteries 1987 Car Batteries 1986 Car Batteries 1985 Car Batteries 1984 Car Batteries 1983 Car Batteries 1982 Car Batteries 1981 Car Batteries 1980 Car Batteries 1979 Car Batteries 1978 Car Batteries 1977 Car Batteries 1976 Car Batteries 1975 Car Batteries

