
My Garage
My Account
Cart
Genuine Toyota Highlander Brake Disc
Disc Rotor- Select Vehicle by Model
- Select Vehicle by VIN
Select Vehicle by Model
orMake
Model
Year
Select Vehicle by VIN
For the most accurate results, select vehicle by your VIN (Vehicle Identification Number).
15 Brake Discs found
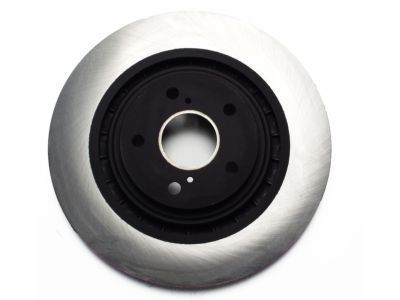
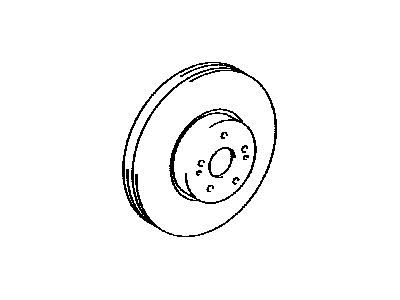
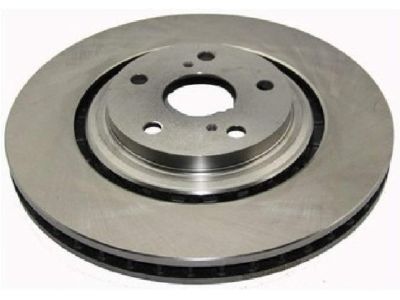
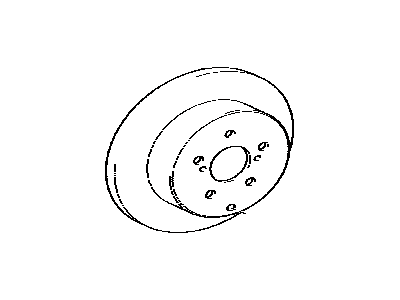
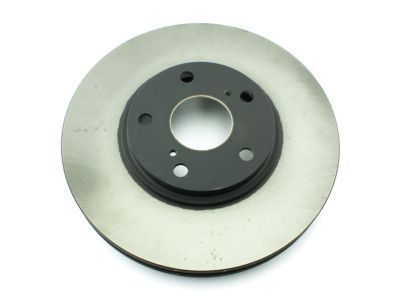
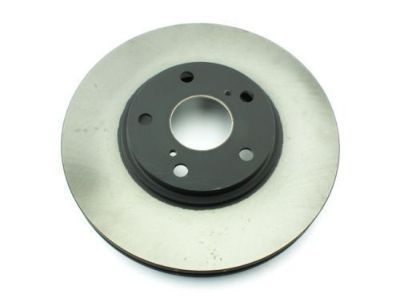
Toyota Highlander Disc Brake Rotor Front
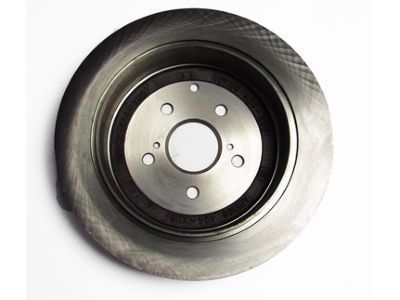
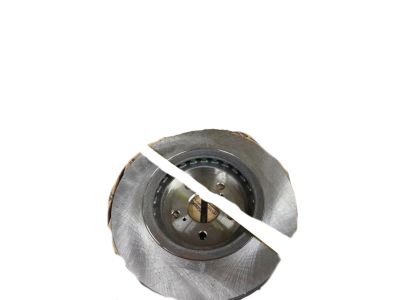
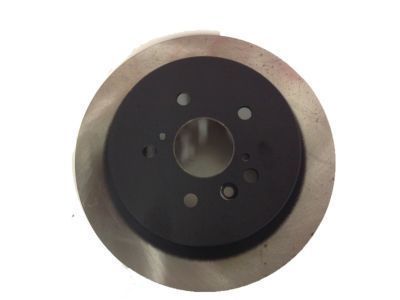
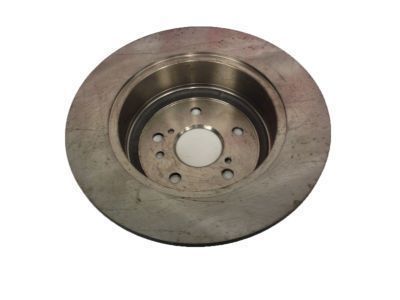
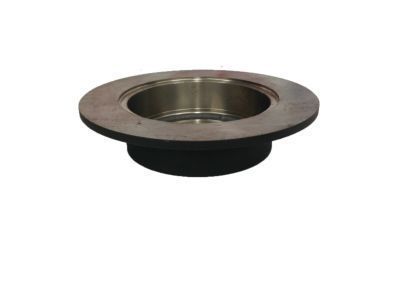
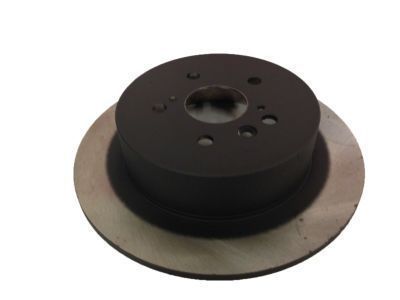
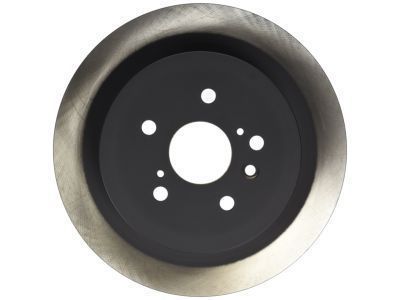
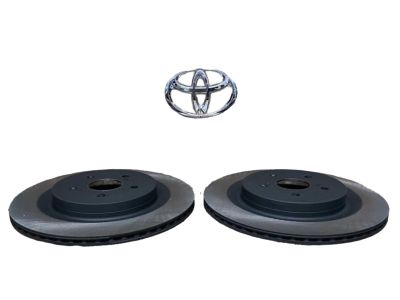
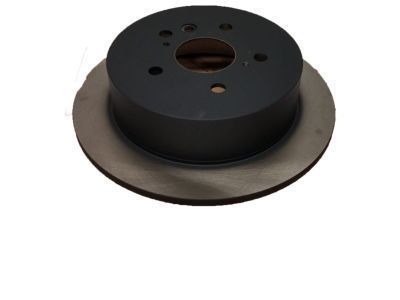
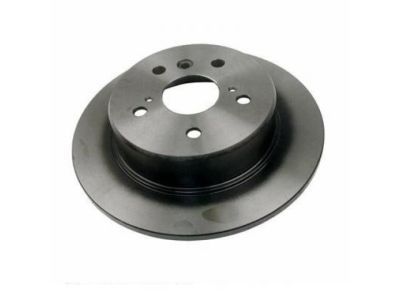
Part Number: 43512-0E030$75.74 MSRP: $106.77You Save: $31.03 (30%)Toyota Highlander Rear Disc
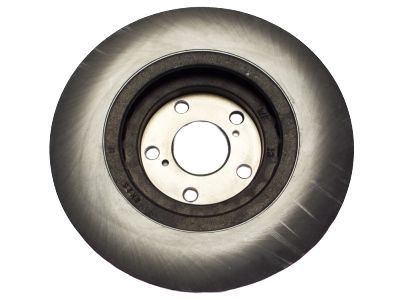
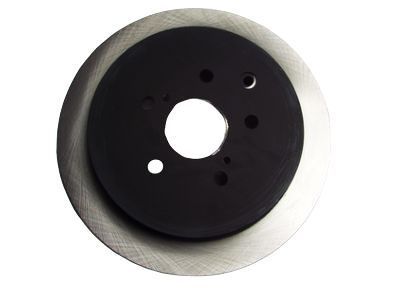
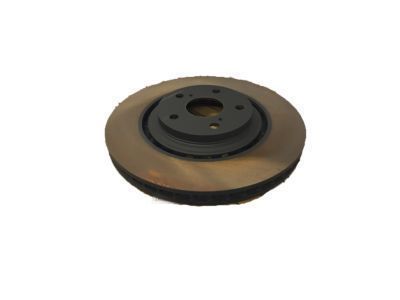
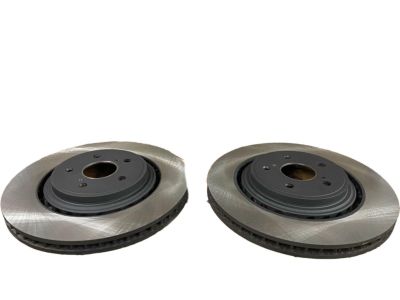
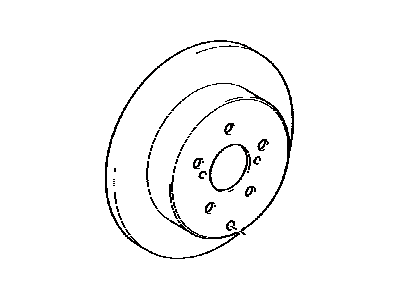
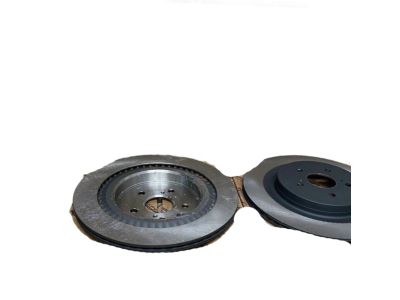
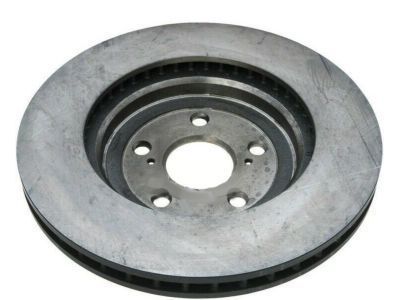
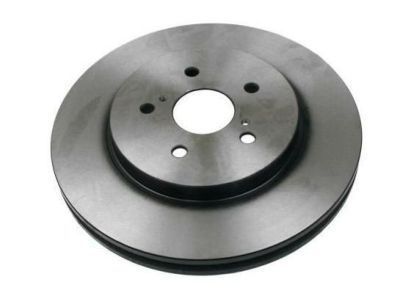
Part Number: 42431-0E020$71.50 MSRP: $100.78You Save: $29.28 (30%)Ships in 1-3 Business DaysToyota Highlander Disc Brake Rotor Front
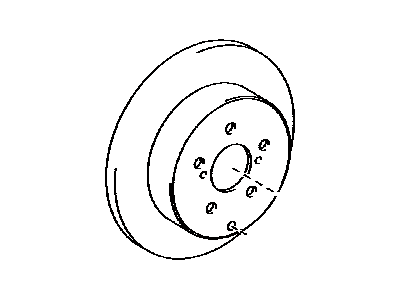
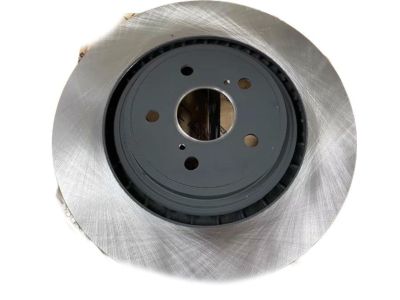
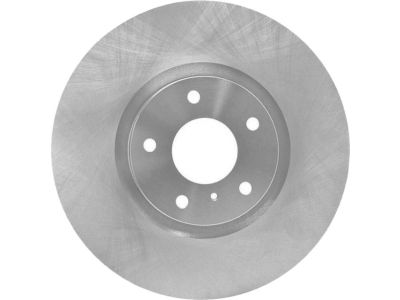
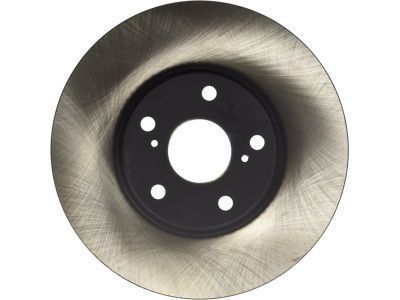
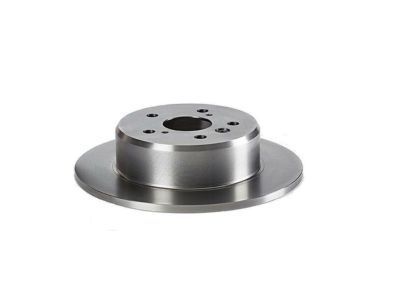
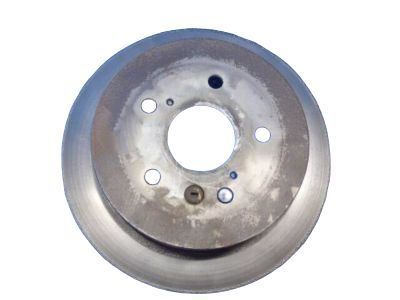
Part Number: 43512-48110$71.61 MSRP: $100.95You Save: $29.34 (30%)Ships in 1-3 Business DaysToyota Highlander Disc Brake Rotor Front
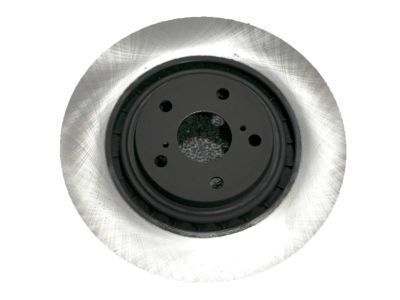
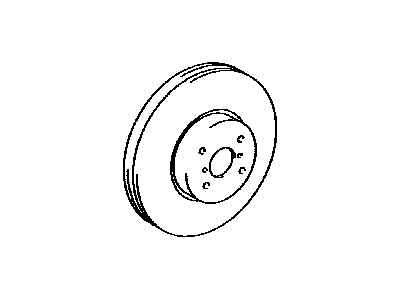
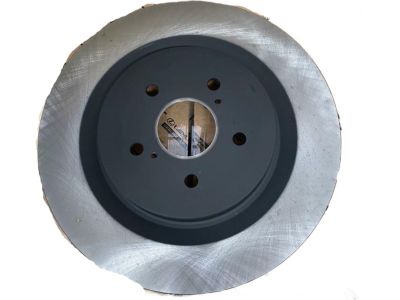
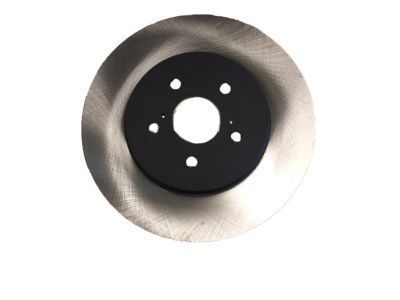
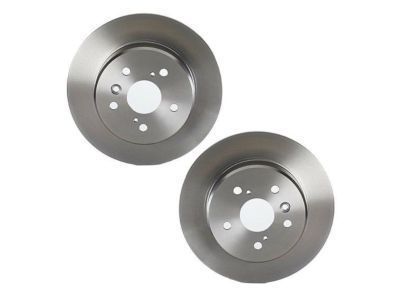
Part Number: 43512-0E060$79.17 MSRP: $111.59You Save: $32.42 (30%)Ships in 1-2 Business DaysToyota Highlander Rear Disc
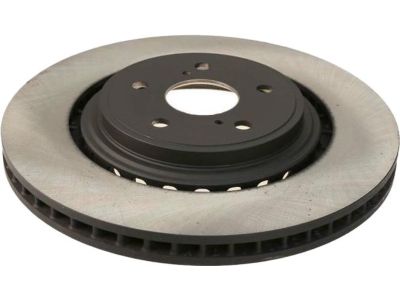
Part Number: 42431-0E040$68.78 MSRP: $96.96You Save: $28.18 (30%)Ships in 1-3 Business DaysToyota Highlander Rear Disc
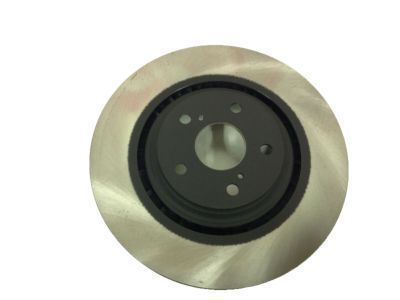
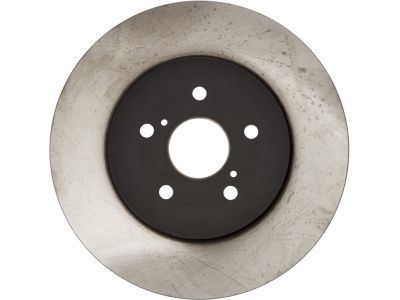
Part Number: 42431-48060$73.97 MSRP: $104.27You Save: $30.30 (30%)Ships in 1-2 Business DaysToyota Highlander Rear Disc
Part Number: 42431-0E070$98.05 MSRP: $138.21You Save: $40.16 (30%)Ships in 1-3 Business DaysToyota Highlander Disc Brake Rotor Front
Part Number: 43512-48031$78.10 MSRP: $110.10You Save: $32.00 (30%)Ships in 1-3 Business DaysToyota Highlander Disc Brake Rotor Front
Part Number: 43512-48081$78.69 MSRP: $110.93You Save: $32.24 (30%)Ships in 1 Business DayToyota Highlander Rear Disc Brake Rotor
Part Number: 42431-48041$73.38 MSRP: $103.44You Save: $30.06 (30%)Ships in 1-3 Business DaysToyota Highlander Rear Disc
Part Number: 42431-33030$77.75 MSRP: $109.60You Save: $31.85 (30%)Ships in 1-3 Business DaysToyota Highlander Disc Brake Rotor Front
Part Number: 43512-48030$78.10 MSRP: $110.10You Save: $32.00 (30%)Ships in 1-3 Business DaysToyota Highlander Rear Disc
Part Number: 42431-33080$79.05 MSRP: $111.43You Save: $32.38 (30%)Ships in 1-3 Business DaysToyota Highlander Rear Disc
Part Number: 42431-48050$73.38 MSRP: $103.44You Save: $30.06 (30%)Ships in 1-2 Business DaysToyota Highlander Disc Brake Rotor Front
Part Number: 43512-48100$78.69 MSRP: $110.93You Save: $32.24 (30%)Ships in 1-2 Business Days
Toyota Highlander Brake Disc
The Toyota Highlander Brake Disc is one of the focal brake system parts of the cars recognized for its reliability and performance. This Brake Disc is developed uniquely for different models to improve braking performance and prolong functionality, contributing to efficient and safe driving on the roads. Comprising new generation friction materials, the set is complemented by metal backing plates which form the basis of superior brake pads. ISO review and timely replacement of the Brake Disc are significant to afford the vehicle with stringent safety features, especially when driving at high rates of speed or using it for hauling purposes. The Toyota Highlander comes in both five and seven passenger versions equipped with the option of front-wheel or all-wheel drive, so the Brake Disc can suit the car trims and models. Importantly, the set usually includes such hardware items as clips, springs, and shims to provide equal wearing and durability. In the category of Brake Disc, the Toyota Highlander specifically has been keeping itself relevant in the market through quality and performance for the benefit of any driver. Since hybrid models also incorporate this excellent braking mechanism, the Brake Disc is crucial to boosting the driving attribute and becomes one of the foundations in the Toyota Highlander series. The Toyota Highlander continues to exemplify the brand's commitment to safety and performance.
If you are in demand for superior quality and affordable OEM Toyota Highlander Brake Disc, then shop with us! We own a wide range of the reduced-priced genuine Toyota Highlander Brake Disc. You can purchase in confidence as all parts come with a manufacturer's warranty. Any issues with our products? No need to worry as we have a hassle-free return policy to guide you every step of the way.
Toyota Highlander Brake Disc Parts Questions & Experts Answers
- Q: How to inspect the brake disc on Toyota Highlander?A:Start by loosening the wheel nuts, lift the car using a jack, and prop it up on safe jackstands. Put on the lug nuts to keep the disc in position while you work, and turn off the parking brake before touching the back brake disc. When raising a vehicle with electronically adjustable air suspension, make sure you switch off the height control before starting to lift. Reach the caliper, leaving its hose connected, and fix it off to the side with wire. Undo the bolts holding the caliper bracket and pull the bracket off. Scrutinize your brake disc for defected lines and annoyances; just mild scratchings are usual, but any trouble bigger than one thirty-second of an inch warrants taking the disc out for repair. Look on both disc faces for signs of shaking while you brake. If so, the disc has a roundness issue. Examine disc runout by putting an indicator dial at 112" away from the outer edge and measuring while turning, making sure the maximum value stays below allowed limits. Getting new discs when you replace the brake pads helps keep everything working well. Sandpaper the disc from top to bottom, and then back, until all its glaze is gone. Check not to machine the disc below the built-in minimum refinishing thickness, which you can measure with a micrometer. Take off the wheel nuts securing the disc, then easily slide the disc off the hub. If parking brake shoes are blocking your way, remove a pin and shift the shoes into place. Put the new disc on the threaded studs and mount both the caliper bracket and caliper. Then tighten the bolts to the correct torque settings. After dealing with any parking brake shoe interference while installing, put the wheel back on and attach the lug nuts. Lower the vehicle, bolt down the lug nuts at the required strength, then test drive. Close the brake three times to help the brake pads touch the rotor.
Related Toyota Highlander Parts
Browse by Year
2024 Brake Disc 2023 Brake Disc 2022 Brake Disc 2021 Brake Disc 2020 Brake Disc 2019 Brake Disc 2018 Brake Disc 2017 Brake Disc 2016 Brake Disc 2015 Brake Disc 2014 Brake Disc 2013 Brake Disc 2012 Brake Disc 2011 Brake Disc 2010 Brake Disc 2009 Brake Disc 2008 Brake Disc 2007 Brake Disc 2006 Brake Disc 2005 Brake Disc 2004 Brake Disc 2003 Brake Disc 2002 Brake Disc 2001 Brake Disc
