
My Garage
My Account
Cart
Genuine Toyota MR2 Center Console Base
- Select Vehicle by Model
- Select Vehicle by VIN
Select Vehicle by Model
orMake
Model
Year
Select Vehicle by VIN
For the most accurate results, select vehicle by your VIN (Vehicle Identification Number).
35 Center Console Bases found
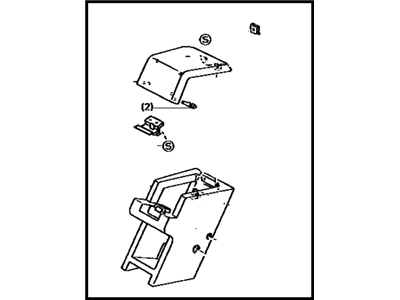
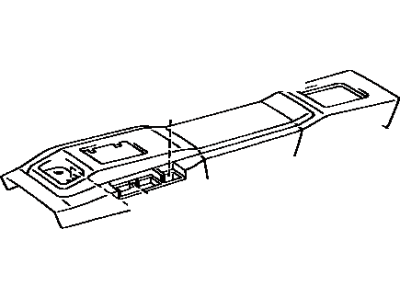
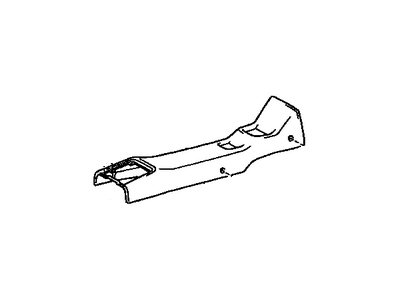
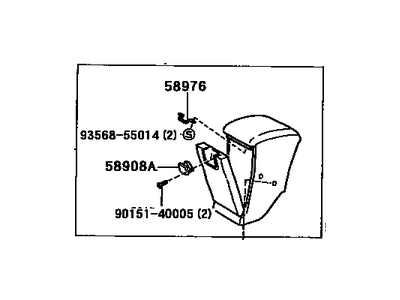
Toyota MR2 Rear Console Box Assembly
Part Number: 58910-17010-01$173.69 MSRP: $246.93You Save: $73.24 (30%)Ships in 1-3 Business Days
| Page 1 of 2 |Next >
1-20 of 35 Results
Toyota MR2 Center Console Base
If you are in demand for superior quality and affordable OEM Toyota MR2 Center Console Base, then shop with us! We own a wide range of the reduced-priced genuine Toyota MR2 Center Console Base. You can purchase in confidence as all parts come with a manufacturer's warranty. Any issues with our products? No need to worry as we have a hassle-free return policy to guide you every step of the way.
Toyota MR2 Center Console Base Parts Questions & Experts Answers
- Q: How to remove the Center Console Base,Glove Box and Instrument Cluster on Toyota MR2?A:To do this, first, the car negative terminal has to be removed then the rear console box has to be unplugged by unscrewing four screws on the inside and then lifting it, with the exploded vies and code key showing the proper size of the screws. Finally, you can take off the ashtray and nine bolts and lift the back of the console and it will pop off. For the glove compartment and dash panel: remove the two compartment door arm retaining screws, the two door check retaining screws and finally the door. Next, unbolster the glove compartment through its studs, the stud on the front of the scuff plate, and the cowl side trim board. Last of all, there are four screws which when are loosened will allow the removal of the dash panel. For the instrument panel, initiate by extracting one screw from the front of scuff plate to undo the lower finish panel, then to undo cowl side trim board and two screws from the front lugage compartment release lever. Then, remove five retaining screws, and then lowering the panel; after that, remove connectors from the mirror control switch and finally, remove the panel. Finally, as for the instrument center panel, it is required to take out two retaining screws and pull out the lower part of the center panel; also, it is necessary to take out the lower side of the finish panel. Lift the back of the upper finish panel by means of a pull situated towards the front side of the car and unscrew 11 of the screws that hold the panel. To remove the components, reverse the sequence mentioned above while to install them, reverse the process.


