
My Garage
My Account
Cart
Genuine Toyota Prius Center Console Base
- Select Vehicle by Model
- Select Vehicle by VIN
Select Vehicle by Model
orMake
Model
Year
Select Vehicle by VIN
For the most accurate results, select vehicle by your VIN (Vehicle Identification Number).
54 Center Console Bases found
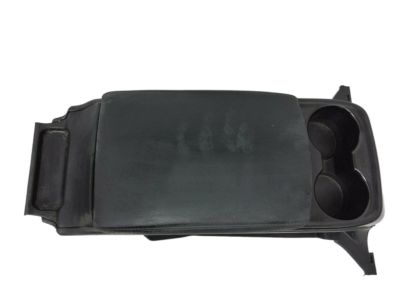
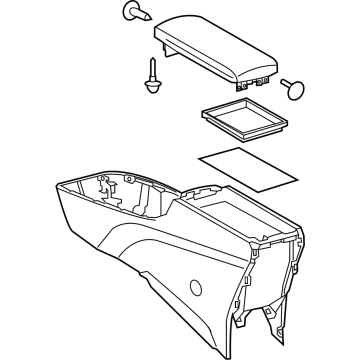
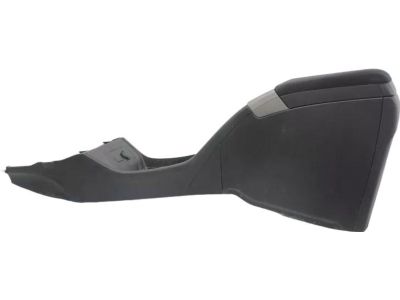
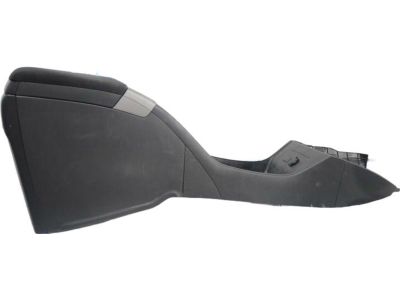
Toyota Prius Rear Console Box Assembly
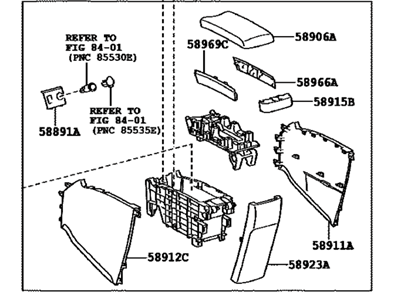
Part Number: 58910-47020-C3$411.42 MSRP: $613.77You Save: $202.35 (33%)Ships in 1-3 Business DaysToyota Prius Console Box Sub-Assembly
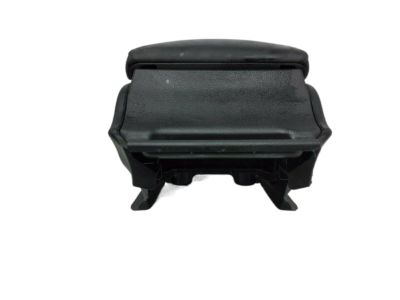
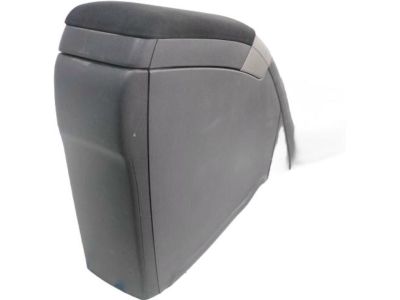
Part Number: 58901-47191-B3$532.51 MSRP: $794.41You Save: $261.90 (33%)Ships in 1-3 Business DaysToyota Prius Rear Console Box Assembly
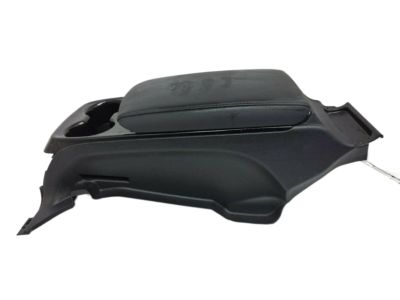
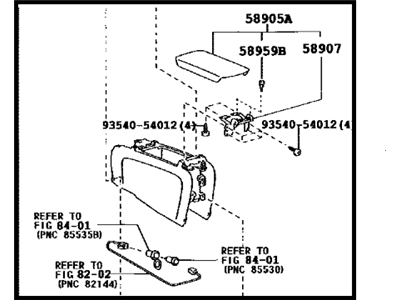
Part Number: 58910-47010-C2$418.67 MSRP: $624.58You Save: $205.91 (33%)Ships in 1-3 Business DaysToyota Prius BOX SUB-ASSY, CONSOL
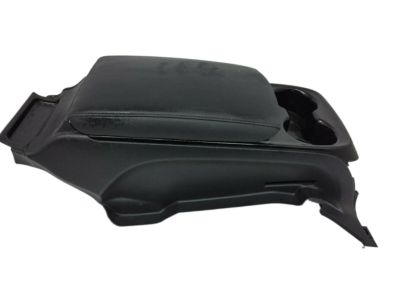
Part Number: 58802-47010$39.02 MSRP: $54.55You Save: $15.53 (29%)Ships in 1-2 Business DaysToyota Prius Rear Console Box Assembly
Part Number: 58910-47020-B2$411.37 MSRP: $613.68You Save: $202.31 (33%)Ships in 1-3 Business DaysToyota Prius Console Box Sub-Assembly
Part Number: 58901-47191-G2$532.46 MSRP: $794.31You Save: $261.85 (33%)Ships in 1-3 Business DaysToyota Prius Console Box Sub-Assembly
Part Number: 58901-47200-G1$553.84 MSRP: $826.95You Save: $273.11 (34%)Ships in 1-3 Business DaysToyota Prius Console Box Sub-Assembly Rear
Part Number: 58901-47050-B1$317.77 MSRP: $455.67You Save: $137.90 (31%)Ships in 1-3 Business DaysToyota Prius BOX SUB-ASSY, CONSOL
Part Number: 58802-47020$52.47 MSRP: $73.33You Save: $20.86 (29%)Ships in 1-2 Business DaysToyota Prius Console Box Sub-Assembly
Part Number: 58901-47200-E1$552.37 MSRP: $824.76You Save: $272.39 (34%)Ships in 1-3 Business DaysToyota Prius Console Box Sub-Assembly
Part Number: 58901-47092-B2$705.77 MSRP: $1053.81You Save: $348.04 (34%)Ships in 1-3 Business DaysToyota Prius Box, Console, LH
Part Number: 58812-47010-E0$52.78 MSRP: $73.77You Save: $20.99 (29%)Ships in 1-3 Business DaysToyota Prius Box, Console, RH
Part Number: 58811-47010-C0$53.18 MSRP: $74.33You Save: $21.15 (29%)Ships in 1-3 Business DaysToyota Prius Console Box Sub-Assembly Rear
Part Number: 58901-47030-B1$407.01 MSRP: $607.18You Save: $200.17 (33%)Ships in 1-3 Business DaysToyota Prius Console Box Sub-Assembly Rear
Part Number: 58901-47040-E0$425.47 MSRP: $634.73You Save: $209.26 (33%)Ships in 1-3 Business DaysToyota Prius Console Box Sub-Assembly
Part Number: 58901-47191-E0$532.46 MSRP: $794.31You Save: $261.85 (33%)Ships in 1-3 Business DaysToyota Prius Box, Console, RH
Part Number: 58811-47010-E0$50.87 MSRP: $71.11You Save: $20.24 (29%)Ships in 1-3 Business DaysToyota Prius Box, Console, LH
Part Number: 58812-47010-G0$52.78 MSRP: $73.77You Save: $20.99 (29%)Ships in 1-3 Business DaysToyota Prius Console Box Sub-Assembly
Part Number: 58901-47200-C2$553.84 MSRP: $826.95You Save: $273.11 (34%)
| Page 1 of 3 |Next >
1-20 of 54 Results
Toyota Prius Center Console Base
If you are in demand for superior quality and affordable OEM Toyota Prius Center Console Base, then shop with us! We own a wide range of the reduced-priced genuine Toyota Prius Center Console Base. You can purchase in confidence as all parts come with a manufacturer's warranty. Any issues with our products? No need to worry as we have a hassle-free return policy to guide you every step of the way.
Toyota Prius Center Console Base Parts Questions & Experts Answers
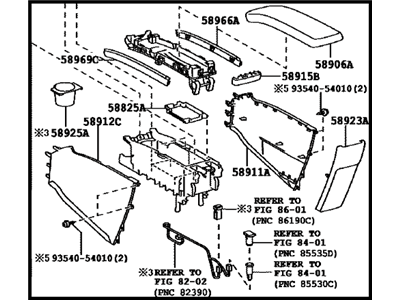
- Q: How to Remove and Install Center Console Base on Toyota Prius?A:Disconnect the cable from the negative terminal of the auxiliary 12-volt battery, ensuring to perform the initialization procedure upon reconnection. For 2001 through 2003 models, remove the three bolts and lift off the console box, with installation being the reverse of removal. For 2004 through 2009 models, pull the top of the console assembly upwards while releasing the two clips at the bottom front, disconnect the four clips around the upper section, and lift it free. Remove the four screws securing the front cup holder assembly, the console box pocket, and the carpet liner. Grasp the rear panel of the console box and pull it rearward and upward to release the six clips, then remove the four screws and the rear cup holder. Remove the two screws from the front sides of the console box and the two bolts from the inside rear, lifting the console box out and disconnecting the wiring. Installation is the reverse of removal. For 2010 and later models, on those with a power outlet, pull up and remove the rear console pocket, then use a plastic trim tool or a screwdriver wrapped with tape to pry up the upper console trim panel. Remove the carpet from the bottom of the console storage box and the screws from the bottom, noting that some models may have an additional screw at the top front of the console. Pull the console to the rear to release the claw retainers, then lift out the box, with installation being the reverse of removal.
Related Toyota Prius Parts
Browse by Year
2024 Center Console Base 2023 Center Console Base 2022 Center Console Base 2021 Center Console Base 2020 Center Console Base 2019 Center Console Base 2018 Center Console Base 2017 Center Console Base 2016 Center Console Base 2015 Center Console Base 2014 Center Console Base 2013 Center Console Base 2012 Center Console Base 2011 Center Console Base 2010 Center Console Base 2009 Center Console Base 2008 Center Console Base 2007 Center Console Base 2006 Center Console Base 2005 Center Console Base 2004 Center Console Base 2003 Center Console Base 2002 Center Console Base 2001 Center Console Base
