
My Garage
My Account
Cart
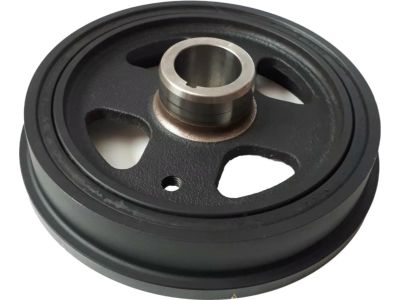
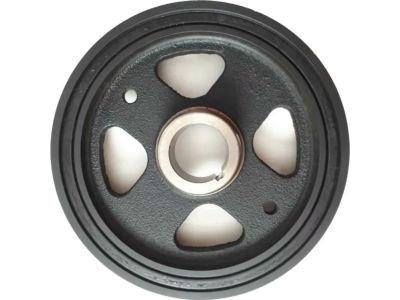
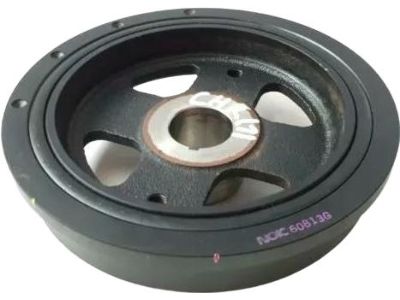
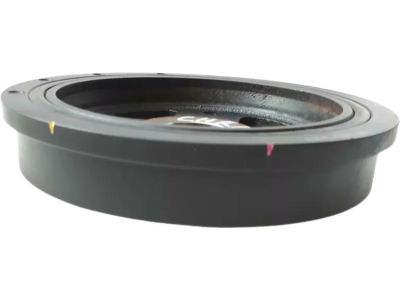
Genuine Toyota Prius Crankshaft Pulley
Crankshaft Pulley Engine Harmonic Balancer- Select Vehicle by Model
- Select Vehicle by VIN
Select Vehicle by Model
orMake
Model
Year
Select Vehicle by VIN
For the most accurate results, select vehicle by your VIN (Vehicle Identification Number).
8 Crankshaft Pulleys found
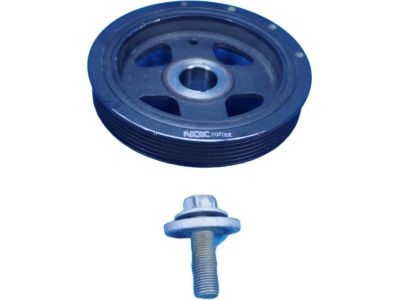
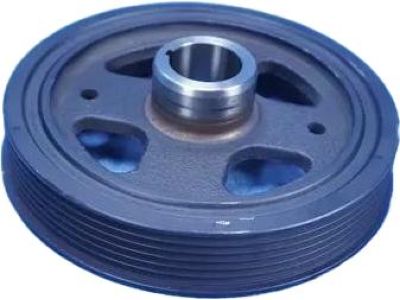
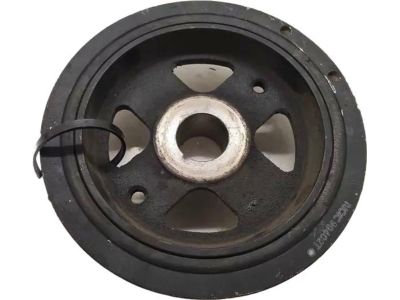
Toyota Prius Crankshaft Pulley
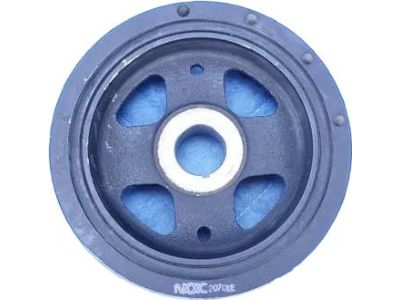
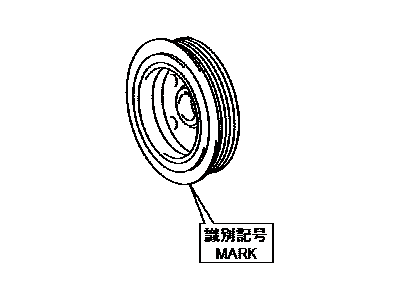
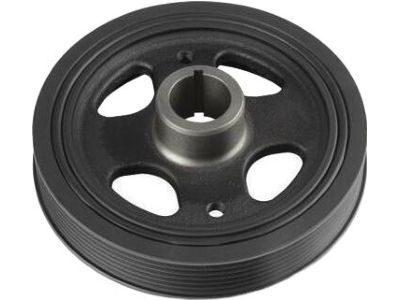
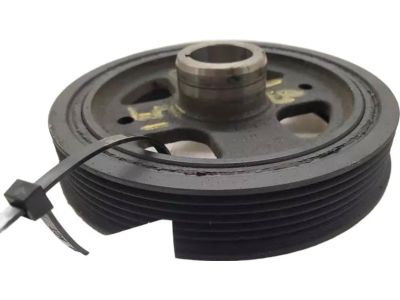
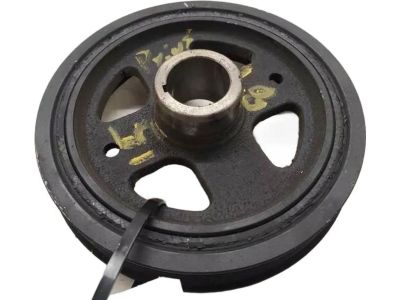
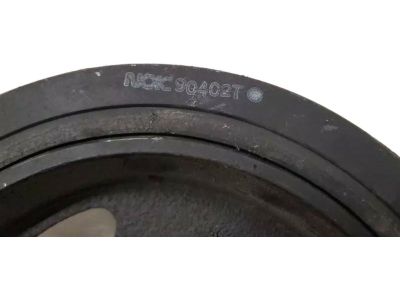
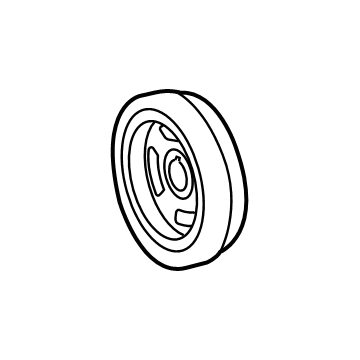
Part Number: 13470-37020$296.37 MSRP: $424.98You Save: $128.61 (31%)Ships in 1-2 Business DaysToyota Prius Engine Crankshaft Pulley
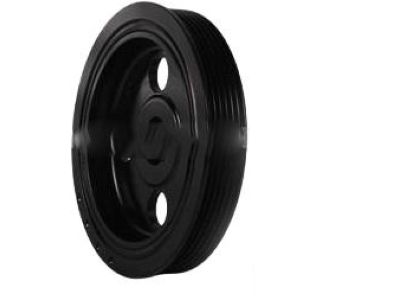
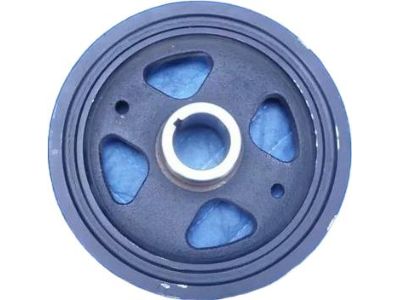
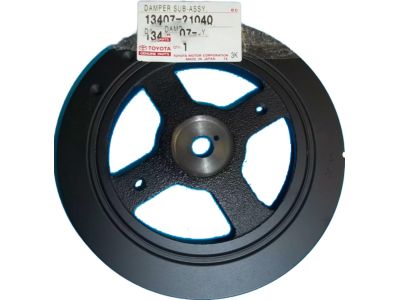
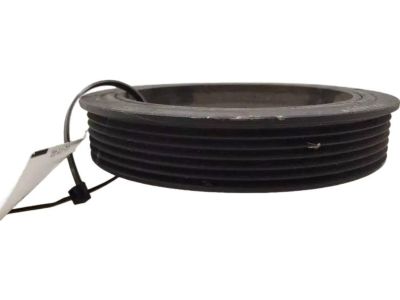
Part Number: 13470-37060$244.63 MSRP: $350.78You Save: $106.15 (31%)Ships in 1-3 Business DaysToyota Prius Damper Sub-Assy, Crankshaft
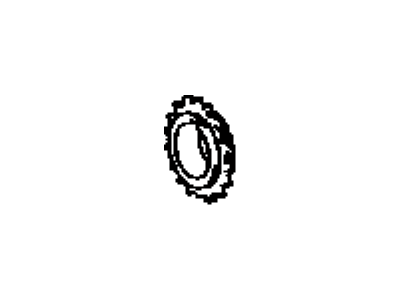
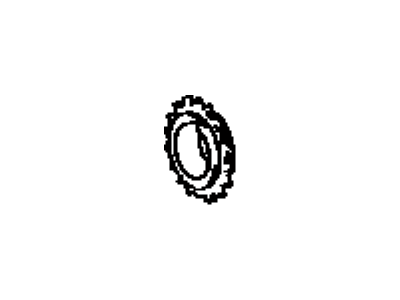
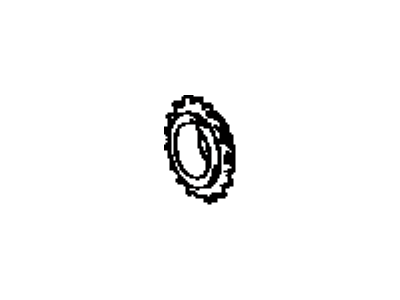
Part Number: 13407-21040$241.38 MSRP: $346.13You Save: $104.75 (31%)Ships in 1-3 Business DaysToyota Prius Gear Or Sprocket, Crankshaft Timing
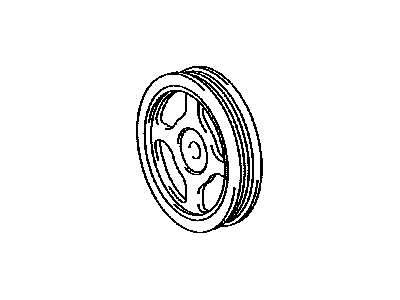
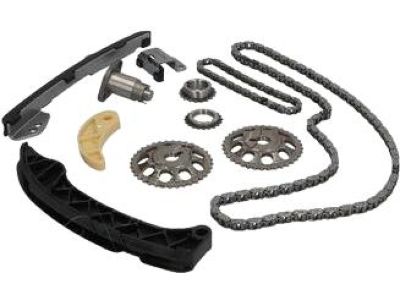
Part Number: 13521-37010$17.48 MSRP: $24.43You Save: $6.95 (29%)Ships in 1-2 Business DaysToyota Prius Crankshaft Pulley Assembly
Part Number: 13470-37050$269.69 MSRP: $386.72You Save: $117.03 (31%)Ships in 1-3 Business DaysToyota Prius Crankshaft Gear
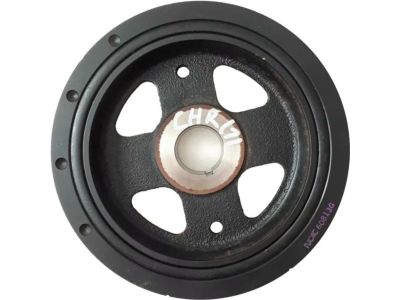
Part Number: 13521-37011$17.48 MSRP: $24.43You Save: $6.95 (29%)Ships in 1-3 Business DaysToyota Prius Crankshaft Gear
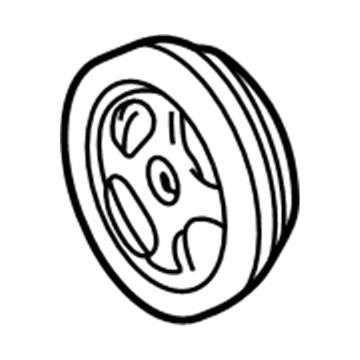
Part Number: 13521-24010$17.48 MSRP: $24.43You Save: $6.95 (29%)Ships in 1-3 Business DaysToyota Prius Crankshaft Pulley Assembly
Part Number: 13470-24020$191.27 MSRP: $274.27You Save: $83.00 (31%)Ships in 1-3 Business Days
Toyota Prius Crankshaft Pulley
If you are in demand for superior quality and affordable OEM Toyota Prius Crankshaft Pulley, then shop with us! We own a wide range of the reduced-priced genuine Toyota Prius Crankshaft Pulley. You can purchase in confidence as all parts come with a manufacturer's warranty. Any issues with our products? No need to worry as we have a hassle-free return policy to guide you every step of the way.
Toyota Prius Crankshaft Pulley Parts Questions & Experts Answers
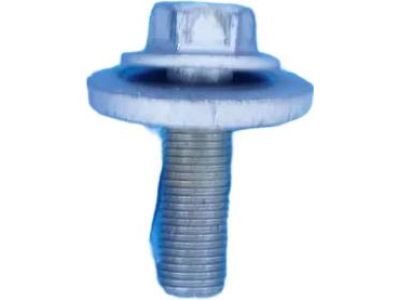
- Q: How to remove and install the crankshaft pulley on Toyota Prius?A:Disconnect the cable from the negative terminal of the 12-volt battery, ensuring to perform the initialization procedure upon reconnection. Remove the drive belt. With the parking brake applied and the shifter in Park, loosen the lug nuts from the right front wheel, then raise the front of the vehicle and support it securely on jackstands. Remove the right front wheel and the right splash shield from the wheel well, noting that some crankshaft pulley removal tools may not require these parts to be removed; test your puller beforehand. Remove the bolt from the front of the crankshaft, using a breaker bar if necessary due to the tightness of the bolt. A puller base with spacers can be mounted to the center hub of the pulley to prevent the crankshaft from turning while loosening the pulley retaining bolt. To avoid damaging the pulley, wrap the outside with an old drive belt when using a strap wrench. Utilize a puller that bolts to the crankshaft pulley hub to remove the crankshaft pulley, ensuring the correct puller with spacers is used to allow for a bar insertion to prevent turning during removal. It may be necessary to support the engine from above, remove the right side engine mount, and lower the engine for sufficient clearance depending on the puller type. For installation, slide the pulley onto the crankshaft, aligning the slot in the hub with the Woodruff key, and use a vibration damper installation tool to press the pulley into place, with the crankshaft bolt also serving to assist in positioning. Finally, tighten the crankshaft bolt, and complete the remaining installation steps in reverse order of removal.
Related Toyota Prius Parts
Browse by Year
2024 Crankshaft Pulley 2023 Crankshaft Pulley 2022 Crankshaft Pulley 2021 Crankshaft Pulley 2020 Crankshaft Pulley 2019 Crankshaft Pulley 2018 Crankshaft Pulley 2017 Crankshaft Pulley 2016 Crankshaft Pulley 2015 Crankshaft Pulley 2014 Crankshaft Pulley 2013 Crankshaft Pulley 2012 Crankshaft Pulley 2011 Crankshaft Pulley 2010 Crankshaft Pulley 2009 Crankshaft Pulley 2008 Crankshaft Pulley 2007 Crankshaft Pulley 2006 Crankshaft Pulley 2005 Crankshaft Pulley 2004 Crankshaft Pulley 2003 Crankshaft Pulley 2002 Crankshaft Pulley 2001 Crankshaft Pulley
