
My Garage
My Account
Cart
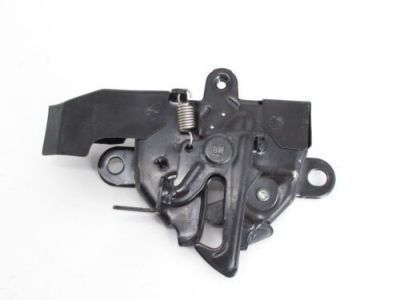
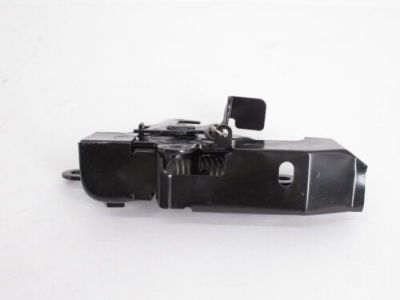
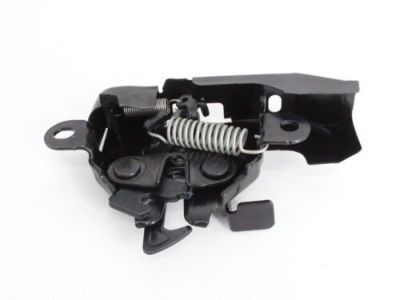
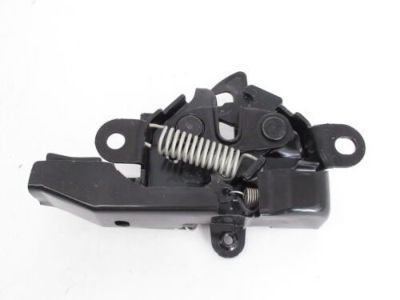
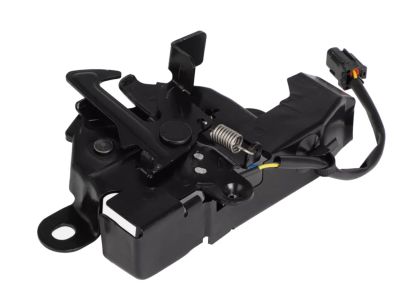
Genuine Toyota Sienna Hood Latch
Engine Hood Latch- Select Vehicle by Model
- Select Vehicle by VIN
Select Vehicle by Model
orMake
Model
Year
Select Vehicle by VIN
For the most accurate results, select vehicle by your VIN (Vehicle Identification Number).
9 Hood Latches found
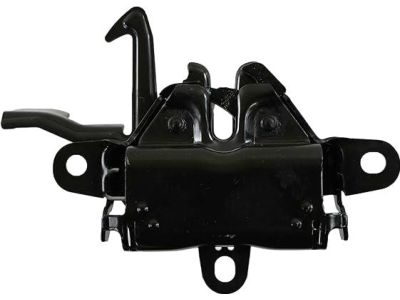
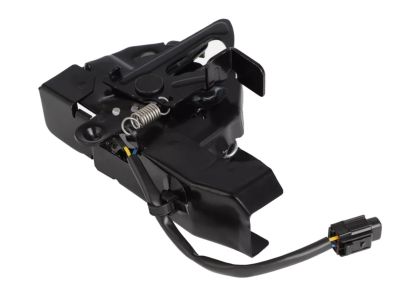
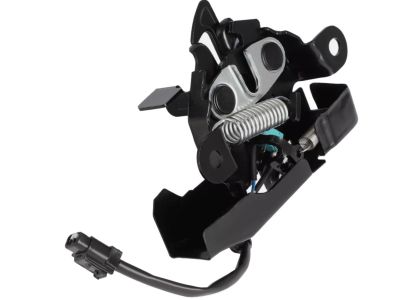
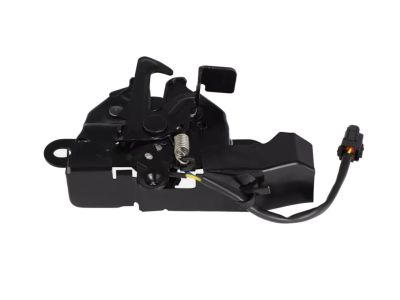
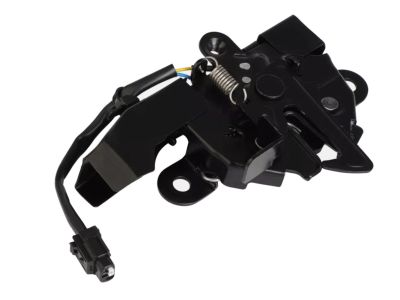
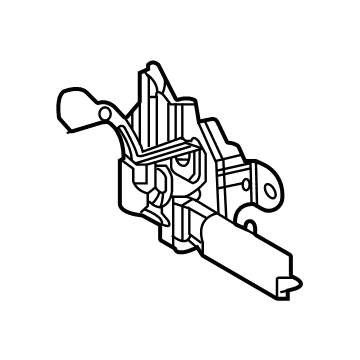
Toyota Sienna Hood Lock Assembly
Part Number: 53510-08041$81.41 MSRP: $114.76You Save: $33.35 (30%)Ships in 1-3 Business DaysToyota Sienna Hood Lock Assembly
Part Number: 53510-08030$47.23 MSRP: $66.02You Save: $18.79 (29%)Ships in 1-2 Business DaysToyota Sienna Hood Lock Assembly
Part Number: 53510-AE011$66.19 MSRP: $93.29You Save: $27.10 (30%)Ships in 1-3 Business DaysToyota Sienna Hood Lock Assembly
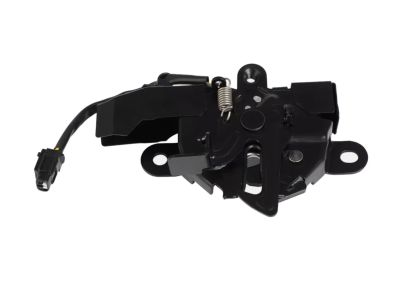
Part Number: 53510-08010$58.18 MSRP: $81.32You Save: $23.14 (29%)Ships in 1-2 Business DaysToyota Sienna Hood Lock Assembly
Part Number: 53510-AE021$83.41 MSRP: $117.59You Save: $34.18 (30%)Ships in 1-3 Business DaysToyota Sienna Hood Lock Assembly
Part Number: 53510-08040$81.41 MSRP: $114.76You Save: $33.35 (30%)Ships in 1-2 Business DaysToyota Sienna Hood Lock Assembly
Part Number: 53510-08060$72.09 MSRP: $101.62You Save: $29.53 (30%)Ships in 1-3 Business DaysToyota Sienna Hood Lock Assembly
Part Number: 53510-08020$65.24 MSRP: $91.97You Save: $26.73 (30%)Ships in 1-3 Business DaysToyota Sienna Hood Lock Assembly
Part Number: 53510-08050$51.40 MSRP: $71.84You Save: $20.44 (29%)Ships in 1-3 Business Days
Toyota Sienna Hood Latch
If you are in demand for superior quality and affordable OEM Toyota Sienna Hood Latch, then shop with us! We own a wide range of the reduced-priced genuine Toyota Sienna Hood Latch. You can purchase in confidence as all parts come with a manufacturer's warranty. Any issues with our products? No need to worry as we have a hassle-free return policy to guide you every step of the way.
Toyota Sienna Hood Latch Parts Questions & Experts Answers
- Q: How to install and adjust Hood Cable and Hood Latch for the hood release on Toyota Sienna?A:For the latch first, create a line around it on the door skin and remove the bolts that hold it in front of the radiator support for horizontal or vertical movement. Pull the hood cable off the latch assembly by unbending it and take off the latch. For the cable, most companies write to unfasten it from the latch assembly, thread a small wire or string through its end, and then unclasp all the staying securing clips at the radiator support. Raise and secure the front fenderwell, then the outer bolt from the bottom and the inner from the top remove the hood cable from the knee bolster by popping loose the grate then separate the top of the cable from the lever. Subsequently, extract the knee bolster and subsequently retract the cable as well as grommet into the passenger compartment to unveil the wire or string, if any. Check that a grommet is fitted on the new cable and untying the wire or string in the old cable and tie it on the new one. Recover the wire or string through the firewall to the new position of the latch assembly and locate the new cable just as in the previous step, insert the hood lever's new cable into its housing which slides into the notch on the handle bracket. At last, reverse the above order to finish up the installation and push on the grommet from the passengers area to allow it to fit into the firewall accordingly.
Related Toyota Sienna Parts
Browse by Year
2024 Hood Latch 2023 Hood Latch 2022 Hood Latch 2021 Hood Latch 2020 Hood Latch 2019 Hood Latch 2018 Hood Latch 2017 Hood Latch 2016 Hood Latch 2015 Hood Latch 2014 Hood Latch 2013 Hood Latch 2012 Hood Latch 2011 Hood Latch 2010 Hood Latch 2009 Hood Latch 2008 Hood Latch 2007 Hood Latch 2006 Hood Latch 2005 Hood Latch 2004 Hood Latch 2003 Hood Latch 2002 Hood Latch 2001 Hood Latch 2000 Hood Latch 1999 Hood Latch 1998 Hood Latch


