
My Garage
My Account
Cart
Genuine Toyota Supra A/C Switch
Air Conditioning Switch- Select Vehicle by Model
- Select Vehicle by VIN
Select Vehicle by Model
orMake
Model
Year
Select Vehicle by VIN
For the most accurate results, select vehicle by your VIN (Vehicle Identification Number).
2 A/C Switches found
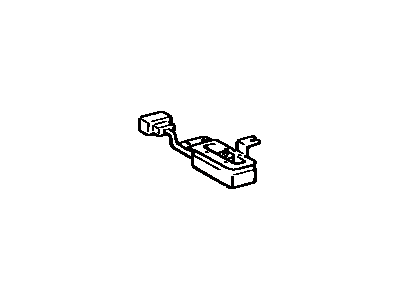
Toyota Supra A/C Switch
The A/C switch on Toyota Supra is the master control for the air conditioning system of the vehicle, being able to heat or cool the cabin to the required temperature. Situated in the dashboard with an attractive look of buttons, dials, and knobs to allow the users to have influence on car climate, irrespective of the weather outside. This module works together with switches and relays and power modules which are used to turn On and Off the climate control equipment. New model automatic temperature control units have a power module which regulates the speed of blower motor depending on the readings of the thermistors limiting the climate control experience of the earlier models having limited blower options. Services that may require replacement of the A/C Switch include new or fully remanufactured climate control module for issues such as faded labels, loose controls or even non functioning display.
If you are in demand for superior quality and affordable OEM Toyota Supra A/C Switch, then shop with us! We own a wide range of the reduced-priced genuine Toyota Supra A/C Switch. You can purchase in confidence as all parts come with a manufacturer's warranty. Any issues with our products? No need to worry as we have a hassle-free return policy to guide you every step of the way.
Toyota Supra A/C Switch Parts Questions & Experts Answers
- Q: How to remove and reinstall the front A/C Switch assembly in Toyota Supra?A:For 1979 through 1981 models, begin by disconnecting the negative battery cable and taking precautions if your vehicle's stereo has an anti-theft system. Remove the dashboard under tray by unscrewing three screws and taking it out. Next, unscrew and remove the lid from the glove compartment, pull off the heater control knobs, and gently pry off the control panel using a screwdriver. Remove the fuse box cover and the knobs from the radio, along with six screws from the instrument panel, and carefully pull the panel out from the bottom. Disconnect and remove the instrument cluster and clock, followed by removing the radio by disconnecting aerial and speaker wires and four mounting screws. Remove the air ducts from the heater assembly, disconnect the four heater control cables, and disconnect the heater blower switch/wires. Undo four screws to withdraw the A/C Switch. For dismantling the control panel, remove clips from outer cables and unhook inner ones, and the blower switch can be removed after unscrewing it. Reinstallation is the reverse of removal, with particular attention to adjusting the control cables, which operate different components of the heater system based on their lengths.For 1982 through 1986 models, start by disconnecting the negative battery cable, taking precautions for anti-theft systems in your stereo. Remove control knobs, unscrew three panel securing screws, and withdraw the panel. Remove the upper console panel and forward console, as well as the ashtray and lower retaining screws. Undo upper retaining screws, disconnect lighter and ashtray light connectors, and remove the panel. Unclip and detach the gear lever boot for the console. Remove retaining screws on each side at the front and rear, pull the console forward, and disconnect electrical connections. Remove a metal side pillar support bracket by removing the screw and bolts. Lower the control unit, disconnect the electrical connector and control cables, and remove the A/C Switch. Reinstallation is the reverse of removal.For 1987 and later models, disconnect the negative battery cable and consider anti-theft system precautions for the stereo. Remove the ashtray and detach the ashtray retainer by removing two screws (for models with a manual transmission, remove the shift lever knob). Remove three screws attaching the instrument cluster finish panel to the console. Remove three screws holding the A/C Switch to the dash, pull out the control assembly, unplug all electrical connectors, and remove it. Reinstallation is the reverse of removal.


