
My Garage
My Account
Cart
Genuine Toyota Tercel A/C Expansion Valve
Air Conditioning Expansion Valve- Select Vehicle by Model
- Select Vehicle by VIN
Select Vehicle by Model
orMake
Model
Year
Select Vehicle by VIN
For the most accurate results, select vehicle by your VIN (Vehicle Identification Number).
7 A/C Expansion Valves found
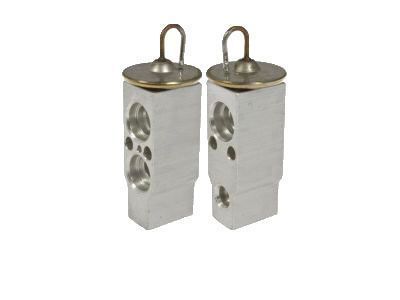
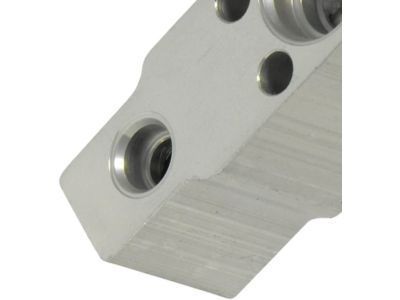
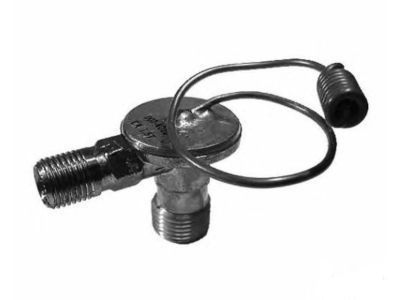
Toyota Tercel Cooler Expansion Valve
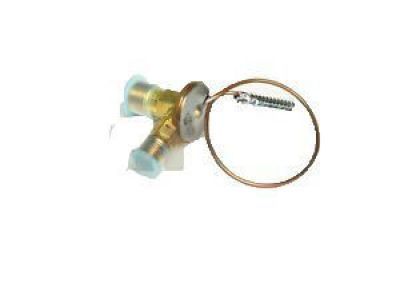
Part Number: 88515-20100$89.67 MSRP: $126.40You Save: $36.73 (30%)Ships in 1-3 Business DaysToyota Tercel Cooler Expansion Valve
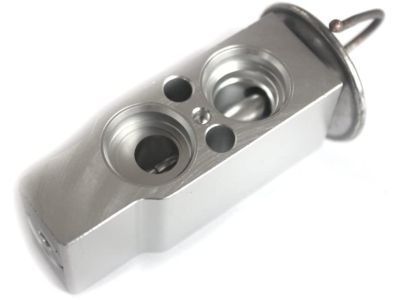
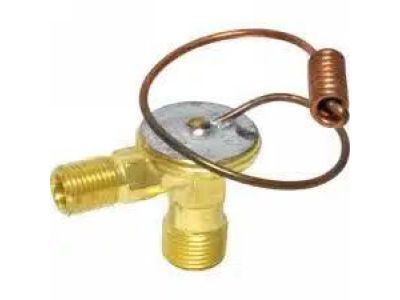
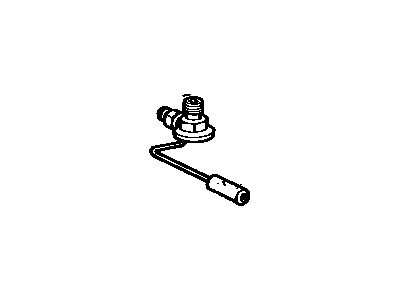
Part Number: 88515-16040$62.41 MSRP: $87.98You Save: $25.57 (30%)Ships in 1-3 Business DaysToyota Tercel Cooler Expansion Valve
Part Number: 88515-16031$48.30 MSRP: $67.51You Save: $19.21 (29%)Toyota Tercel Cooler Expansion Valve
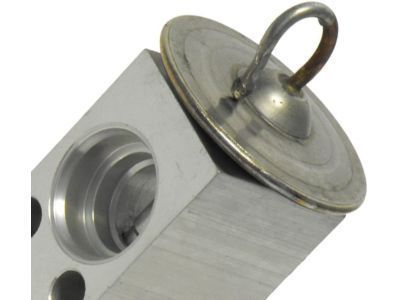
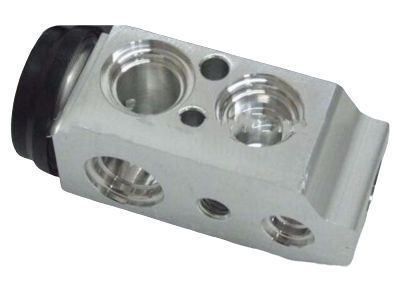
Part Number: 88515-16030$48.30 MSRP: $67.51You Save: $19.21 (29%)Toyota Tercel Cooler Expansion Valve
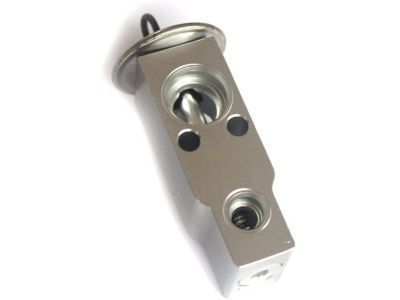
Part Number: 88515-20040$48.30 MSRP: $67.51You Save: $19.21 (29%)Ships in 1-3 Business Days
Toyota Tercel A/C Expansion Valve
If you are in demand for superior quality and affordable OEM Toyota Tercel A/C Expansion Valve, then shop with us! We own a wide range of the reduced-priced genuine Toyota Tercel A/C Expansion Valve. You can purchase in confidence as all parts come with a manufacturer's warranty. Any issues with our products? No need to worry as we have a hassle-free return policy to guide you every step of the way.
Toyota Tercel A/C Expansion Valve Parts Questions & Experts Answers
- Q: How to remove refrigerant,A/C Expansion Valve and Evaporator from a Toyota Tercel air conditioning system?A:To remove the refrigerant from a vehicle's air conditioning system, it is recommended to have it discharged at a dealer service department or an automotive air conditioning repair facility. Before starting the removal process, disconnect the battery cable from the negative battery terminal, ensuring you have the correct activation code for the stereo if it has an anti-theft system. In the engine compartment, disconnect the refrigerant lines from the evaporator, using a backup wrench to avoid damaging the lines. Cap the open fittings immediately to prevent dirt and moisture from entering, and remove the inlet and outlet grommets. Remove the glove box and lower trim panel, followed by the Blower Motor and air conditioning amplifier from the cooling unit. Disconnect all electrical connectors and tubing, remove the mounting nuts and bolts, and pull the unit free. To remove the evaporator and A/C Expansion Valve, disconnect all connectors, unfasten the retaining clips, and remove the retaining screws. Check the evaporator fins for blockage and clean them with compressed air if necessary. Inspect fittings for cracks and wear, replacing any parts as needed. For installation, follow the reverse of the removal procedure, ensuring to replace all O-rings with new ones. If a new evaporator was installed, add the appropriate amount of refrigerant oil to the system. Finally, have the system evacuated, charged, and leak tested by a professional shop.
Related Toyota Tercel Parts
Browse by Year
1999 A/C Expansion Valve 1998 A/C Expansion Valve 1997 A/C Expansion Valve 1996 A/C Expansion Valve 1995 A/C Expansion Valve 1994 A/C Expansion Valve 1993 A/C Expansion Valve 1992 A/C Expansion Valve 1991 A/C Expansion Valve 1990 A/C Expansion Valve 1989 A/C Expansion Valve 1988 A/C Expansion Valve 1987 A/C Expansion Valve 1986 A/C Expansion Valve 1985 A/C Expansion Valve 1984 A/C Expansion Valve 1983 A/C Expansion Valve 1982 A/C Expansion Valve 1981 A/C Expansion Valve 1980 A/C Expansion Valve
