
My Garage
My Account
Cart
Genuine Toyota Tundra Instrument Cluster
Speedometer Instrument Cluster- Select Vehicle by Model
- Select Vehicle by VIN
Select Vehicle by Model
orMake
Model
Year
Select Vehicle by VIN
For the most accurate results, select vehicle by your VIN (Vehicle Identification Number).
121 Instrument Clusters found
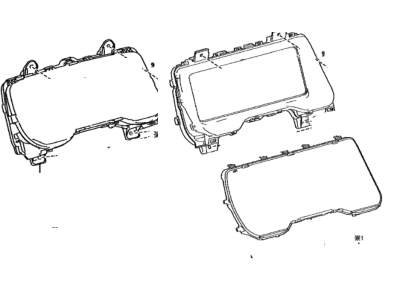
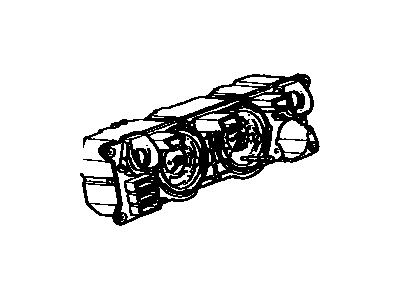
Toyota Tundra Combination Meter Assembly
Part Number: 83800-0CX10$413.45 MSRP: $616.80You Save: $203.35 (33%)Ships in 1-3 Business DaysToyota Tundra Combination Meter Assembly
Part Number: 83800-0CX50$844.41 MSRP: $1260.83You Save: $416.42 (34%)Ships in 1-2 Business DaysToyota Tundra Combination Meter Assembly
Part Number: 83800-0CS60$413.29 MSRP: $616.54You Save: $203.25 (33%)Ships in 1-3 Business DaysToyota Tundra Combination Meter Assembly
Part Number: 83800-0CA90$399.96 MSRP: $596.66You Save: $196.70 (33%)Ships in 1-3 Business DaysToyota Tundra Combination Meter Assembly
Part Number: 83800-0CQ91$454.41 MSRP: $677.88You Save: $223.47 (33%)Ships in 1-3 Business DaysToyota Tundra Combination Meter Assembly
Part Number: 83800-0CS90$397.48 MSRP: $592.95You Save: $195.47 (33%)Ships in 1-3 Business DaysToyota Tundra Combination Meter Assembly
Part Number: 83800-0CT10$398.19 MSRP: $594.01You Save: $195.82 (33%)Ships in 1-3 Business DaysToyota Tundra Combination Meter Assembly
Part Number: 83800-0C870$399.96 MSRP: $596.66You Save: $196.70 (33%)Ships in 1-3 Business DaysToyota Tundra Combination Meter Assembly
Part Number: 83800-0CB20$399.96 MSRP: $596.66You Save: $196.70 (33%)Ships in 1-3 Business DaysToyota Tundra Combination Meter Assembly
Part Number: 83800-0CU10$401.90 MSRP: $599.56You Save: $197.66 (33%)Ships in 1-3 Business DaysToyota Tundra Combination Meter Assembly
Part Number: 83800-0CX11$413.29 MSRP: $616.54You Save: $203.25 (33%)Ships in 1-3 Business DaysToyota Tundra Combination Meter Assembly
Part Number: 83800-0CT50$404.13 MSRP: $602.89You Save: $198.76 (33%)Ships in 1-3 Business DaysToyota Tundra Combination Meter Assembly
Part Number: 83800-0CB00$399.96 MSRP: $596.66You Save: $196.70 (33%)Ships in 1-3 Business DaysToyota Tundra Combination Meter Assembly
Part Number: 83800-0CU50$401.50 MSRP: $598.95You Save: $197.45 (33%)Ships in 1-3 Business DaysToyota Tundra Combination Meter Assembly
Part Number: 83800-0CT51$405.37 MSRP: $604.73You Save: $199.36 (33%)Ships in 1-2 Business DaysToyota Tundra Combination Meter Assembly
Part Number: 83800-0CV70$739.80 MSRP: $1104.61You Save: $364.81 (34%)Ships in 1-3 Business DaysToyota Tundra Combination Meter Assembly
Part Number: 83800-0CW43$844.41 MSRP: $1260.83You Save: $416.42 (34%)Ships in 1-2 Business DaysToyota Tundra Combination Meter Assembly
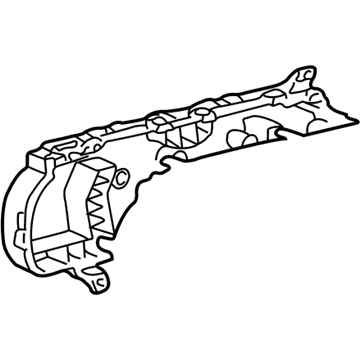
Part Number: 83800-0CW33$845.54 MSRP: $1262.50You Save: $416.96 (34%)Ships in 1-2 Business DaysToyota Tundra Combination Meter Case
Part Number: 83841-0C210$95.62 MSRP: $134.78You Save: $39.16 (30%)Ships in 1-3 Business DaysToyota Tundra Meter Assembly, Combination
Part Number: 83800-0CE90$226.72 MSRP: $325.11You Save: $98.39 (31%)
| Page 1 of 7 |Next >
1-20 of 121 Results
Toyota Tundra Instrument Cluster
If you are in demand for superior quality and affordable OEM Toyota Tundra Instrument Cluster, then shop with us! We own a wide range of the reduced-priced genuine Toyota Tundra Instrument Cluster. You can purchase in confidence as all parts come with a manufacturer's warranty. Any issues with our products? No need to worry as we have a hassle-free return policy to guide you every step of the way.
Toyota Tundra Instrument Cluster Parts Questions & Experts Answers
- Q: Is the Instrument Cluster removal procedure difficult for the home mechanic on Toyota Tundra?A:An inconvenience in this procedure that makes the home mechanics find it unbearable is that some bolts are obscured, and the metal works require awkward angles, in addition, there are various electrical connectors that require tagging and then disconnected. Therefore it is recommended only for those who have prior experience on their own house repairs. A lot of attention should be paid during the removal of the instrument panel to note the order and position of each component to enable a correct fix. However, it is recommended to remove both front seats, although they are not necessary for working; it gives more working space and less chance of scratching. First, unplug the cable from the negative terminal of battery, then take out the dashboard trim panels, and the center floor console. If mated, remove the driver's side knee airbag connector, remove the mounting bolts of the knee airbag, and then remove the airbag. Then, take out the instrument cluster, glove compartment, as well as the storage box. Pull off the instrument panel lower side and console trim, wrinkles and A-pillar trim panels and then disengage the passenger airbag connector and finally, taking out the audio unit from the panel of the car's dash. Take out the a/c control panel and locate the end cap, unscrew the reinforcement tube mount bolts. Remove the bolts holding the steering column and moved it down off of the instrument panel. Remove several electrical connectors and make sure that they would not be interchanged by using masking tape in labeling the various chords. Pop off the speaker trim covers and the defroster trim panel, and then disconnect the optical sensor's harness connector. Turn all nuts secured with the instrument panel to the body, tilt the panel and draw it backward to extract out along the driver's door opening. If the instrument panel reinforcement tube is also being removed, if any interfering connectors is present they need to be disconnected, the wires harness need to be unplug and the FASTENERS for the tube need to be removed and removal of the tube through the driver's door opening is done. Its removal is in the reverse sequence as installation.
Related Toyota Tundra Parts
Browse by Year
2024 Instrument Cluster 2023 Instrument Cluster 2022 Instrument Cluster 2021 Instrument Cluster 2020 Instrument Cluster 2019 Instrument Cluster 2018 Instrument Cluster 2017 Instrument Cluster 2016 Instrument Cluster 2015 Instrument Cluster 2014 Instrument Cluster 2013 Instrument Cluster 2012 Instrument Cluster 2011 Instrument Cluster 2010 Instrument Cluster 2009 Instrument Cluster 2008 Instrument Cluster 2007 Instrument Cluster 2006 Instrument Cluster 2005 Instrument Cluster 2004 Instrument Cluster 2003 Instrument Cluster 2002 Instrument Cluster 2001 Instrument Cluster 2000 Instrument Cluster


