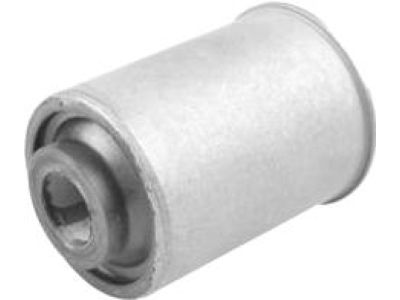
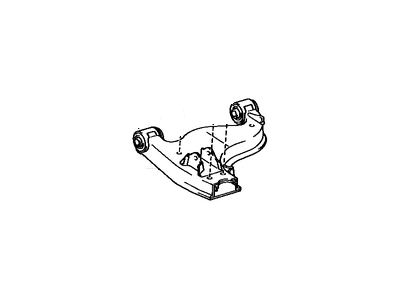
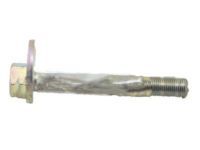
Loosen the lug nuts without removing them, then raise the front of the vehicle and support it on jackstands before removing the lug nuts and front wheel. Remove the two bolts securing the steering knuckle to the bottom of the strut assembly, pressing down on the control arm to disengage the strut assembly from the knuckle. Disconnect the tie-rod end from the steering knuckle, the stabilizer bar from the control arm, and the strut bar from the control arm. Remove the nut from the pivot bolt at the inner end of the control arm, support the weight of the control arm, withdraw the pivot bolt, and remove the arm along with the rack boot protector. If the bushings at the inner end of the arm are worn, they can be replaced using a press or a vise, socket, and piece of pipe. If the control arm balljoint is excessively worn, the entire control arm assembly must be replaced, although the balljoint dust cover can be replaced separately by separating the knuckle from the control arm. Remove the cotter pin and loosen the nut securing the steering knuckle to the balljoint, then support the knuckle in a vise and use a press or steering wheel puller to drive the balljoint stud down through the knuckle arm, taking care not to damage the stud threads. Pry off the dust cover set ring and the cover, clean the stud and cover seat on the balljoint, lubricate the new cover with grease, and install it with the escape valve facing the rear of the vehicle. Wind the new retaining wire around the dust cover, twist the ends together to secure it, trim off the excess wire, and bend the wire knot down. Remove the plug from the base of the balljoint, insert a grease fitting, lubricate the joint with moly-base grease, remove the fitting, and reinstall the plug. To install, attach the steering knuckle to the control arm balljoint, tighten the nut, and insert a new cotter pin. Align the control arm with the pivot bolt holes in the crossmember, insert the pivot bolt, and hand tighten the nut. Reconnect the stabilizer bar and strut bar to the control arm, tightening the fasteners, then attach the tie-rod end to the steering knuckle, tighten the nut, and install a new cotter pin. Reconnect the steering knuckle to the bottom of the strut assembly and tighten the two bolts. Install the wheels and lug nuts, lower the vehicle, and tighten the lug nuts. Bounce the front end of the vehicle to ensure the suspension is settled, then tighten the control arm pivot bolt and nut. Finally, have the front wheel alignment checked by a professional.
Posted by ToyotaPartsDeal Specialist 

