
My Garage
My Account
Cart
Genuine Toyota 4Runner Differential
Front Differential- Select Vehicle by Model
- Select Vehicle by VIN
Select Vehicle by Model
orMake
Model
Year
Select Vehicle by VIN
For the most accurate results, select vehicle by your VIN (Vehicle Identification Number).
106 Differentials found
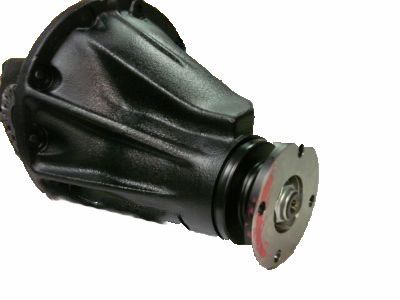
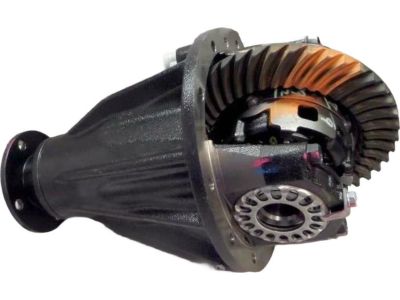
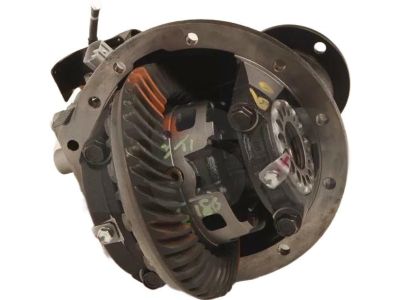
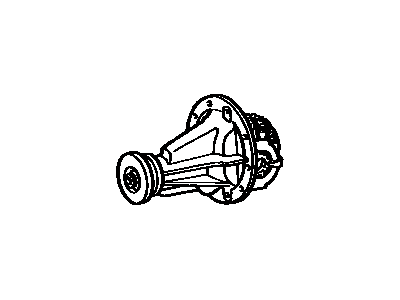
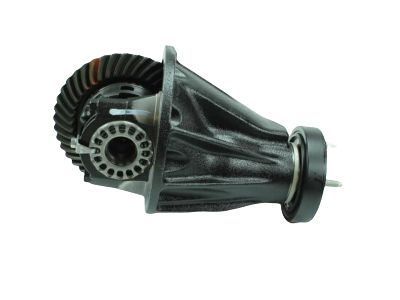
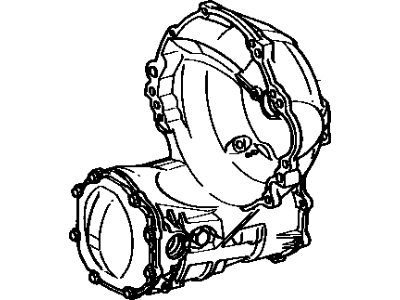
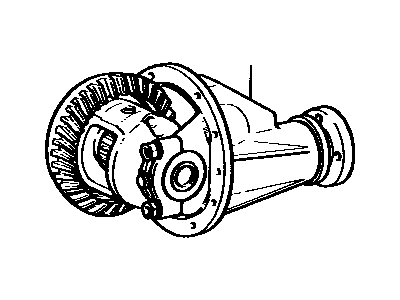
Toyota 4Runner Rear Differential Carrier Assembly
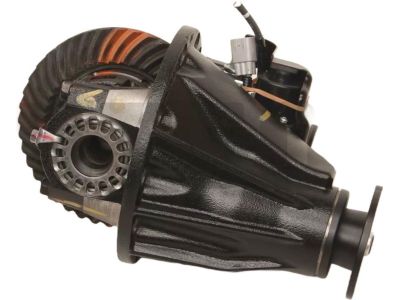
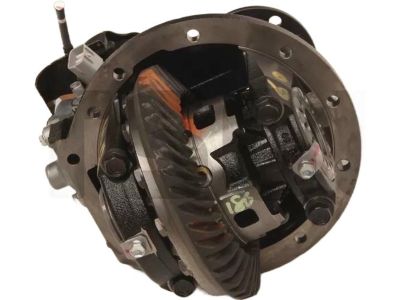
Part Number: 41110-3D550$1803.78 MSRP: $2693.29You Save: $889.51 (34%)Ships in 1-3 Business DaysToyota 4Runner Rear Differential Carrier Assembly
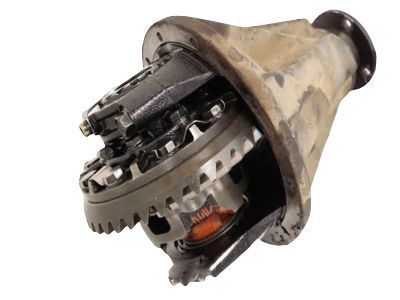
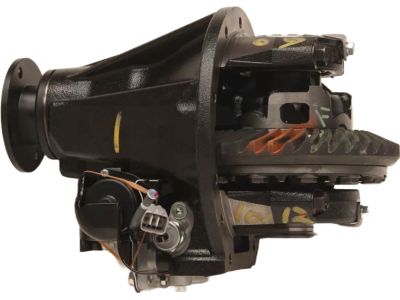
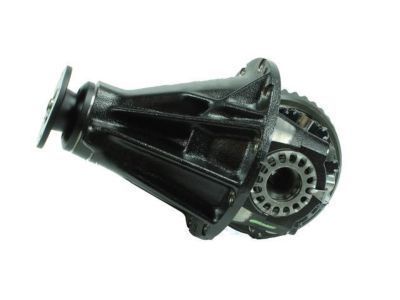
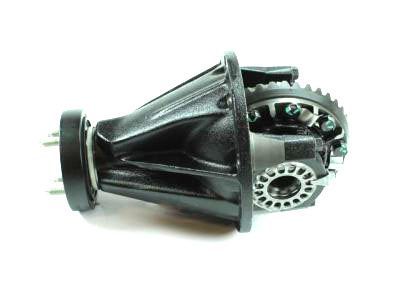
Part Number: 41110-35890$1462.89 MSRP: $2184.30You Save: $721.41 (34%)Ships in 1-3 Business DaysToyota 4Runner Rear Differential Carrier Assembly
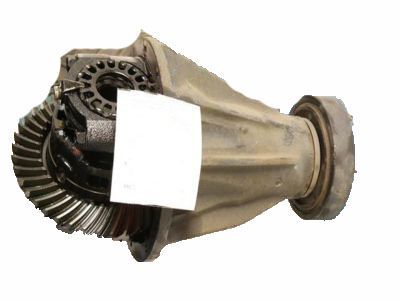
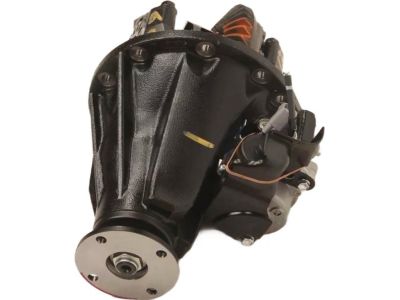
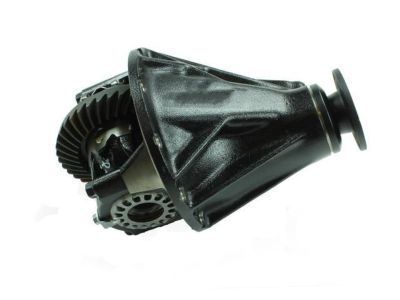
Part Number: 41110-3D470$1805.45 MSRP: $2695.79You Save: $890.34 (34%)Ships in 1-3 Business DaysToyota 4Runner Rear Differential Carrier Assembly
Part Number: 41110-35D30$2019.34 MSRP: $3015.14You Save: $995.80 (34%)Ships in 1-3 Business DaysToyota 4Runner Rear Differential Carrier Assembly
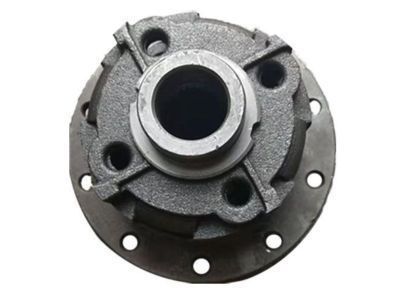
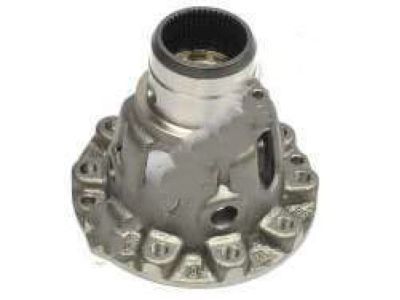
Part Number: 41110-35270$1433.37 MSRP: $2140.22You Save: $706.85 (34%)Ships in 1-3 Business DaysToyota 4Runner Rear Differential Case Sub-Assembly
Part Number: 41301-60060$748.49 MSRP: $1117.59You Save: $369.10 (34%)Ships in 1-3 Business DaysToyota 4Runner Rear Differential Carrier Assembly
Part Number: 41110-35C60$1805.45 MSRP: $2695.79You Save: $890.34 (34%)Ships in 1-2 Business DaysToyota 4Runner Rear Differential Case Sub-Assembly
Part Number: 41302-35020$342.74 MSRP: $511.30You Save: $168.56 (33%)Ships in 1-3 Business DaysToyota 4Runner Rear Differential Carrier Assembly
Part Number: 41110-35B60$2488.89 MSRP: $3716.26You Save: $1227.37 (34%)Ships in 1-3 Business DaysToyota 4Runner Rear Differential Carrier Assembly
Part Number: 41110-35C80$1462.89 MSRP: $2184.30You Save: $721.41 (34%)Ships in 1-3 Business DaysToyota 4Runner Differential Carrier Assembly
Part Number: 41110-35A92$1711.43 MSRP: $2555.40You Save: $843.97 (34%)Ships in 1-3 Business DaysToyota 4Runner Case, Front Differential
Part Number: 41311-35110$337.72 MSRP: $503.81You Save: $166.09 (33%)Ships in 1-3 Business DaysToyota 4Runner Front Differential Carrier Assembly
Part Number: 41110-34241$1817.46 MSRP: $2713.71You Save: $896.25 (34%)Ships in 1-3 Business DaysToyota 4Runner Front Differential Carrier Assembly
Part Number: 41110-35360$1880.67 MSRP: $2808.09You Save: $927.42 (34%)Ships in 1-3 Business DaysToyota 4Runner Rear Differential Carrier Assembly
Part Number: 41110-3D080$2104.89 MSRP: $3142.90You Save: $1038.01 (34%)Ships in 1-3 Business DaysToyota 4Runner Front Differential Carrier Assembly
Part Number: 41110-34261$2204.26 MSRP: $3291.27You Save: $1087.01 (34%)Ships in 1-3 Business DaysToyota 4Runner Rear Differential Carrier Assembly
Part Number: 41110-35870$1371.99 MSRP: $2048.57You Save: $676.58 (34%)Ships in 1-3 Business DaysToyota 4Runner Front Differential Carrier Assembly
Part Number: 41110-3D422$1393.38 MSRP: $2080.51You Save: $687.13 (34%)Ships in 1-3 Business DaysToyota 4Runner Front Differential Carrier Assembly
Part Number: 41110-35820$1464.56 MSRP: $2186.80You Save: $722.24 (34%)Ships in 1-3 Business DaysToyota 4Runner Rear Differential Carrier Assembly
Part Number: 41110-35880$1577.97 MSRP: $2356.12You Save: $778.15 (34%)Ships in 1-3 Business Days
| Page 1 of 6 |Next >
1-20 of 106 Results
Toyota 4Runner Differential
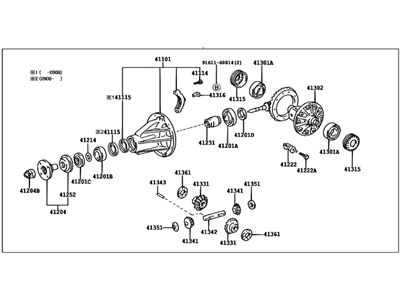
The Toyota 4Runner Differential is a special mechanism in the car's transmission system, which lets the vehicle wheels turn at different speeds depending on the corner in order to continue to remain in contact with the ground and provide adequate grip with the ground at all times. Various types of differentials including bevel, spur, and epicyclic differentials have been used in the 4Runner vehicles with features that include torque splitting, compactness among others. Open differentials are commonly used, they however, can result in poor tractions on slippery surfaces because of almost equal splitting of torque. The 4Runner has active and limited-slip differentials for better torque delivery on the road and active ones may be used for tuning/ drifting. In conclusion, Toyota 4Runner Differential is very significant in the improvement of vehicle performance and handling capacity.
If you are in demand for superior quality and affordable OEM Toyota 4Runner Differential, then shop with us! We own a wide range of the reduced-priced genuine Toyota 4Runner Differential. You can purchase in confidence as all parts come with a manufacturer's warranty. Any issues with our products? No need to worry as we have a hassle-free return policy to guide you every step of the way.
Toyota 4Runner Differential Parts Questions & Experts Answers
- Q: What is the Automatic Disconnecting Differential (ADD) for 4WD models and how is it removed and installed on 2003 through 2009 Toyota 4Runner?A:The Automatic Disconnecting Differential (ADD) system is responsible for connecting the power flow through the left Axle Shaft in 4WD mode and disconnecting it in 2WD mode. While ADD offers convenience in selecting 2WD or 4WD without dealing with locking hubs, it increases wear on CV joints, CV Boot, and certain axle and differential components that rotate even in 2WD. Regular inspection of CV joints and boots is recommended for ADD-equipped vehicles. If issues arise during shifting into or out of 4WD, it's advisable to have the ADD system checked by a qualified repair shop or dealer service department specializing in 4WD vehicles. For differential carrier removal, begin by loosening the wheel lug nuts, and raising and securely supporting the vehicle on jack stands. Remove engine splash shields, and driveaxles, and drain the lubricant from the differential. Disconnect the driveshaft from the front differential and support the front end with wire. Proceed to remove the front stabilizer bar, brackets, front wheel speed sensors, and front tie rod ends, and separate the lower control arms from the steering knuckles. Disconnect the breather tube bracket, detach the fasteners retaining the vacuum tubing bracket, unplug the actuator electrical connector, and detach the actuator vacuum hoses. Remove the tube and wire harness assembly from the differential. Support the differential with a transmission jack or floor jack, remove the differential rear mounting nut and the two front mounting bolts/nuts, and lower the differential. For installation, follow the reverse order of removal. Refill the differential with the appropriate lubricant and tighten the lug nuts to the specified torque. To remove the ADD actuator, raise the vehicle and support it securely on jack stands. Remove the splash shields and the four retaining bolts. Take out the actuator. Before installing the actuator, clean off the old RTV sealant from the mating surfaces of the differential and the actuator, and apply a thin bead of new RTV sealant to those surfaces. During installation, tighten the bolts according to specifications, and reverse the steps of removal.
Related Toyota 4Runner Parts
Browse by Year
2024 Differential 2023 Differential 2022 Differential 2021 Differential 2020 Differential 2019 Differential 2018 Differential 2017 Differential 2016 Differential 2015 Differential 2014 Differential 2013 Differential 2012 Differential 2011 Differential 2010 Differential 2009 Differential 2008 Differential 2007 Differential 2006 Differential 2005 Differential 2004 Differential 2003 Differential 2002 Differential 2001 Differential 2000 Differential 1999 Differential 1998 Differential 1997 Differential 1996 Differential 1995 Differential 1994 Differential 1993 Differential 1992 Differential 1991 Differential 1990 Differential 1989 Differential 1988 Differential 1987 Differential 1986 Differential 1985 Differential 1984 Differential
