
My Garage
My Account
Cart
Genuine Toyota Land Cruiser Control Arm
Suspension Arm- Select Vehicle by Model
- Select Vehicle by VIN
Select Vehicle by Model
orMake
Model
Year
Select Vehicle by VIN
For the most accurate results, select vehicle by your VIN (Vehicle Identification Number).
12 Control Arms found
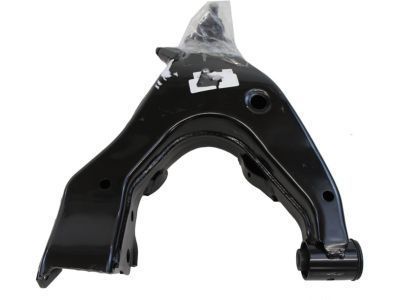
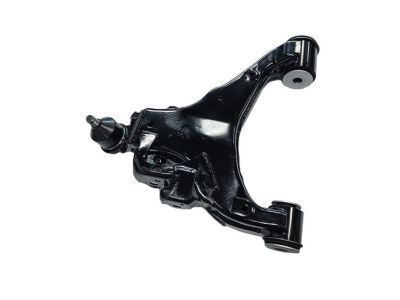
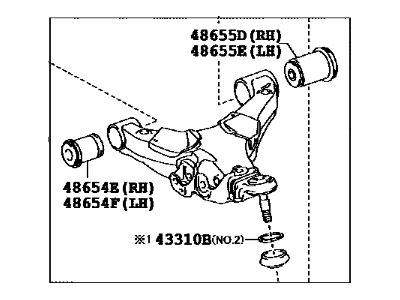
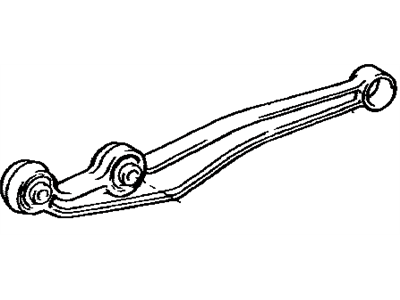
Toyota Land Cruiser Front Suspension Lower Control Arm Assembly Right
Part Number: 48620-60010$321.12 MSRP: $460.47You Save: $139.35 (31%)Ships in 1-3 Business DaysToyota Land Cruiser Front Suspension Control Arm Sub-Assembly Lower Right
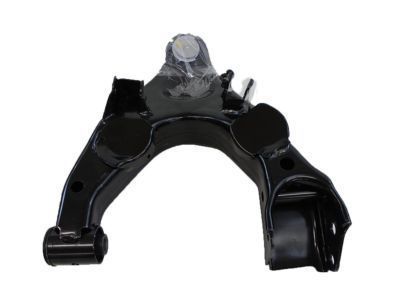
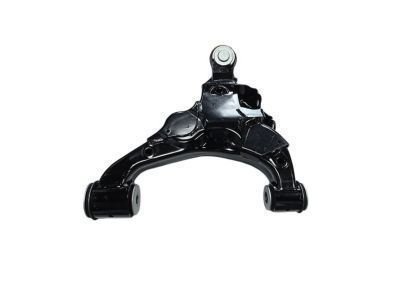
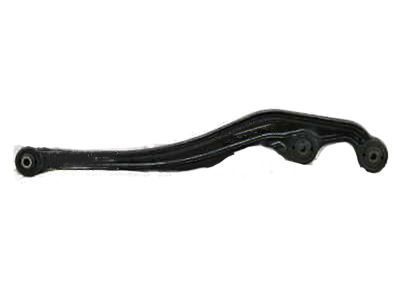
Part Number: 48068-60030$287.65 MSRP: $412.46You Save: $124.81 (31%)Toyota Land Cruiser Front Suspension Control Arm Sub-Assembly Lower Left
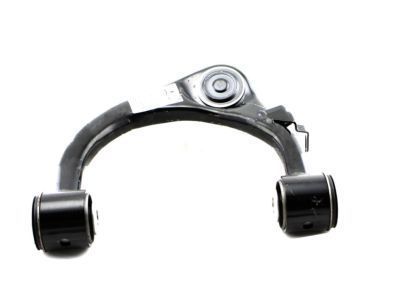
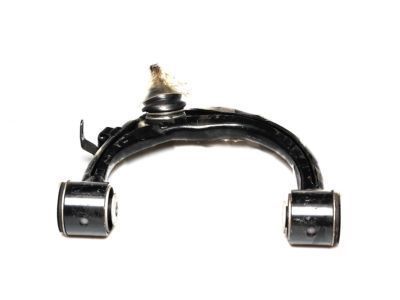
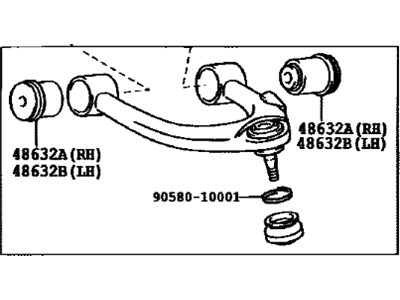
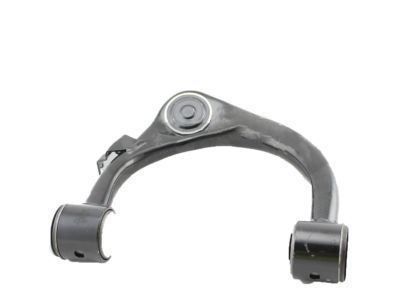
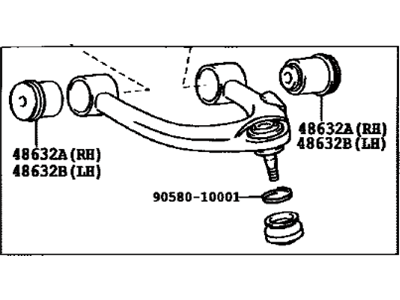
Part Number: 48069-60030$284.48 MSRP: $407.92You Save: $123.44 (31%)Ships in 1-3 Business DaysToyota Land Cruiser Front Suspension Upper Control Arm Assembly Right
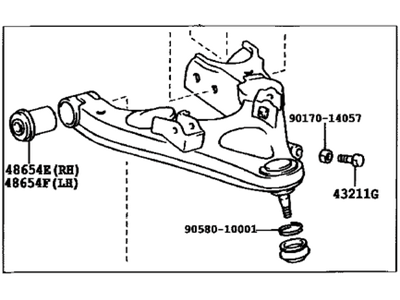
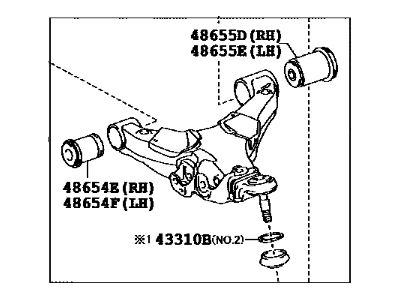
Part Number: 48610-60030$337.95 MSRP: $504.15You Save: $166.20 (33%)Ships in 1-3 Business DaysToyota Land Cruiser Front Suspension Upper Control Arm Assembly Right
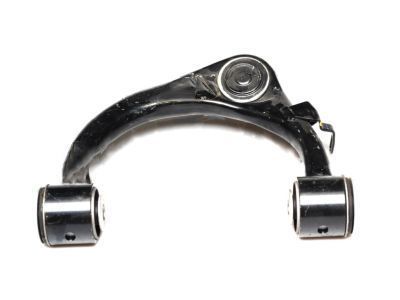
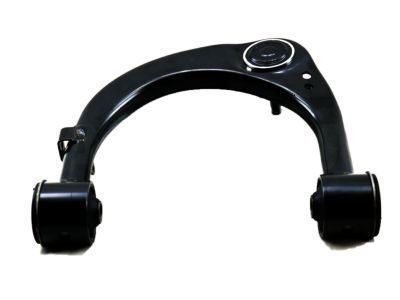
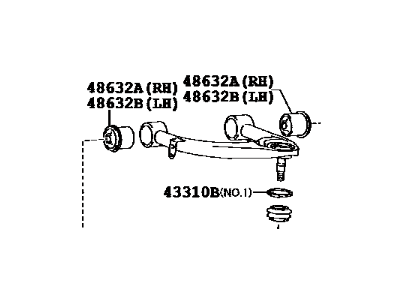
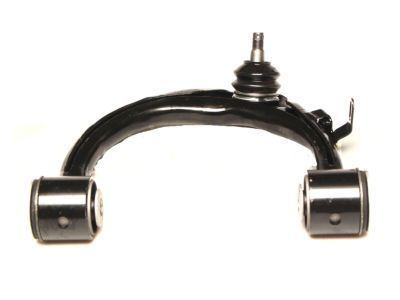
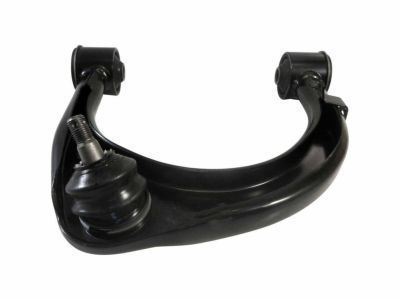
Part Number: 48610-60060$291.73 MSRP: $418.32You Save: $126.59 (31%)Ships in 1-3 Business DaysToyota Land Cruiser Front Suspension Upper Control Arm Assembly Left
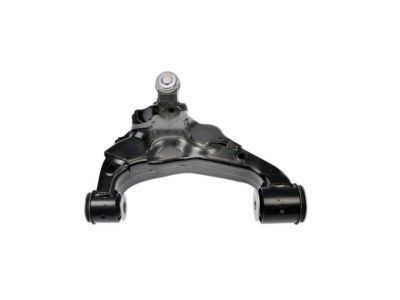
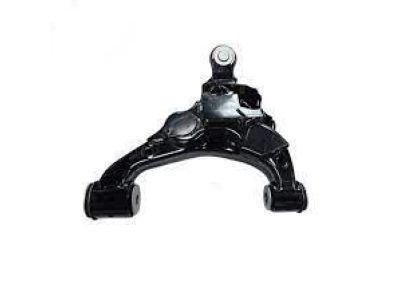
Part Number: 48630-60010$337.95 MSRP: $504.15You Save: $166.20 (33%)Ships in 1-3 Business DaysToyota Land Cruiser Front Suspension Upper Control Arm Assembly Left
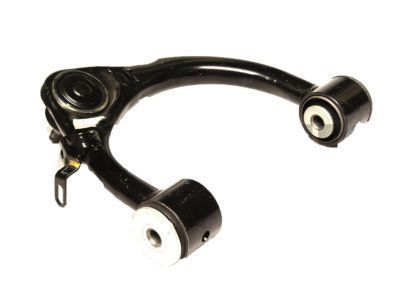
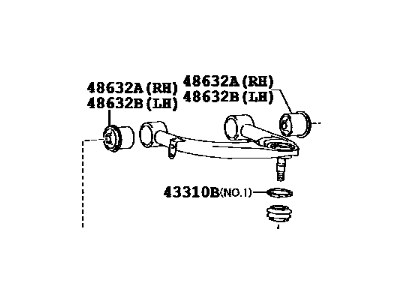
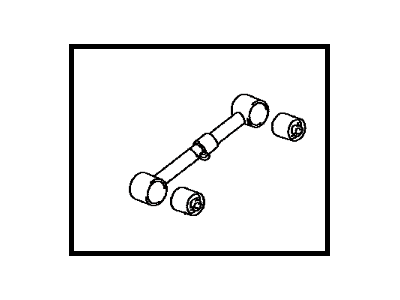
Part Number: 48630-60030$291.73 MSRP: $418.32You Save: $126.59 (31%)Ships in 1-3 Business DaysToyota Land Cruiser Arm Assembly, Upper Control, Rear Left
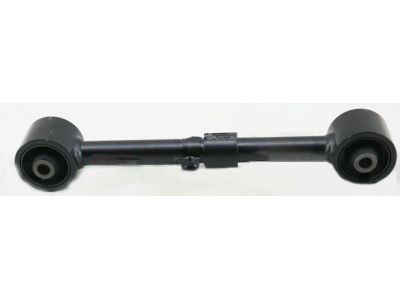
Part Number: 48710-60150$137.93 MSRP: $196.09You Save: $58.16 (30%)Ships in 1-3 Business DaysToyota Land Cruiser Arm Assembly Upper Control Rear Left
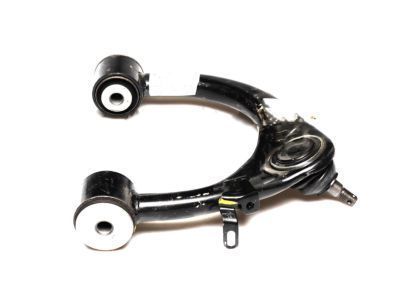
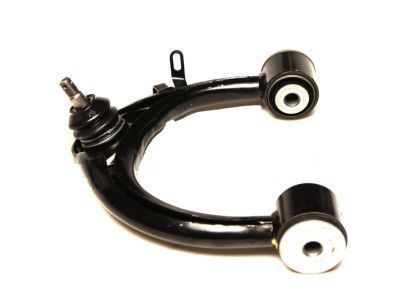
Part Number: 48710-60131$134.07 MSRP: $190.61You Save: $56.54 (30%)Ships in 1-3 Business DaysToyota Land Cruiser Front Leading Arm Assembly
Part Number: 48610-60022$325.60 MSRP: $466.89You Save: $141.29 (31%)Ships in 1-3 Business DaysToyota Land Cruiser Front Leading Arm Assembly
Part Number: 48610-60020$341.85 MSRP: $509.97You Save: $168.12 (33%)Ships in 1-3 Business DaysToyota Land Cruiser Front Leading Arm Assembly
Part Number: 48610-60021$341.85 MSRP: $509.97You Save: $168.12 (33%)
Toyota Land Cruiser Control Arm
If you are in demand for superior quality and affordable OEM Toyota Land Cruiser Control Arm, then shop with us! We own a wide range of the reduced-priced genuine Toyota Land Cruiser Control Arm. You can purchase in confidence as all parts come with a manufacturer's warranty. Any issues with our products? No need to worry as we have a hassle-free return policy to guide you every step of the way.
Toyota Land Cruiser Control Arm Parts Questions & Experts Answers
- Q: How to remove and install the Control Arm on a Toyota Land Cruiser?A:Remove and install only one suspension arm at a time to prevent the axle housing from shifting out of position, which complicates reassembly. If necessary to remove more than one, take out the Coil Springs and support the axle with two floor jacks. Begin by raising the front of the vehicle and securely supporting it on jack stands. Support the axle assembly with a floor jack under the differential or, preferably, two jacks for better balance. Remove the retaining nut and bolt from the frame rail bracket, followed by the nuts and bolts from the axle housing bracket, then take out the front suspension arm. If removal is difficult, use a large pry bar to separate it from the frame and axle brackets. Inspect the bushing in the suspension arm for any signs of cracking, hardness, or deterioration; if replacement is needed, reinstall the suspension arm and take the vehicle to a dealer service department or automotive machine shop for the replacement due to the special tools required. Installation follows the reverse order of removal, ensuring that fasteners are tightened to the specified torque, with the vehicle at normal ride height before tightening. For the rear, raise the vehicle and support it securely on jack stands, then support the axle assembly similarly. Remove the nuts and bolts securing the upper suspension arm to the axle housing and frame brackets, followed by the lower suspension arm in the same manner. Inspect the bushings as previously described, and if replacement is necessary, reinstall the suspension arm and seek professional assistance. Again, installation is the reverse of removal, with attention to proper torque specifications and vehicle height during the process.
Related Toyota Land Cruiser Parts
Browse by Year
2021 Control Arm 2020 Control Arm 2019 Control Arm 2018 Control Arm 2017 Control Arm 2016 Control Arm 2015 Control Arm 2014 Control Arm 2013 Control Arm 2012 Control Arm 2011 Control Arm 2010 Control Arm 2009 Control Arm 2008 Control Arm 2007 Control Arm 2006 Control Arm 2005 Control Arm 2004 Control Arm 2003 Control Arm 2002 Control Arm 2001 Control Arm 2000 Control Arm 1999 Control Arm 1998 Control Arm 1997 Control Arm 1996 Control Arm 1995 Control Arm 1994 Control Arm 1993 Control Arm 1992 Control Arm 1991 Control Arm
