
My Garage
My Account
Cart
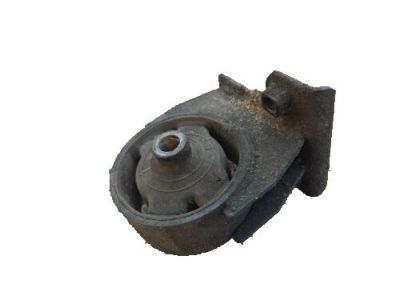
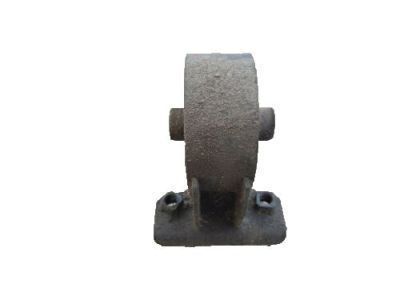
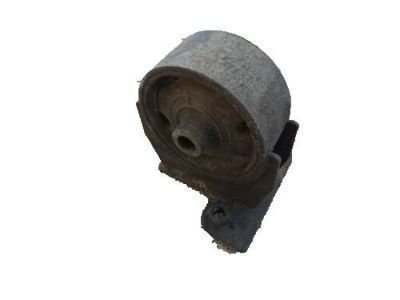
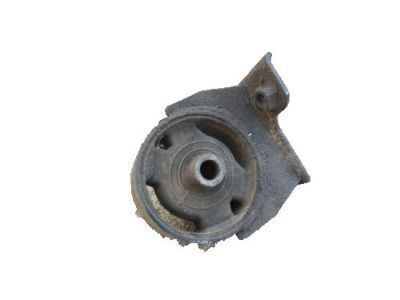
Genuine Toyota MR2 Engine Mount
Engine Motor Mount- Select Vehicle by Model
- Select Vehicle by VIN
Select Vehicle by Model
orMake
Model
Year
Select Vehicle by VIN
For the most accurate results, select vehicle by your VIN (Vehicle Identification Number).
61 Engine Mounts found
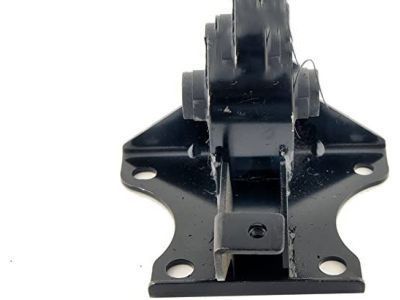
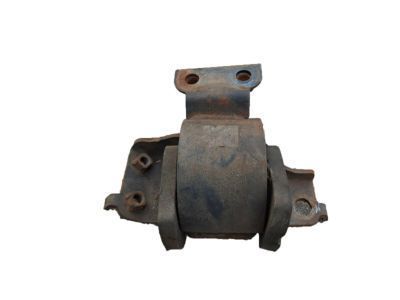
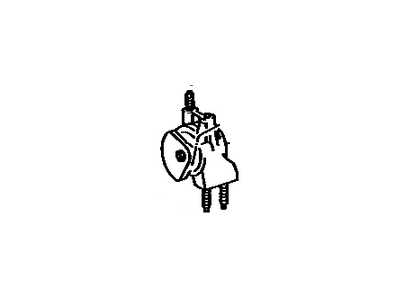
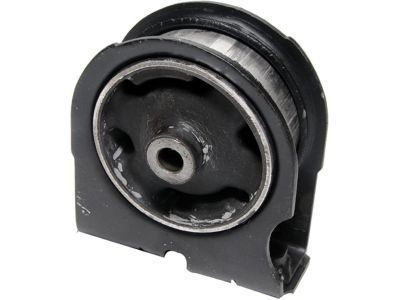
Toyota MR2 Rear Engine Mounting Insulator
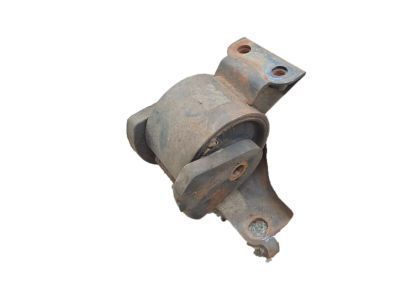
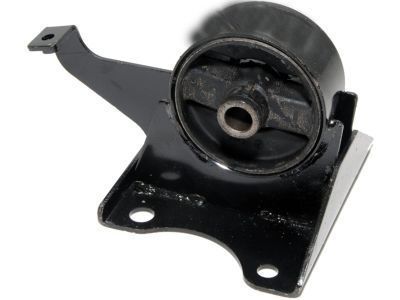
Part Number: 12371-74220$93.21 MSRP: $131.39You Save: $38.18 (30%)Ships in 1-3 Business DaysToyota MR2 Front Engine Mounting Insulator
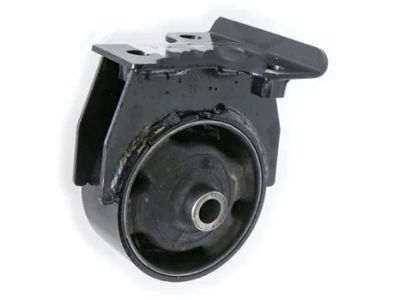
Part Number: 12361-74110$117.16 MSRP: $165.16You Save: $48.00 (30%)Ships in 1-3 Business DaysToyota MR2 Rear Engine Mounting Insulator
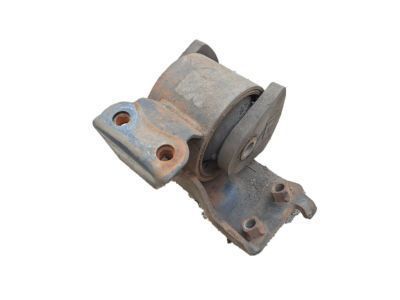
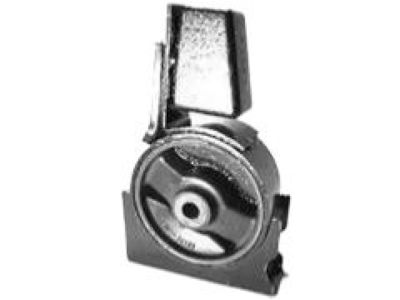
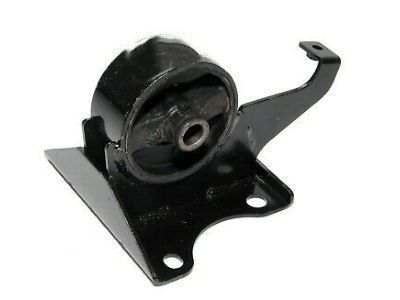
Part Number: 12371-74230$84.71 MSRP: $119.41You Save: $34.70 (30%)Ships in 1-2 Business DaysToyota MR2 INSULATOR, Engine Mounting, LH
Part Number: 12372-74281$118.63 MSRP: $168.65You Save: $50.02 (30%)Ships in 1-3 Business DaysToyota MR2 Front Engine Mounting Insulator
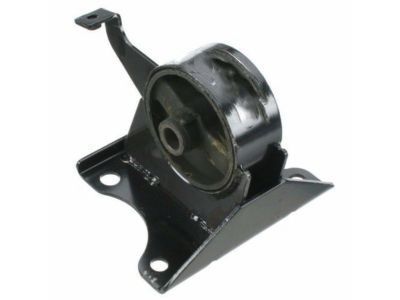
Part Number: 12361-74170$101.82 MSRP: $143.53You Save: $41.71 (30%)Ships in 1-3 Business DaysToyota MR2 Engine Mounting Insulator Right Hand
Part Number: 12362-74190$100.17 MSRP: $141.20You Save: $41.03 (30%)Ships in 1-3 Business DaysToyota MR2 INSULATOR, Engine Mounting, LH
Part Number: 12372-74280$118.63 MSRP: $168.65You Save: $50.02 (30%)Ships in 1-3 Business DaysToyota MR2 Stay, Engine Mounting, LH
Part Number: 12318-74120$18.52 MSRP: $25.89You Save: $7.37 (29%)Ships in 1-3 Business DaysToyota MR2 Insulator, Engine Mounting, Front
Part Number: 12361-74160$93.21 MSRP: $131.39You Save: $38.18 (30%)
| Page 1 of 4 |Next >
1-20 of 61 Results
Toyota MR2 Engine Mount
If you are in demand for superior quality and affordable OEM Toyota MR2 Engine Mount, then shop with us! We own a wide range of the reduced-priced genuine Toyota MR2 Engine Mount. You can purchase in confidence as all parts come with a manufacturer's warranty. Any issues with our products? No need to worry as we have a hassle-free return policy to guide you every step of the way.
Toyota MR2 Engine Mount Parts Questions & Experts Answers
- Q: How to Check and Replace Engine Mounts on Toyota MR2?A:To check the engine/transaxle mounts, raise the vehicle and secure it on jackstands. There are four mounts, all nearly identical; three are attached to the transaxle housing, while the fourth is connected to the engine. Each mounting insulator assembly consists of two brackets, one bolted to the frame and the other to the transaxle or engine, connected by a rubber insulator and through-bolt. Over time, the rubber insulators can dry out and crack. Inspect each mounting insulator for visible cracks, as dried and cracked insulators need replacement. Even if an insulator appears intact, it may still be worn; use a pry bar to check its condition by applying leverage between the brackets. If deflection is excessive, replacement is necessary. To replace a mounting insulator, position a floor jack under the Oil Pan with a block of wood, then raise the engine just enough to relieve the weight on the insulators. Remove the through-bolt from the worn insulator, then take off the bracket bolts and discard the bracket half with the worn insulator, as the new insulator comes with its own bracket. Install the new mounting insulator bracket and tighten the bracket-to-body bolts to the specified torque. Connect the mounting insulator bracket to the engine/transaxle bracket with the through-bolt, adjusting the floor jack as needed to align the holes. Tighten the through-bolt to the specified torque. When replacing the front mounting insulator, bounce the engine to ensure the insulator is centered on the bracket before tightening the through-bolt. Finally, lower and remove the floor jack, then take away the jackstands and lower the vehicle.
