
My Garage
My Account
Cart
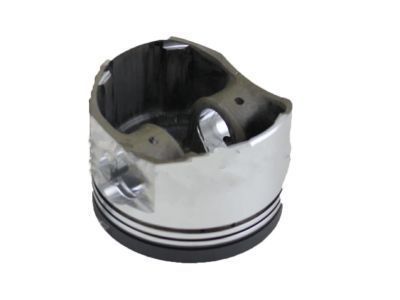
Genuine Toyota MR2 Piston
Engine Pistons- Select Vehicle by Model
- Select Vehicle by VIN
Select Vehicle by Model
orMake
Model
Year
Select Vehicle by VIN
For the most accurate results, select vehicle by your VIN (Vehicle Identification Number).
24 Pistons found
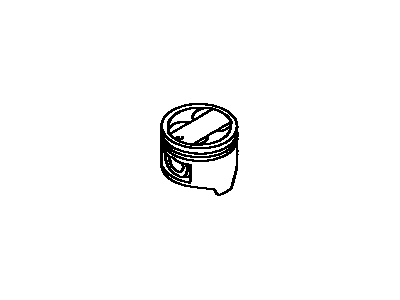
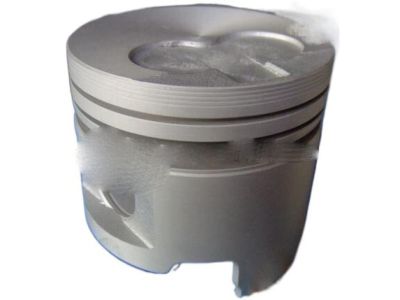
Toyota MR2 Piston Sub-Assembly with Pin
Part Number: 13101-88381-01$115.51 MSRP: $162.82You Save: $47.31 (30%)Ships in 1-3 Business DaysToyota MR2 Piston Sub-Assembly with Pin
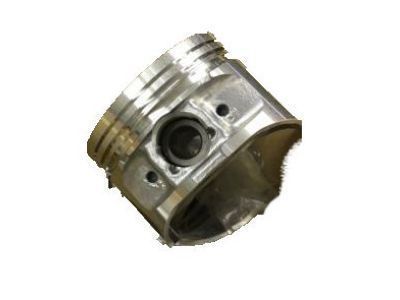
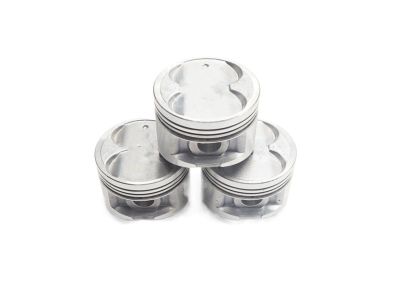
Part Number: 13103-74130$110.93 MSRP: $156.38You Save: $45.45 (30%)Ships in 1-3 Business DaysToyota MR2 Piston Sub-Assembly with Pin
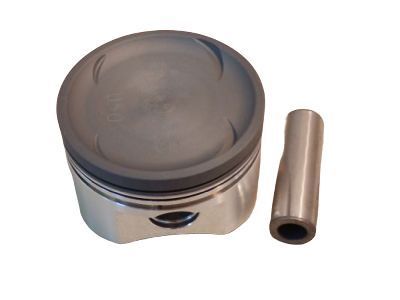
Part Number: 13103-16100$109.61 MSRP: $154.51You Save: $44.90 (30%)Toyota MR2 Piston Sub-Assembly with Pin
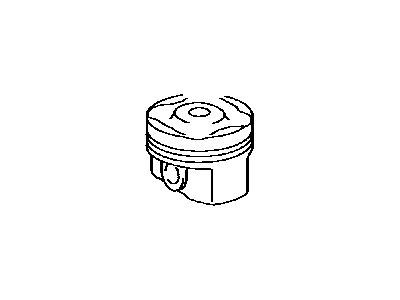
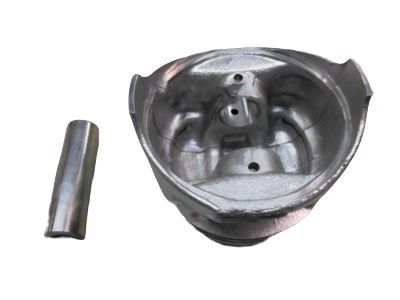
Part Number: 13101-74130-02$109.41 MSRP: $154.23You Save: $44.82 (30%)
| Page 1 of 2 |Next >
1-20 of 24 Results
Toyota MR2 Piston
If you are in demand for superior quality and affordable OEM Toyota MR2 Piston, then shop with us! We own a wide range of the reduced-priced genuine Toyota MR2 Piston. You can purchase in confidence as all parts come with a manufacturer's warranty. Any issues with our products? No need to worry as we have a hassle-free return policy to guide you every step of the way.
Toyota MR2 Piston Parts Questions & Experts Answers
- Q: What steps must be taken before removing the piston/connecting rod assemblies on Toyota MR2?A:Before removing the piston and connecting rod assemblies, the Cylinder Head, oil pan, oil strainer, oil pump, and rear oil seal retainer must be taken off the block. Begin by completely removing the ridge at the top of each cylinder using a ridge reaming tool, following the manufacturer's instructions, as neglecting this step may lead to piston breakage. Once the ridges are cleared, turn the engine upside-down with the crankshaft facing up. Measure the end play of each connecting rod using a dial gauge or feeler gauge, ensuring the measurements do not exceed the service limit; if they do, new connecting rods may be necessary, and machining might be required to restore proper end play. Check for identification marks on the connecting rods and caps, making your own if necessary. Loosen the connecting rod cap nuts gradually until they can be removed by hand, using a plastic-faced hammer if needed. Remove the first connecting rod cap and bearing insert carefully, protecting the crankshaft journal and cylinder wall with a short length of plastic or rubber hose over the rod bolts. Push the connecting rod and piston assembly out through the top of the engine, ensuring all ridge material has been removed. Repeat this process for each cylinder, reinstalling the bearing inserts and attaching the rod cap and connecting rod after each piston removal, keeping the old bearing inserts in place until reassembly to prevent damage.
