
My Garage
My Account
Cart
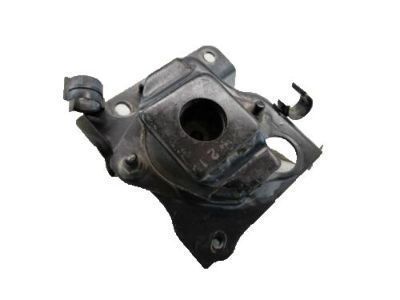
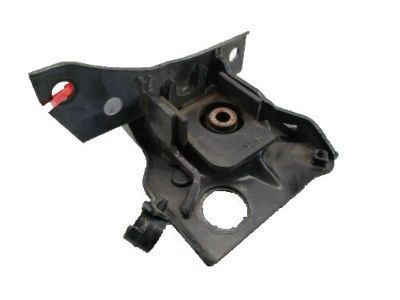
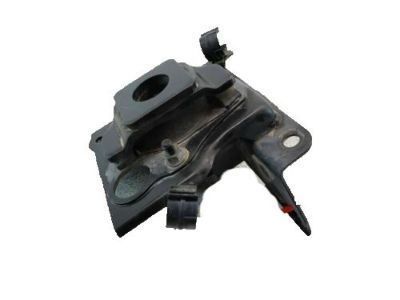
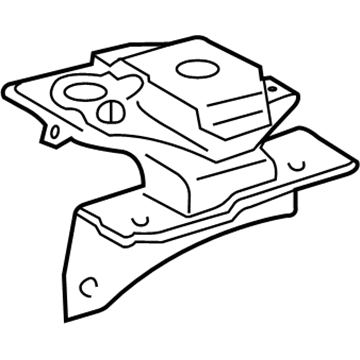
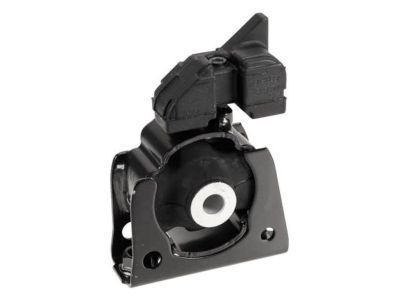
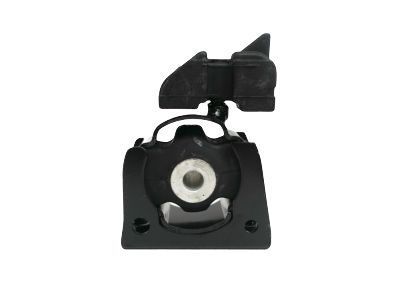
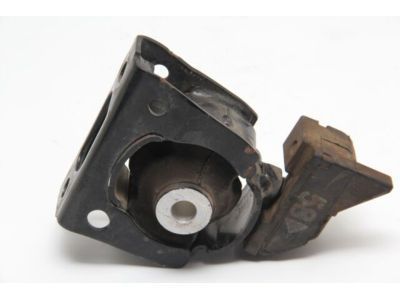
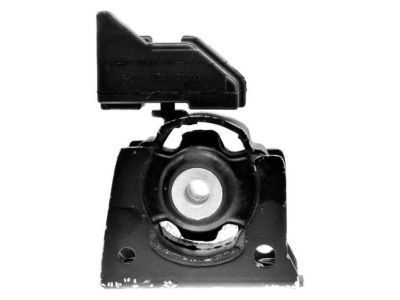
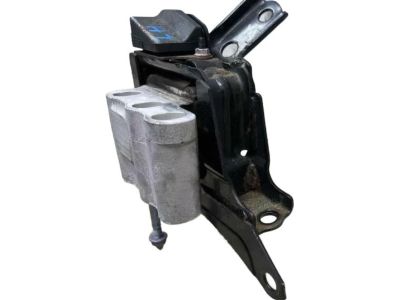
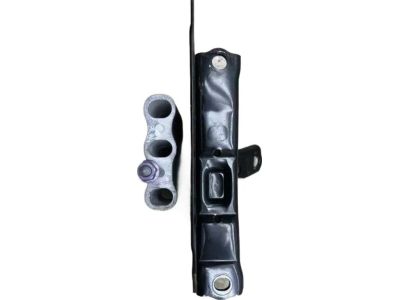
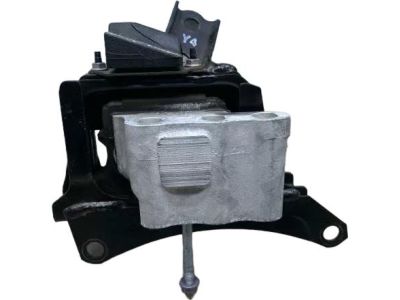
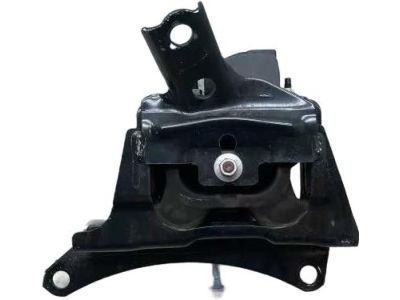
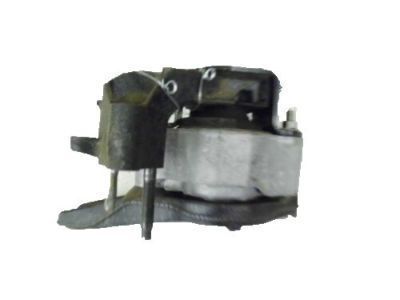
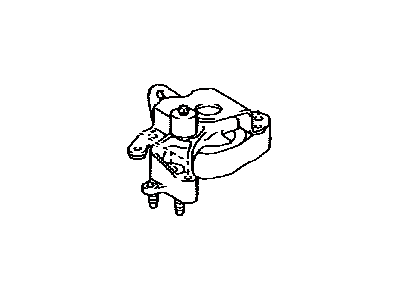
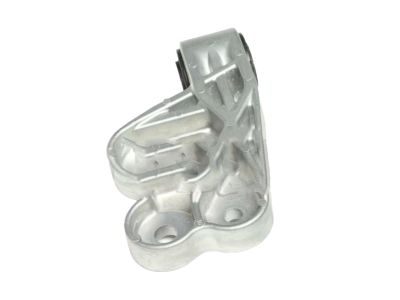
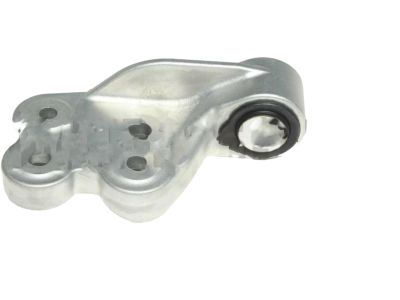
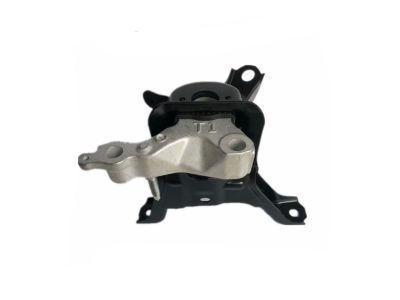
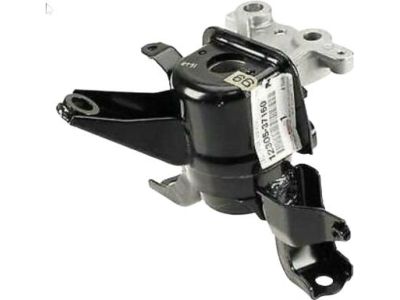
Genuine Toyota Prius Engine Mount
Engine Motor Mount- Select Vehicle by Model
- Select Vehicle by VIN
Select Vehicle by Model
orMake
Model
Year
Select Vehicle by VIN
For the most accurate results, select vehicle by your VIN (Vehicle Identification Number).
50 Engine Mounts found
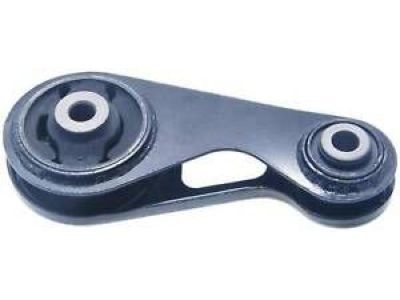
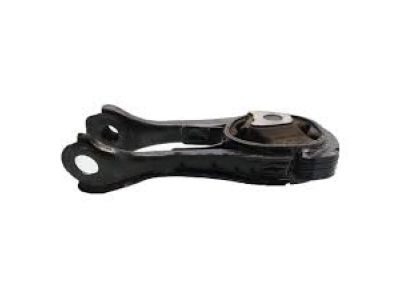
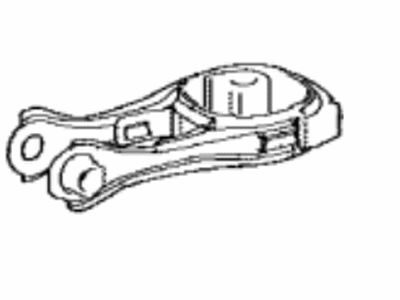
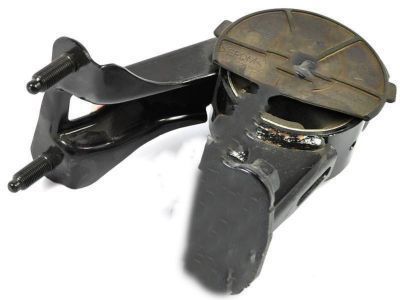
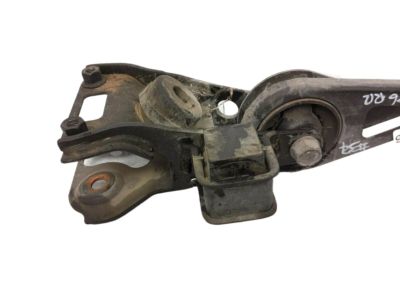
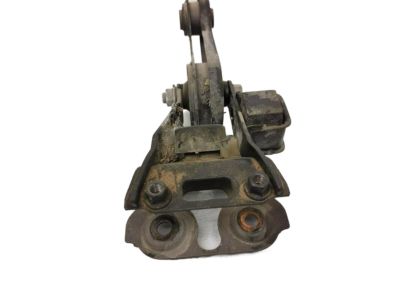
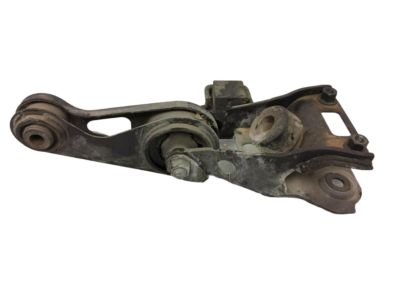
Toyota Prius Engine Moving Control Rod
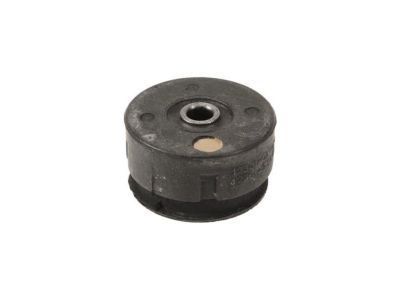
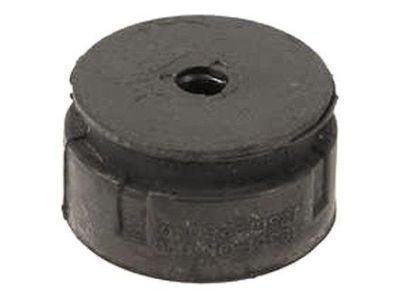
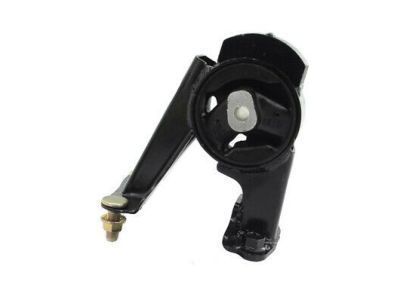
Part Number: 12363-21030$88.02 MSRP: $124.07You Save: $36.05 (30%)Ships in 1-3 Business DaysToyota Prius Engine Mounting Damper
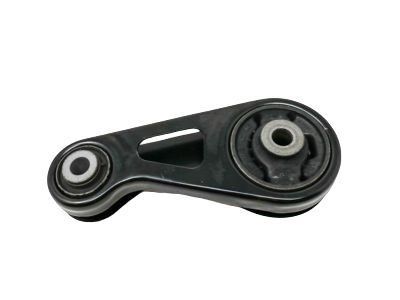
Part Number: 12351-23010$23.91 MSRP: $33.42You Save: $9.51 (29%)Ships in 1-3 Business DaysToyota Prius Rod Engine Moving C
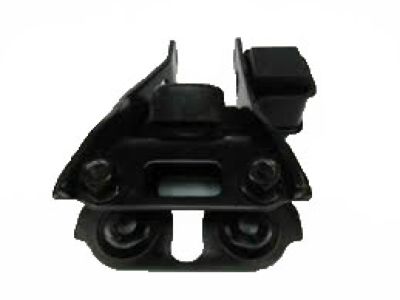
Part Number: 12363-37031$74.92 MSRP: $105.61You Save: $30.69 (30%)Ships in 1-3 Business DaysToyota Prius Engine Mounting Insulator
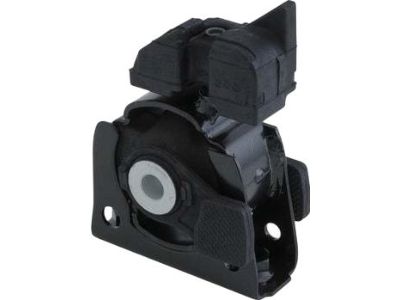
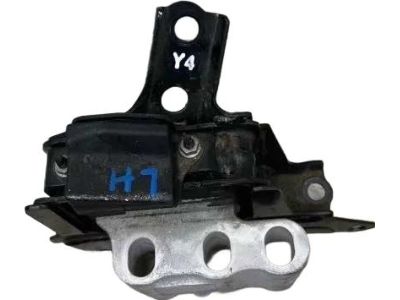
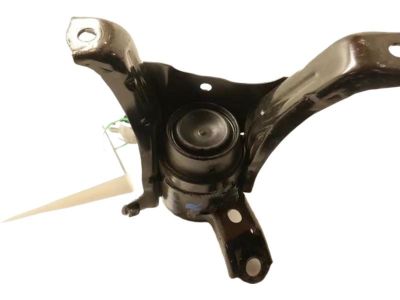
Part Number: 12361-37150$80.82 MSRP: $113.92You Save: $33.10 (30%)Ships in 1-2 Business DaysToyota Prius Insulator Sub-Assy, Engine Mounting, LH
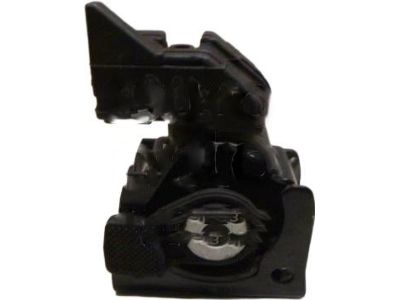
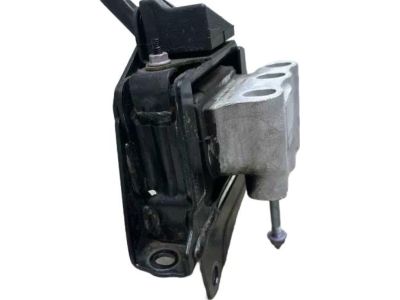
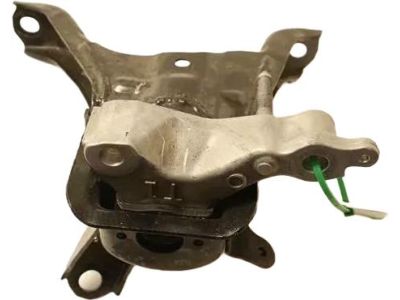
Part Number: 12306-21030$141.91 MSRP: $201.74You Save: $59.83 (30%)Ships in 1-3 Business DaysToyota Prius Engine Mounting Insulator
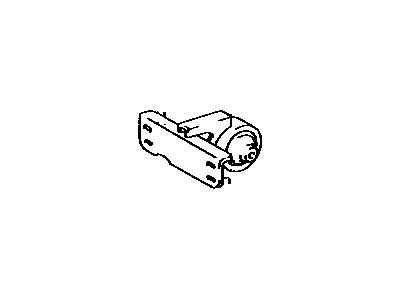
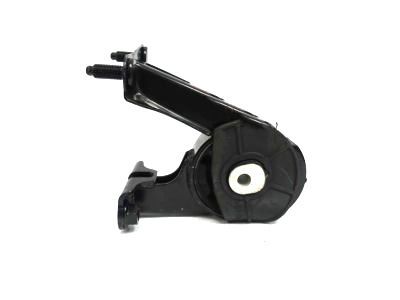
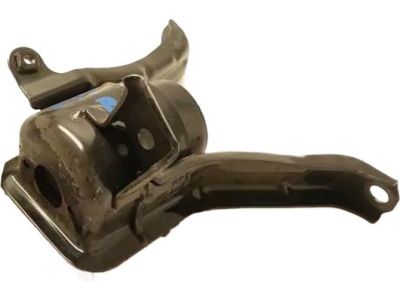
Part Number: 12361-37090$85.54 MSRP: $120.58You Save: $35.04 (30%)Ships in 1-2 Business DaysToyota Prius INSULATOR Engine Mo
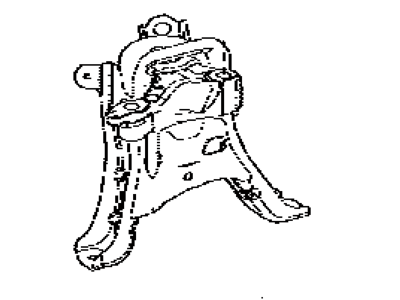
Part Number: 12372-37313$130.79 MSRP: $185.95You Save: $55.16 (30%)Ships in 1-3 Business DaysToyota Prius Engine Mounting Insulator
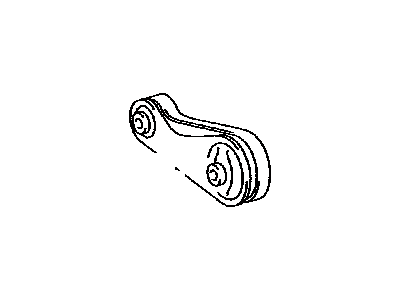
Part Number: 12371-37250$91.08 MSRP: $128.39You Save: $37.31 (30%)Ships in 1-2 Business DaysToyota Prius Center Rod Bracket
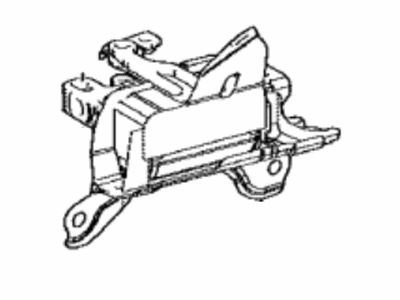
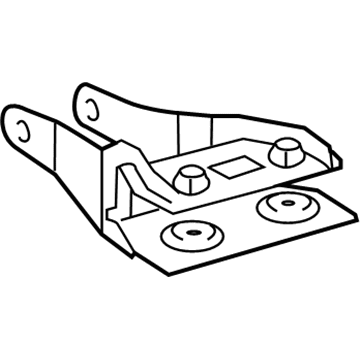
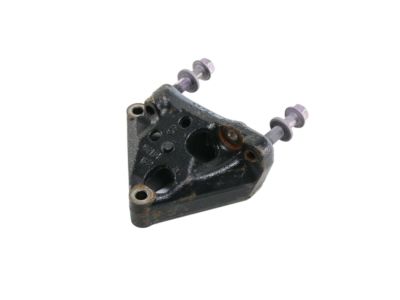
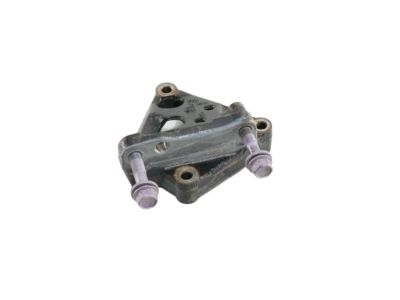
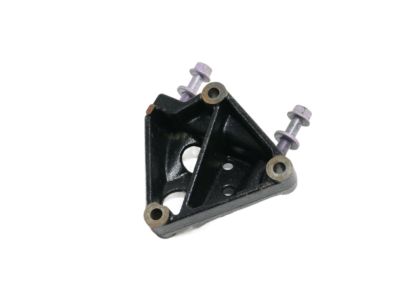
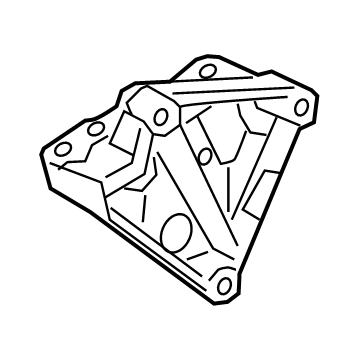
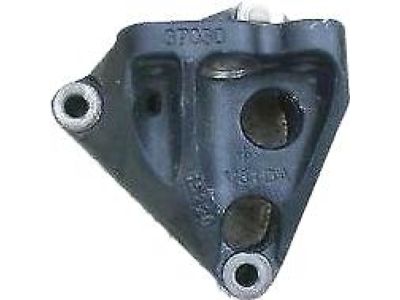
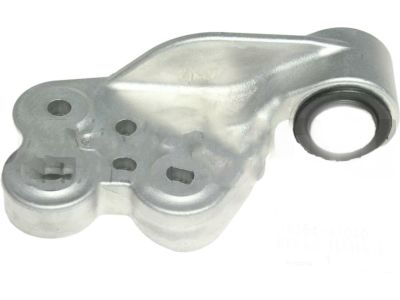
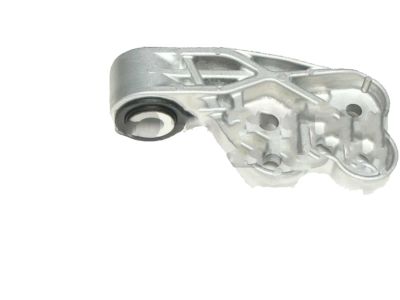
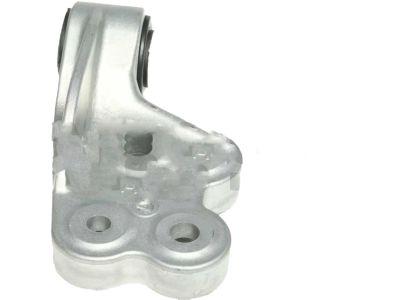
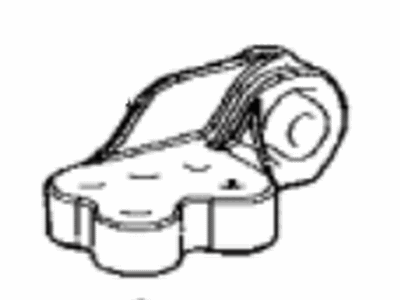
Part Number: 12313-21030$108.43 MSRP: $152.84You Save: $44.41 (30%)Ships in 1-3 Business DaysToyota Prius Engine Mounting Bracket
Part Number: 12315-37060$101.47 MSRP: $143.03You Save: $41.56 (30%)Ships in 1-3 Business DaysToyota Prius Engine Mounting Bracket Right Hand
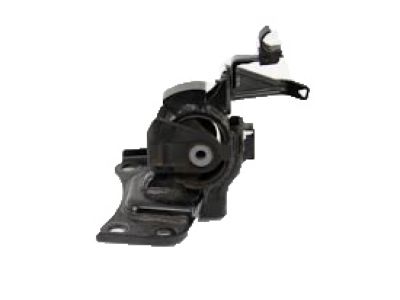
Part Number: 12315-37030$93.56 MSRP: $131.89You Save: $38.33 (30%)Ships in 1-3 Business DaysToyota Prius Engine Mounting Insulator
Part Number: 12372-37110$103.47 MSRP: $145.86You Save: $42.39 (30%)Ships in 1-2 Business DaysToyota Prius Engine Mounting Insulator Sub-Assembly Right Hand
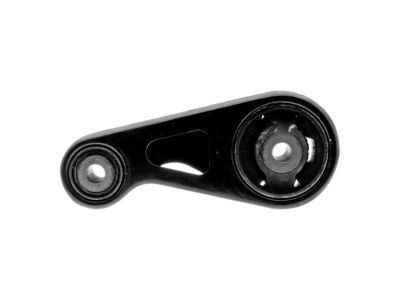
Part Number: 12305-21190$215.63 MSRP: $309.20You Save: $93.57 (31%)Ships in 1-3 Business DaysToyota Prius Engine Moving Control Rod
Part Number: 12364-37040$58.54 MSRP: $81.82You Save: $23.28 (29%)Ships in 1-3 Business DaysToyota Prius Engine Mounting Insulator
Part Number: 12371-37090$97.57 MSRP: $137.54You Save: $39.97 (30%)Ships in 1-3 Business DaysToyota Prius Engine Mounting Insulator Sub-Assembly
Part Number: 12305-37340$167.30 MSRP: $237.84You Save: $70.54 (30%)Ships in 1-2 Business DaysToyota Prius Engine Mounting Insulator Sub-Assembly
Part Number: 12305-37341$167.30 MSRP: $237.84You Save: $70.54 (30%)Ships in 1-3 Business DaysToyota Prius Engine Mounting Insulator Sub-Assembly
Part Number: 12305-37160$145.54 MSRP: $206.90You Save: $61.36 (30%)Ships in 1-3 Business DaysToyota Prius Engine Mounting Insulator Sub-Assembly
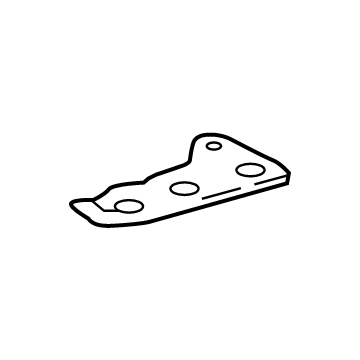
Part Number: 12305-37342$167.30 MSRP: $237.84You Save: $70.54 (30%)Toyota Prius Stay Bracket
Part Number: 12328-37010$8.20 MSRP: $11.47You Save: $3.27 (29%)Ships in 1-3 Business Days
| Page 1 of 3 |Next >
1-20 of 50 Results
Toyota Prius Engine Mount
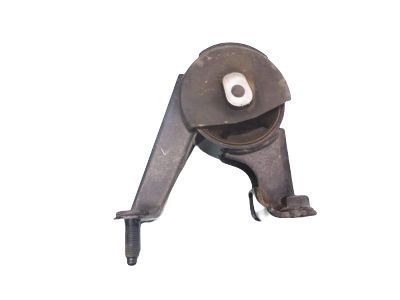
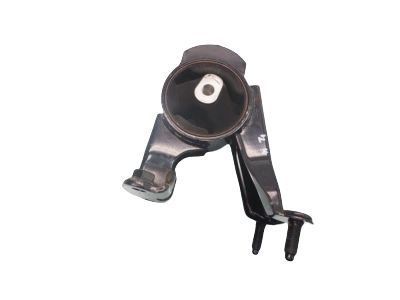
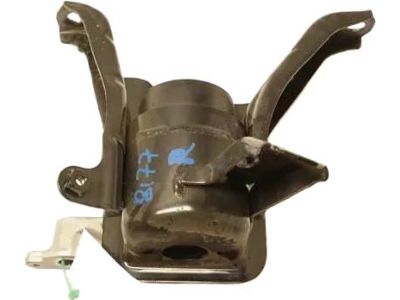
If you are in demand for superior quality and affordable OEM Toyota Prius Engine Mount, then shop with us! We own a wide range of the reduced-priced genuine Toyota Prius Engine Mount. You can purchase in confidence as all parts come with a manufacturer's warranty. Any issues with our products? No need to worry as we have a hassle-free return policy to guide you every step of the way.
Toyota Prius Engine Mount Parts Questions & Experts Answers
- Q: What should be done if engine mounts are broken or deteriorated on Toyota Prius?A:Engine Mounts generally are trouble free, however if any of the Engine Mounts are broken or are worn out, they should be replaced at once so that they do not cause further damage to or wear out the other components of the driveline. To inspect the mounts, it is necessary to lift the car with jack stands and place a jack underneath the engine Oil Pan or better yet, place a large wooden block underneath the engine and jacking it up enough so that the block will be under the engine but not the drain plug. Looking at the mounts they should be thoroughly inspected for any cracks, hardening, or if they have come off the metal casing altogether, at which point they require replacement and depending on the engine model, look at the movement of the engine movement rod and feel for any play. Further, loosen the mount by applying force on the concentric portion with the help of large screwdriver or pry bar and check the relative movement between two portions of mount; if there will be movement then it should be replaced. Check that the mount fasteners are tight. For replacement, the cable must be disconnected from the negative terminal of the 12-volt battery and the initialization is done when reconnecting. Place an engine support fixture underneath the engine, followed by the removal of the right Engine Mount bolted to the body through three bolts and bolted to the engine bracket through three bolts and two hardened nuts, while removing it, the refrigerant line bracket needs to be detached from the mount. For the left Engine Mount, take out four bolts: the ones that holds the mount to the body, and the through-bolt to the transaxle bracket. Nullify the bolts that fasten the front and rear brackets to the lower frame crossmember, through-bolt to the engine bracket. On this note, installation is done in the reverse order of removal, and on the mount bolts and nuts, one applies a thread-locking compound before tightening them.
Related Toyota Prius Parts
Browse by Year
2024 Engine Mount 2023 Engine Mount 2022 Engine Mount 2021 Engine Mount 2020 Engine Mount 2019 Engine Mount 2018 Engine Mount 2017 Engine Mount 2016 Engine Mount 2015 Engine Mount 2014 Engine Mount 2013 Engine Mount 2012 Engine Mount 2011 Engine Mount 2010 Engine Mount 2009 Engine Mount 2008 Engine Mount 2007 Engine Mount 2006 Engine Mount 2005 Engine Mount 2004 Engine Mount 2003 Engine Mount 2002 Engine Mount 2001 Engine Mount
