
My Garage
My Account
Cart
Genuine Toyota Prius Flywheel
Clutch Flywheel- Select Vehicle by Model
- Select Vehicle by VIN
Select Vehicle by Model
orMake
Model
Year
Select Vehicle by VIN
For the most accurate results, select vehicle by your VIN (Vehicle Identification Number).
5 Flywheels found
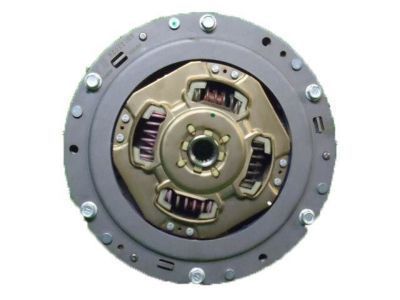
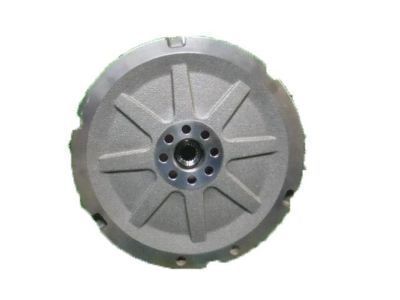
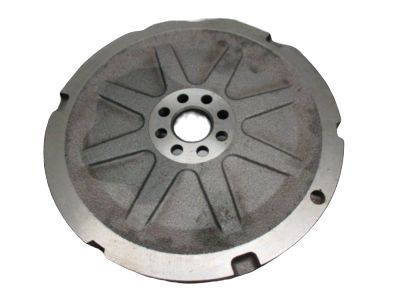
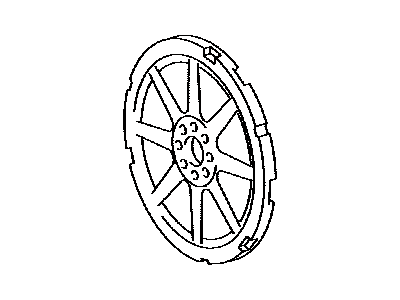
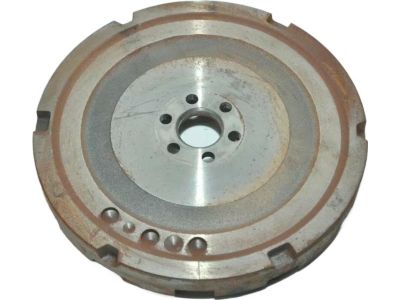
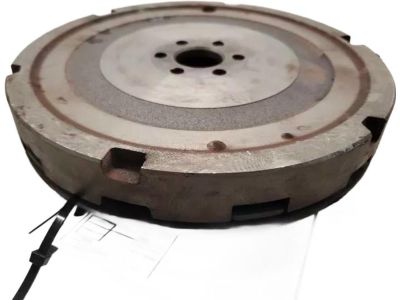
Toyota Prius Flywheel
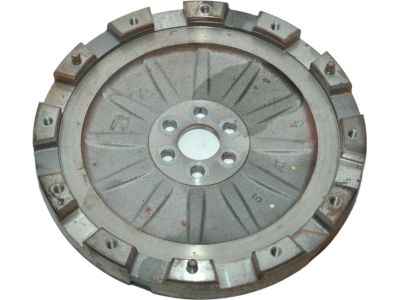
Part Number: 13451-37080$347.06 MSRP: $497.66You Save: $150.60 (31%)Ships in 1-2 Business DaysToyota Prius Flywheel Sub-Assembly
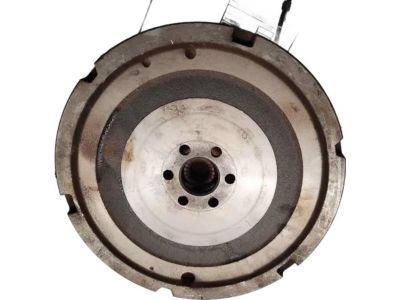
Part Number: 13451-21070$417.78 MSRP: $623.24You Save: $205.46 (33%)Ships in 1-3 Business DaysToyota Prius Flywheel
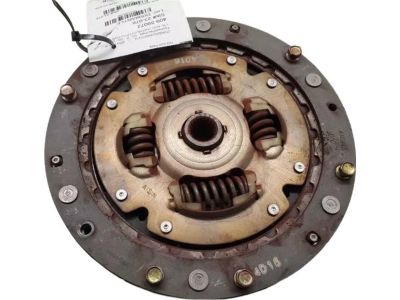
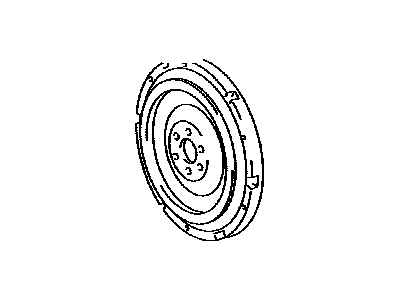
Part Number: 13451-24081$359.58 MSRP: $536.42You Save: $176.84 (33%)Ships in 1-2 Business DaysToyota Prius Flywheel Sub-Assy
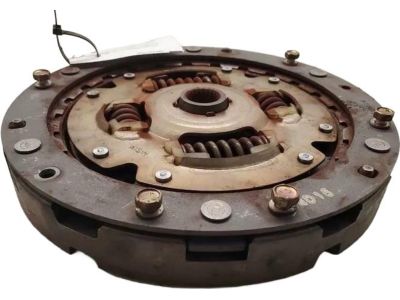
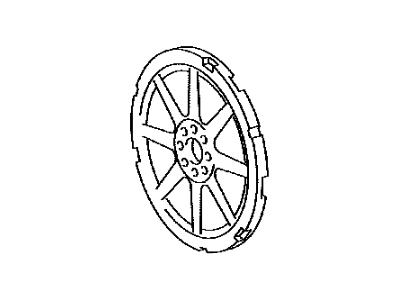
Part Number: 13451-21060$84.32 MSRP: $488.85You Save: $404.53 (83%)Ships in 1-2 Business DaysToyota Prius Flywheel
Part Number: 13451-37070$347.06 MSRP: $497.66You Save: $150.60 (31%)Ships in 1-3 Business Days
Toyota Prius Flywheel
The Toyota Prius Flywheel operates as an energy reservoir to smoothen engine power output yet simultaneously powers the starter drive to activate ignition and offers traction padding for the clutch mechanism. A Flywheel obtains its position on the crankshaft before engine rotation for maintaining continuous power output through the reduction of combustion-generated power pulses. The automotive industry applies two distinct wheel types to its applications including solid Flywheel and dual mass Toyota Flywheel (DMFs). Solid Prius Flywheel keep their design simple but DMFs use dual masses connected by a damping device which improves operation and diminishes noise output. The replacement of DMFs becomes necessary when failure occurs in their damping unit since these components cannot be resurfaced for maintenance. The ring gear and clutch contact surface from wear and ring gear damage result from abnormal starter mounting or repeated engine starts as principal causes for requiring Toyota Prius replacement part replacement.
If you are in demand for superior quality and affordable OEM Toyota Prius Flywheel, then shop with us! We own a wide range of the reduced-priced genuine Toyota Prius Flywheel. You can purchase in confidence as all parts come with a manufacturer's warranty. Any issues with our products? No need to worry as we have a hassle-free return policy to guide you every step of the way.
Toyota Prius Flywheel Parts Questions & Experts Answers
- Q: How to remove and install Flywheel on Toyota Prius?A:To remove the engine/transaxle assembly on a 2003 or earlier model, first separate the transaxle from the engine, while for a 2004 or later model, simply remove the transaxle. Next, take off the six bolts and lift the transaxle damper from the flywheel. Use a center punch or paint to create alignment marks on the flywheel and crankshaft to ensure correct alignment during reinstallation. Remove the bolts securing the flywheel to the crankshaft, using a strap wrench to hold the Crankshaft Pulley and wrapping it with an old drive belt to avoid damage. After that, take off the flywheel from the crankshaft. For installation, clean the flywheel to eliminate grease and oil, inspecting it for any cracks or damage, and remove light scoring with emery cloth. Clean and inspect the mating surfaces of the flywheel and crankshaft, replacing the crankshaft rear seal if it is leaking. Position the flywheel against the crankshaft, aligning the previously made marks, and ensure proper installation using alignment dowels or staggered bolt holes if applicable. Before installing the bolts, apply thread-locking compound to the threads, then hold the flywheel from turning and tighten the bolts in a criss-cross pattern. Finally, complete the installation by reversing the removal steps.
Related Toyota Prius Parts
Browse by Year
2024 Flywheel 2023 Flywheel 2022 Flywheel 2021 Flywheel 2020 Flywheel 2019 Flywheel 2018 Flywheel 2017 Flywheel 2016 Flywheel 2015 Flywheel 2014 Flywheel 2013 Flywheel 2012 Flywheel 2011 Flywheel 2010 Flywheel 2009 Flywheel 2008 Flywheel 2007 Flywheel 2006 Flywheel 2005 Flywheel 2004 Flywheel 2003 Flywheel 2002 Flywheel 2001 Flywheel
