
My Garage
My Account
Cart
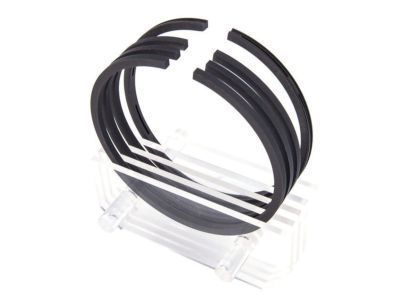
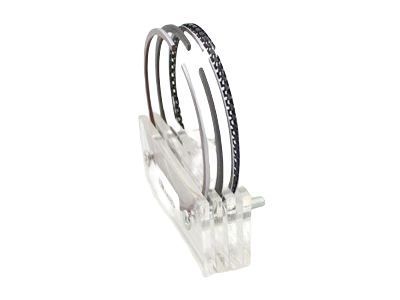
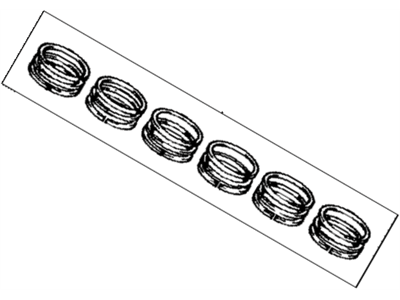
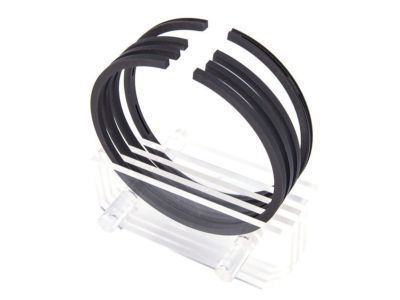
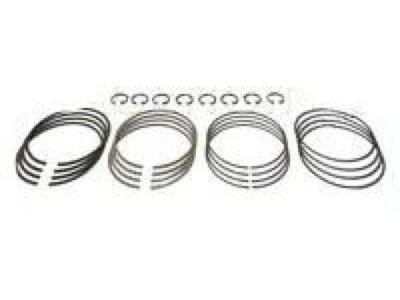
Genuine Toyota Supra Piston Ring Set
Piston Ring- Select Vehicle by Model
- Select Vehicle by VIN
Select Vehicle by Model
orMake
Model
Year
Select Vehicle by VIN
For the most accurate results, select vehicle by your VIN (Vehicle Identification Number).
11 Piston Ring Sets found
Toyota Supra Piston Ring Set
Part Number: 13011-46040$288.25 MSRP: $413.32You Save: $125.07 (31%)Ships in 1-3 Business DaysToyota Supra Piston Ring Set
Part Number: 13011-46041$288.25 MSRP: $413.32You Save: $125.07 (31%)Ships in 1-3 Business DaysToyota Supra Piston Ring Set
Part Number: 13011-46051$323.28 MSRP: $463.56You Save: $140.28 (31%)Ships in 1-3 Business DaysToyota Supra Piston Ring Set
Part Number: 13011-46050$323.28 MSRP: $463.56You Save: $140.28 (31%)Ships in 1-3 Business DaysToyota Supra Piston Ring Set
Part Number: 13011-42040$233.50 MSRP: $334.82You Save: $101.32 (31%)Ships in 1-3 Business Days
Toyota Supra Piston Ring Set
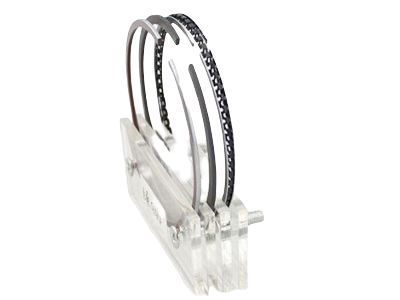
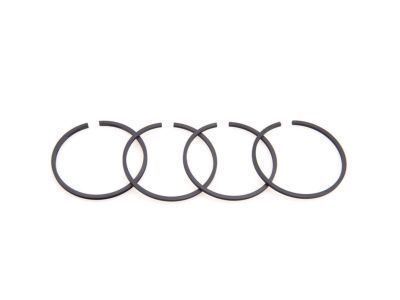
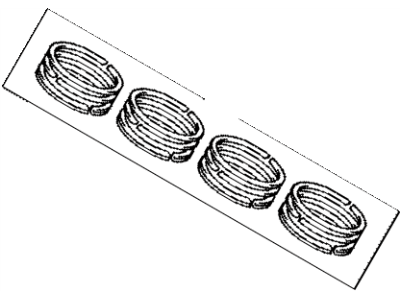
The Piston Ring Set is a famous element highly demanded for its quality and significance for Toyota Supra piston ring vehicles. This Piston Ring Set was specifically meant to help in sealing the combustion chamber to help minimize gas loss while at the same time aiding in heat transfer and the regulation of oil consumption to help the engine deliver its highly. Thus, the Piston Ring Set is appreciated by lovers of tuning and ordinary drivers since it can be applied on Toyota vehicles of the A70 and A80 series. With the improved features of the piston ring series, current Piston Ring Set have thin series, where the top and the second rings are 1mm thin and the oil control rings are 2mm thin reducing the friction level while at the same time increasing the sealing level. Also, plasma-moly and chrome coatings make the Piston Ring Set more resistant to various driving conditions. Besides extending the lifespan of the engine, all these quadrics increase the quality of the driving experience, that's why Toyota Supra is a well-known name in the automotive industry. The Piston Ring Set is differentiated due to its impeccable design so that every Toyota Supra retains the company's characteristics of speed and reliability, both on the racetrack and on the street. Toyota enthusiasts appreciate how the Piston Ring Set enhances performance, making it a crucial component for any Toyota Supra owner looking to optimize their vehicle.
If you are in demand for superior quality and affordable OEM Toyota Supra Piston Ring Set, then shop with us! We own a wide range of the reduced-priced genuine Toyota Supra Piston Ring Set. You can purchase in confidence as all parts come with a manufacturer's warranty. Any issues with our products? No need to worry as we have a hassle-free return policy to guide you every step of the way.
Toyota Supra Piston Ring Set Parts Questions & Experts Answers
- Q: How Should the Piston Ring Set End Gaps Be Checked and Corrected Before Installation on a Toyota Supra?A:Before replacing the Piston rings check the ring end gap, to ensure that the piston ring side clearance is alright. Sort out the piston/connecting rod assemblies and the new rings to pair with the correct piston and cylinder during end gap measurement as well as engine manufacturing. Place the first ring onto the first cylinder such that it is parallel to the cylinder walls using the piston head placing it near the bottom of the cylinder and pressing it in. To determine the end gap, place feeler gauges against the ends of the ring until the correct one that allows the ring to move with slight friction is obtained. If the gap is incorrect, ensure the rings are correct before moving further a head. If the end gap is not sufficient, take the ring ends and gradually slim down the ring gently from the external side in order to widen the end gap while on the other extreme an excess of end gap is not such a big issue provided it does not surpass 0.040 inch. Perform this for each of the rings in all the cylinders with the rings, pistons, and cylinders to be matched. After the end gaps have been identified and adjusted, carry out the assembly of the rings on the piston, in order of the oil control ring which is made up of three parts. Place spacer/expander into groove, if anti-rotation tang is required, place it in next; then install lower and upper side rails, although a piston ring installation tool may be used to do so the side rails must not be damaged by it. Once the oil ring components have been installed, make sure than both side rail can rotate with a smooth gliding motion in the groove they have been installed in. Subsequently, the middle ring is placed with the corresponding identification up, using the piston ring installation tool while not expanding it. Lastly, set the top ring in the same process while directing the mark upward and continue the process to the other pistons and their rings, but strictly adhering to the manufacturer's guidelines or chart on which side of the rings top or middle.
