
My Garage
My Account
Cart
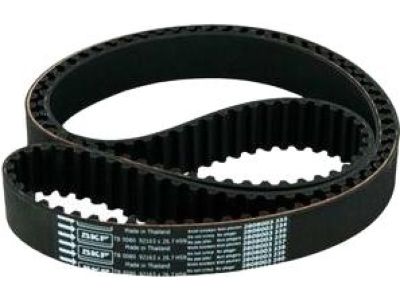
Genuine Toyota Celica Timing Belt
Engine Timing Belt- Select Vehicle by Model
- Select Vehicle by VIN
Select Vehicle by Model
orMake
Model
Year
Select Vehicle by VIN
For the most accurate results, select vehicle by your VIN (Vehicle Identification Number).
18 Timing Belts found
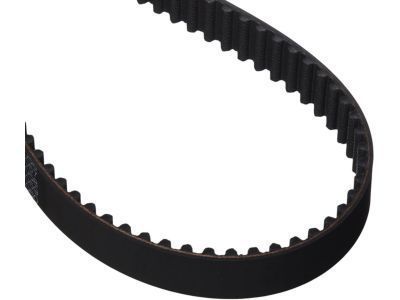
Toyota Celica Timing Belt
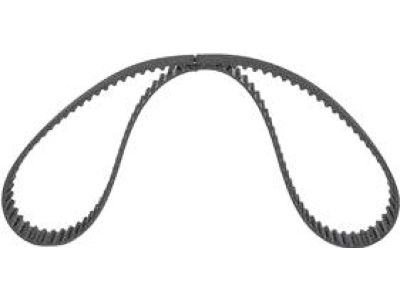
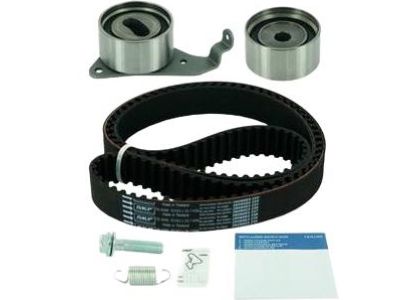
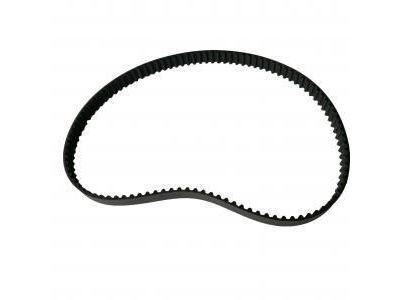
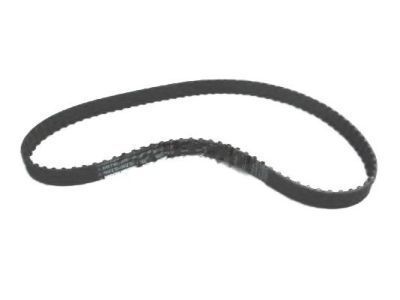
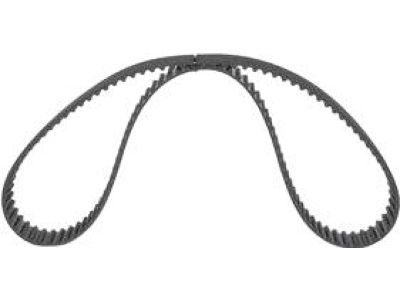
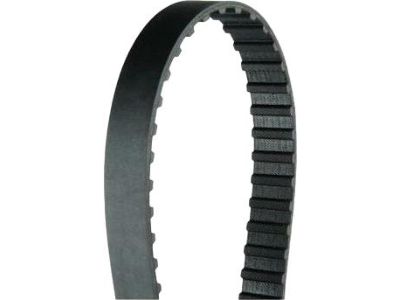
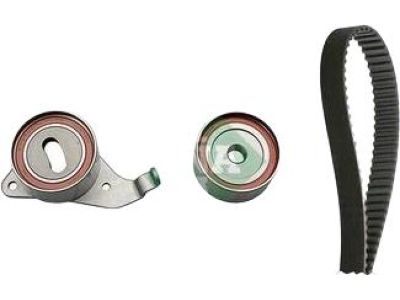
Part Number: 13568-19056$32.83 MSRP: $45.90You Save: $13.07 (29%)Ships in 1-3 Business DaysToyota Celica Timing Belt
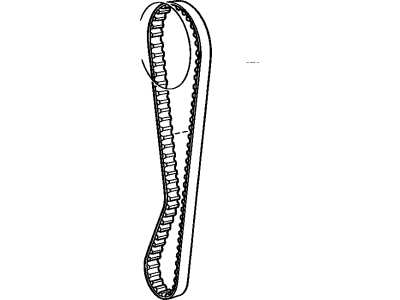
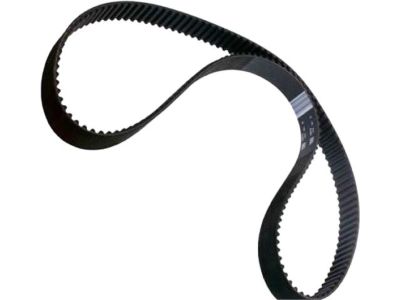
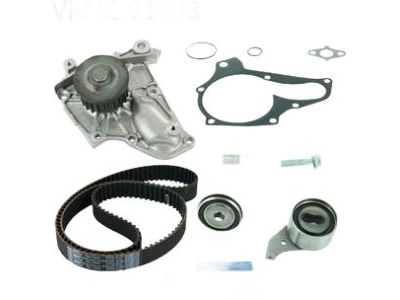
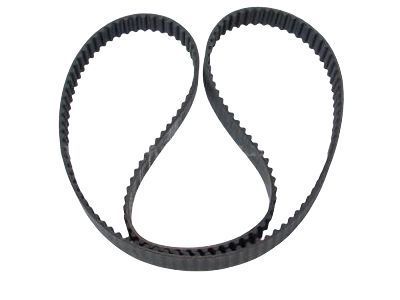
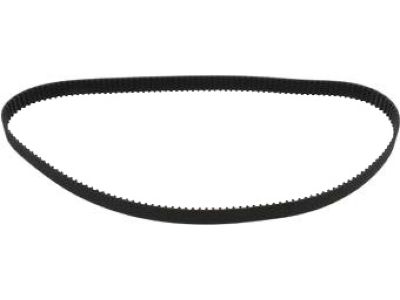
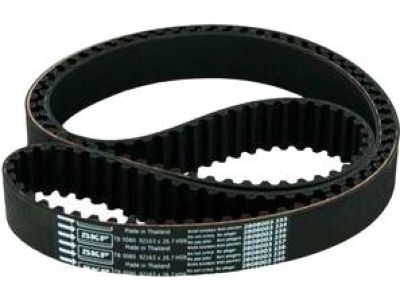
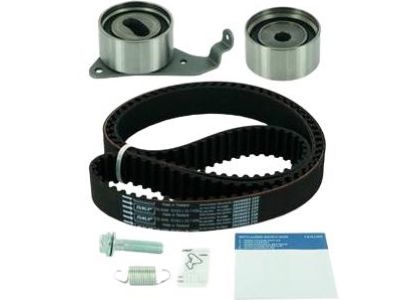
Part Number: 13568-79225$42.95 MSRP: $60.03You Save: $17.08 (29%)Ships in 1-3 Business DaysToyota Celica Timing Belt
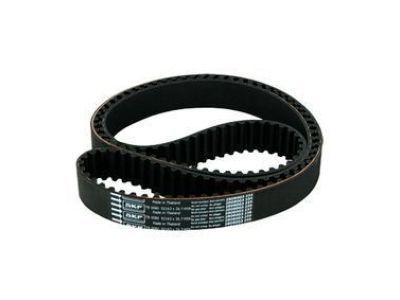
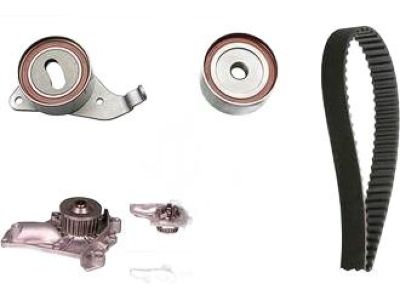
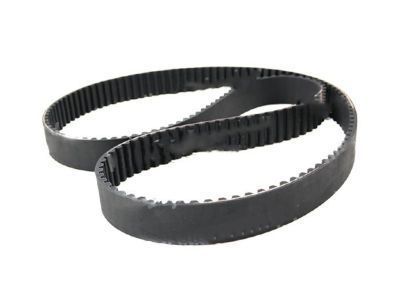
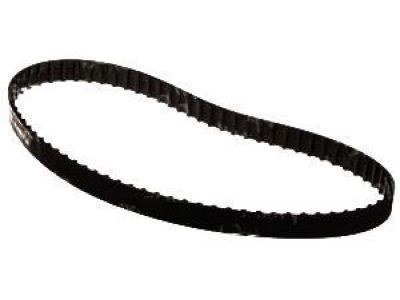
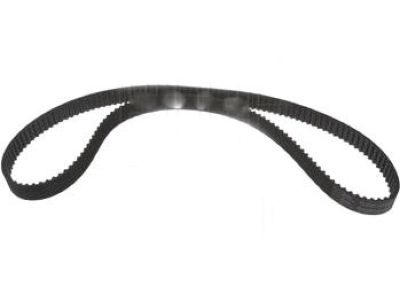
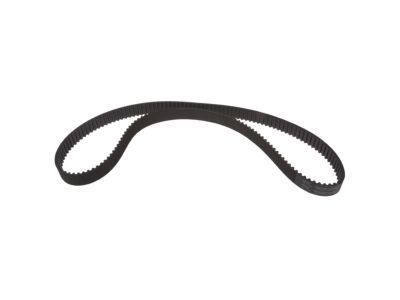
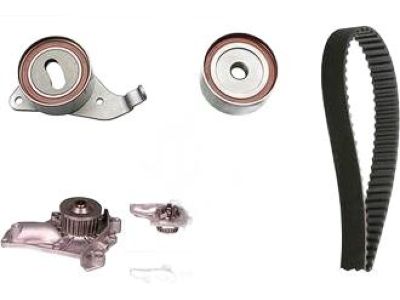
Part Number: 13568-19135$28.31 MSRP: $39.58You Save: $11.27 (29%)Ships in 1-3 Business DaysToyota Celica Timing Belt
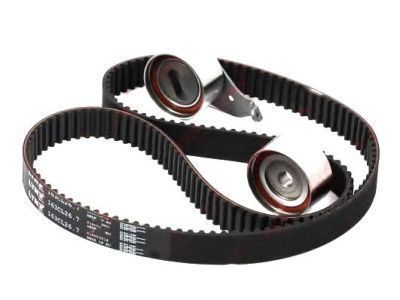
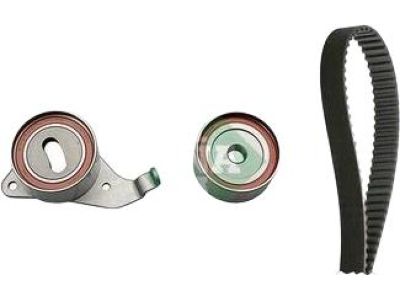
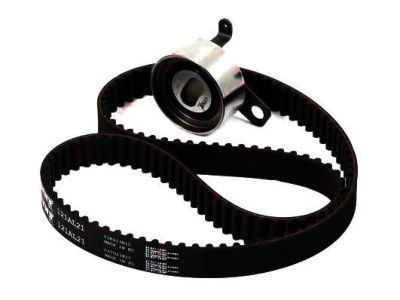
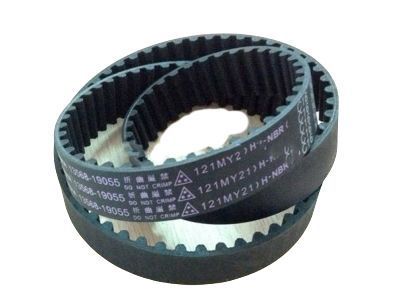
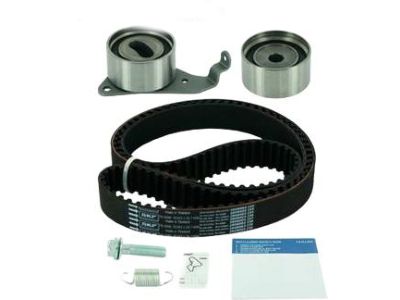
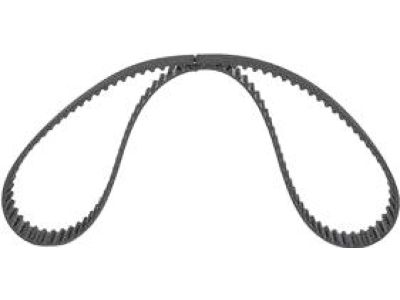
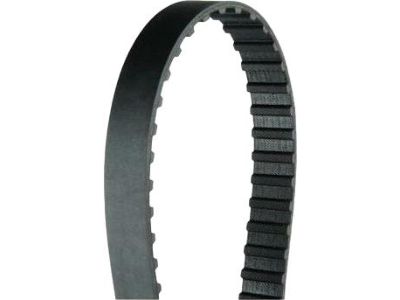
Part Number: 13568-19055$32.83 MSRP: $45.90You Save: $13.07 (29%)Ships in 1-3 Business DaysToyota Celica Timing Belt
Part Number: 13568-43030$42.95 MSRP: $60.03You Save: $17.08 (29%)Ships in 1-3 Business DaysToyota Celica Timing Belt
Part Number: 13568-79045$44.85 MSRP: $62.69You Save: $17.84 (29%)Ships in 1-3 Business DaysToyota Celica Timing Belt
Part Number: 13568-15041$28.31 MSRP: $39.58You Save: $11.27 (29%)Ships in 1-3 Business DaysToyota Celica Timing Belt
Part Number: 13568-74010$42.95 MSRP: $60.03You Save: $17.08 (29%)Ships in 1-3 Business DaysToyota Celica Timing Belt
Part Number: 13568-79025$42.95 MSRP: $60.03You Save: $17.08 (29%)Ships in 1-3 Business DaysToyota Celica Timing Belt
Part Number: 13568-74020$42.95 MSRP: $60.03You Save: $17.08 (29%)Ships in 1-3 Business Days
Toyota Celica Timing Belt
If you are in demand for superior quality and affordable OEM Toyota Celica Timing Belt, then shop with us! We own a wide range of the reduced-priced genuine Toyota Celica Timing Belt. You can purchase in confidence as all parts come with a manufacturer's warranty. Any issues with our products? No need to worry as we have a hassle-free return policy to guide you every step of the way.
Toyota Celica Timing Belt Parts Questions & Experts Answers
- Q: How to remove and install Timing Belt on Toyota Celica?A:The timing system is indeed intricate and engine damage can result from mishmash thus this process should be undertaken only by highly experienced people. Start with removing the negative terminal of the battery, placing jack stands under rear wheels and engaging the parking break. Remove the right front wheel and to do this, first slacken the lug nuts, then lift the car and support it on jackstands. Take off the right front wheel and fender apron seal, spark Plugs and the drive belts. If necessary, unbolt the power steering reservoir so that it is out of the way for the timing belt removal; also the cruise control actuator if the vehicle has one. The right Engine Mount should then be unbolted while supporting the engine, the use of a hoist is advisable particularly if the Oil Pan is being taken out. For 2S-E engines, it is necessary to eradicate the upper timing belt cover and gaskets, then turn the crankshaft pulley screw so that the groove of crankshaft pulley will be in line with the zero mark of lower timing belt cover for indicating TDC. In 3S-FE or 5S-FE engines, turn the engine until the number one piston is at TDC on the compression stroke and the camshaft sprocket's TDC mark must match that on the crankshaft. If belt is reused then draw paint match marks on the pulley and the belt. Release tension on the upper idler pulley set bolt to fit a spring, remove the spring to fit the timing belt off the pulley. If the camshaft pulley is worn, unscrew and manipulate the crank, take off the valve cover, and tighten the camshaft rear unit and detach the camshaft pulley. To take out the timing belt, set the crankshaft pulley, to stop rotating by loosening the bolt, and take the pulley away. Slide the lower timing belt cover away from the crankshaft and take the timing belt guide lower also. Incase one is using the same timing belt, paint marks on the pulley and belt should match. Remove the radiator reservoir tank and valve covers for 3S-GE engines, then turn the crankshaft to place the number one piston at TDC, then set the camshaft pulleys to coincide with the rear timing belt covers. If the timing belt is being reused, paint match marks on the pulleys and the belt. To remove the timing belt, first relax the upper idler pulley set bolt and slide the pulley to the left part and then remove the belt. If the camshaft pulleys are worn, unscrew the valve cover, take the camshaft with the wrench, and then unbolt the pulley. To carry on with the removal of the timing belt, avoid the crankshaft pulley from turning, take out the bolt and remove the pulley as well. Take off the lower timing belt cover and push the belt guide off the crankshaft. In case of reusing the timing belt paint mark should be made on the pulley and belt to match. Remove the timing belt by slipping it off the pulley. For 4A-FE and 7A-FE engines, first, remove the upper and center timing belt covers and then turn the crankshaft until the number one piston arrived at TDC, the alignment hole in the camshaft pulley must point to the mark on the camshaft bearing cap. Should the belt with the previous timing be reused, paint match marks on the pulley and belt. Insert a screwdriver under the idler pulley set bolt and loosen it to push the pulley to the left and remove the timing belt. If the camshaft pulley is rubbed, then turn the valve cover, clutch the front camshaft with the wrench, and then remove the pulley. If timing belt removal is to continue, ensure the crankshaft pulley cannot be turned, remove the bolt in it, and take off the pulley. Take off the lower timing belt cover and pull off the belt guard located on the crankshaft. If reusing the timing belt, paint match marks on the pulley and belt so that, during reassembly, they will go back to their original position. Release the timing belt from the pulley / Take out the timing belt. The idler pulleys should also be examined and the bearings' condition and play must be ascertained with the spring not being damaged. Thus, if the timing belt broke during operation, it could have been contaminated in one way or the other, or it could have been overtightened. Looking for cracked, chipped or missing teeth on the belt and also cross checking on the degree of wear and!tear experienced on the teeth. Replace the timing belt if there is indication that shows that it has worn out or is damaged. Before actually turning on the engine, turn the crankshaft by hand at least two times over and look for stiff movement. Clean the area of the timing belt of dirt and oil particularly around the upper idler and tensioner, replace the idler pulleys and tension spring if you had to remove them and ensure the upper idler is snapped back against the tension of the spring. Double check the position of the camshaft and crankshaft timing marks, place the timing belt on the crankshaft and idler pulleys, and make sure the belt is properly positioned in the guide. Slide the timing belt under the camshaft sprocket increasing tension on the side closer to the front of the car as in Fig. Tighten the upper idler pulley bolt to put pressure on the spring and turn the crankshaft clockwise explaining two full revolutions. Put screws on the idler pulley mounting tight to the specified torque and make check on the timing again and the rest should be put back in the reverse procedure. Last of all, start the engine and test all the functions of the car.
Related Toyota Celica Parts
Browse by Year
1999 Timing Belt 1998 Timing Belt 1997 Timing Belt 1996 Timing Belt 1995 Timing Belt 1994 Timing Belt 1993 Timing Belt 1992 Timing Belt 1991 Timing Belt 1990 Timing Belt 1989 Timing Belt 1988 Timing Belt 1987 Timing Belt 1986 Timing Belt 1985 Timing Belt 1984 Timing Belt 1983 Timing Belt 1982 Timing Belt
