
My Garage
My Account
Cart
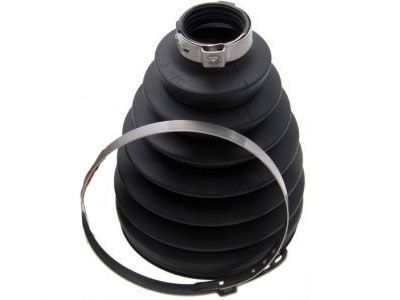
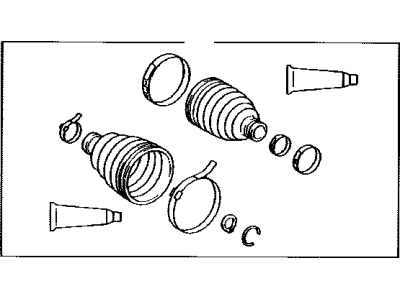
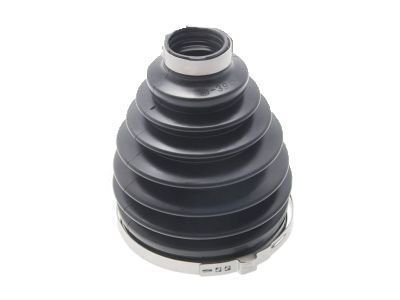
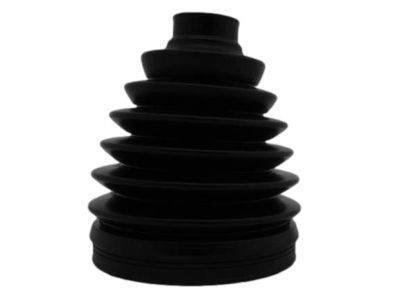
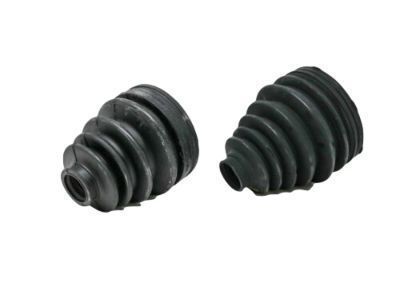
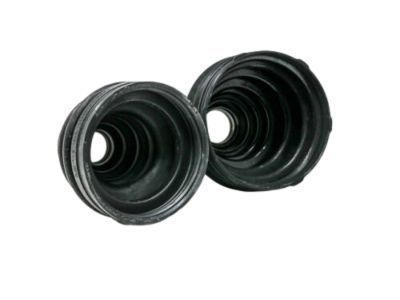
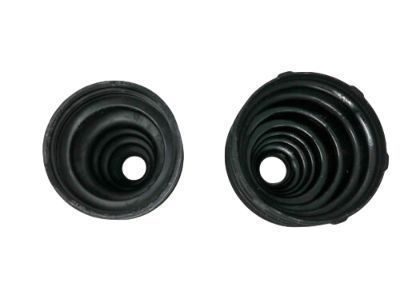
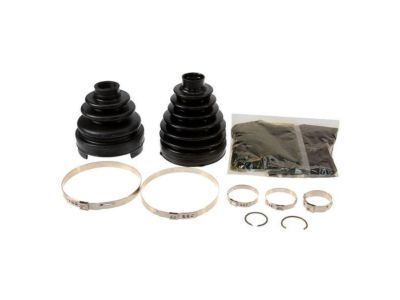
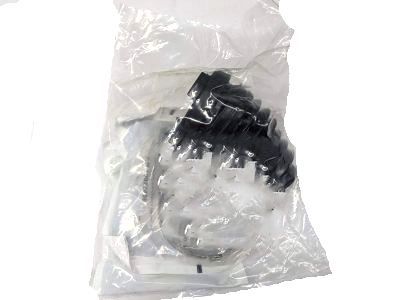
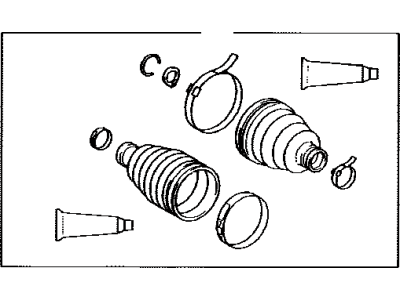
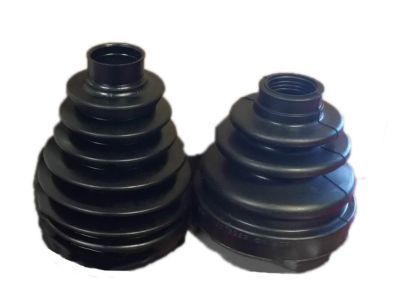
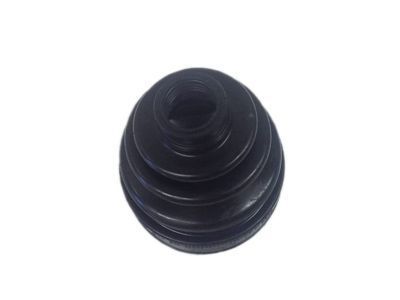
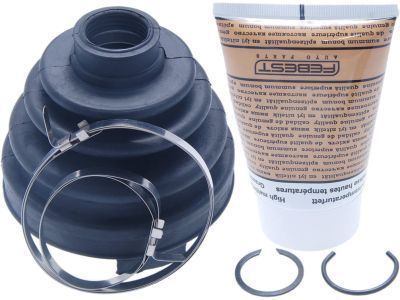
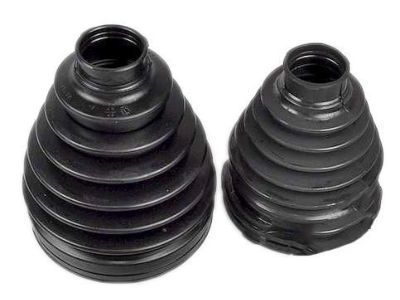
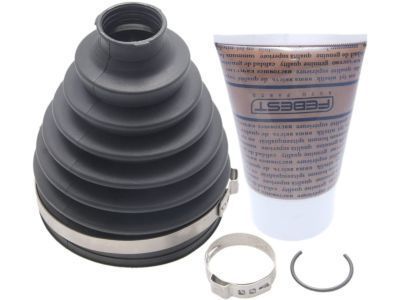
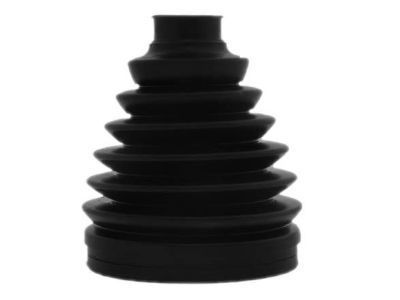
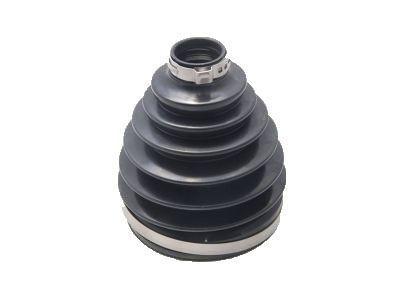
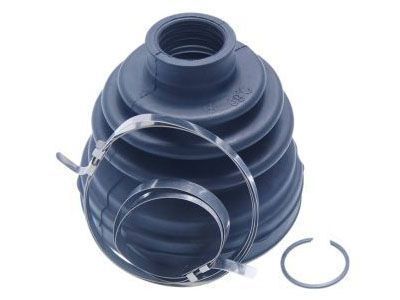
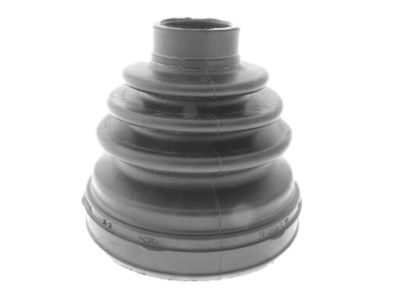
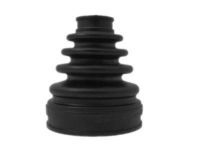
Genuine Toyota CV Boot
Axle Boot- Select Vehicle by Model
- Select Vehicle by VIN
Select Vehicle by Model
orMake
Model
Year
Select Vehicle by VIN
For the most accurate results, select vehicle by your VIN (Vehicle Identification Number).
565 CV Boots found
- Product Specifications
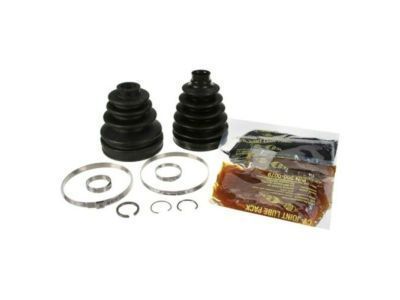
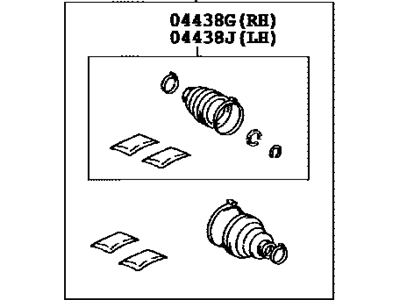
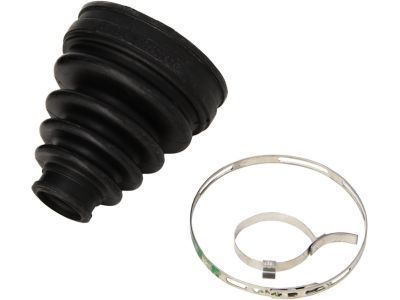
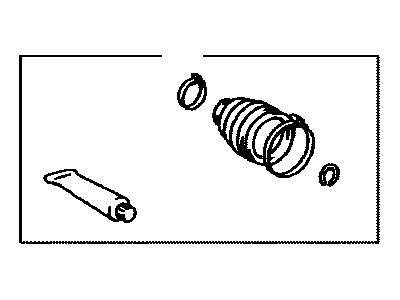
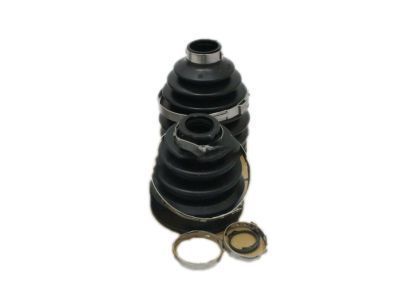
- Other Name: Boot Kit, Front Drive Shaft; Boot Kit
- Position: Front
- Replaces: 04438-04020
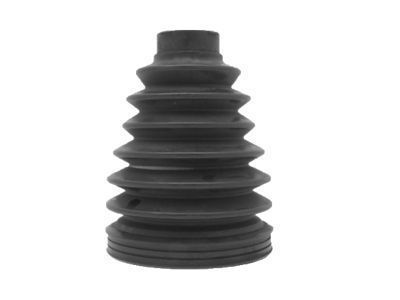
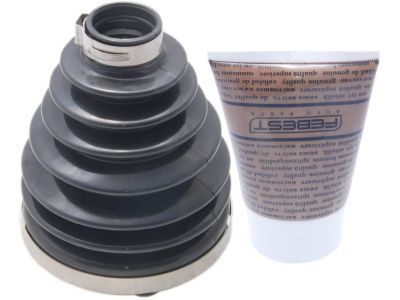
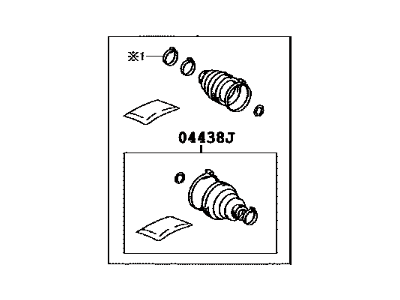
Toyota Outer Cv Joint Boot Right
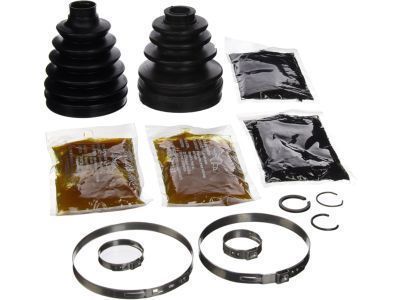
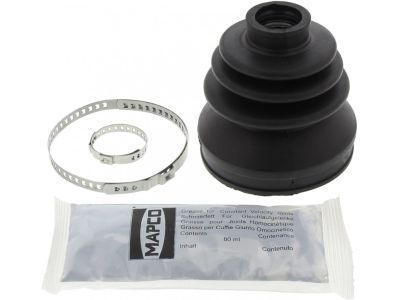
Part Number: 04427-60080$70.55 MSRP: $99.45You Save: $28.90 (30%)Ships in 1-2 Business DaysProduct Specifications- Other Name: Boot Kit, Front Drive Shaft, In & Outboard, Rh
- Position: Outer Passenger Side
- Replaced by: 04427-60142
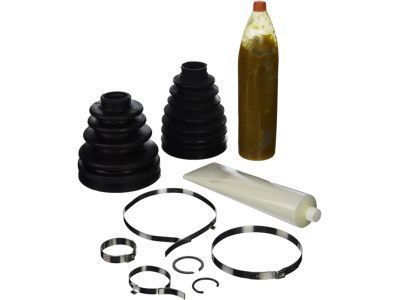
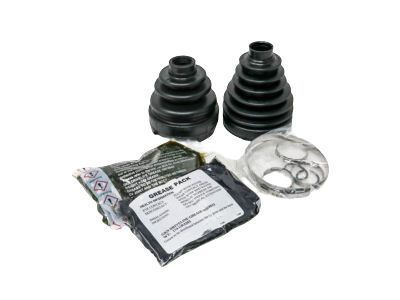
Toyota Front Cv Joint Boot Kit In Outboard Right
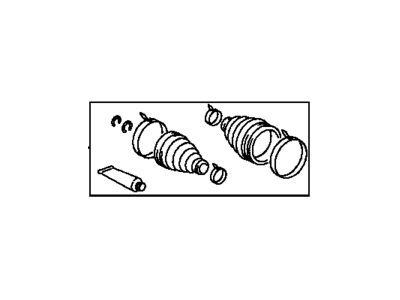
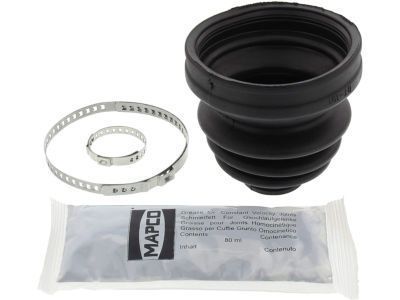
Part Number: 04428-04010$39.85 MSRP: $55.71You Save: $15.86 (29%)Product Specifications- Other Name: Boot Kit, Inboard/Ou ; Boot Kit, Front Drive Shaft, In & Outboard, Rh; Boot, Boot Kit
- Position: Front Passenger Side
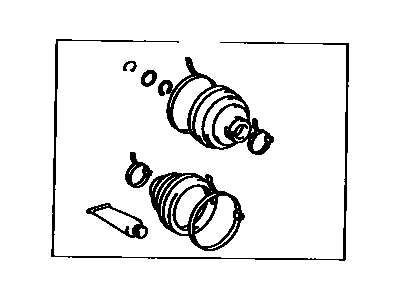
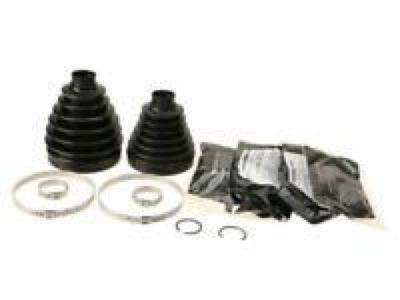
Toyota Front Cv Joint Boot Kit
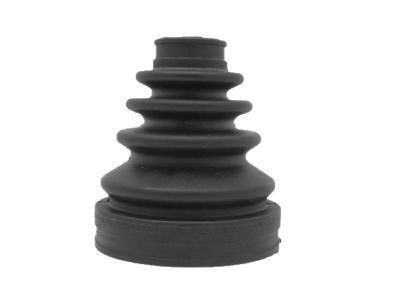
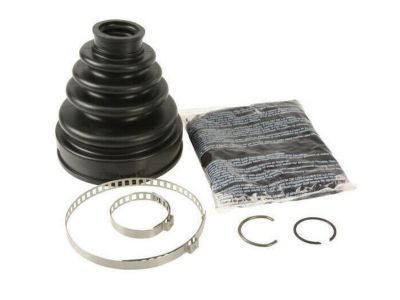
Part Number: 04438-35060$66.78 MSRP: $94.13You Save: $27.35 (30%)Ships in 1-3 Business DaysProduct Specifications- Other Name: Boot Kit, Front Drive Shaft
- Position: Front
- Replaced by: 04438-35062
Toyota Front Cv Joint Boot Kit In Outboard Right
Part Number: 04427-60131$49.02 MSRP: $68.51You Save: $19.49 (29%)Ships in 1-3 Business DaysProduct Specifications- Other Name: Boot Kit, Front Drive Shaft, In & Outboard, Rh; Boot, Boot Kit
- Position: Front Passenger Side
- Replaced by: 04427-60133
Toyota Right Front Cv Joint Boot
Part Number: 04437-60040$34.26 MSRP: $47.89You Save: $13.63 (29%)Ships in 1-3 Business DaysProduct Specifications- Other Name: Boot Kit, Front Drive Shaft Inboard Joint, Rh
- Position: Front Passenger Side
- Replaced by: 04437-60042
Toyota Front Cv Joint Boot Kit
Part Number: 04427-60120$70.91 MSRP: $99.95You Save: $29.04 (30%)Ships in 1-2 Business DaysProduct Specifications- Other Name: Boot Kit, Front Drive Shaft; Boot, Boot Kit
- Position: Front
- Replaced by: 04427-60121
- Replaces: 04438-60021, 04438-60020
Toyota Front Cv Joint Boot Kit In Outboard Left
Part Number: 04428-0W030$55.32 MSRP: $77.32You Save: $22.00 (29%)Product Specifications- Other Name: Boot Kit, Front Drive Shaft, In & Outboard, Lh; Boot, Boot Kit
- Position: Driver Side
- Replaces: 04427-0W050, 04428-08080
Toyota Front Cv Joint Boot Kit In Outboard Left
Part Number: 04428-0W060$122.72 MSRP: $174.47You Save: $51.75 (30%)Product Specifications- Other Name: Boot Kit, Front Drive Shaft, In & Outboard, Lh; Boot Kit
- Position: Front Driver Side
- Product Specifications
- Other Name: Boot Kit, Front Drive Shaft Inboard Joint, Lh; Inner Boot
- Position: Front Driver Side
- Replaces: 04437-06110
Toyota Front Cv Joint Boot Kit In Outboard Right
Part Number: 04427-60130$55.32 MSRP: $77.32You Save: $22.00 (29%)Ships in 1-3 Business DaysProduct Specifications- Other Name: Boot Kit, Front Drive Shaft, In & Outboard, Rh
- Position: Front Passenger Side
- Replaced by: 04427-60132
Toyota Right Front Cv Joint Boot
Part Number: 04438-42180$24.86 MSRP: $34.75You Save: $9.89 (29%)Ships in 1-3 Business DaysProduct Specifications- Other Name: Boot Kit, Front Drive Shaft Inboard Joint, Rh; Boot Kit, Inner Boot
- Position: Front Passenger Side
- Replaces: 04438-28040, 04438-28041
Toyota Front Cv Joint Boot Kit In Outboard Right
Part Number: 04428-0E060$58.54 MSRP: $81.82You Save: $23.28 (29%)Product Specifications- Other Name: Boot Kit, Front Drive Shaft, In & Outboard, Rh; Boot, Boot Kit, Outer Boot
- Position: Front Passenger Side
- Replaces: 04427-0E030, 04427-06300
Toyota Front Cv Joint Boot Kit In Outboard Left
Part Number: 04428-06610$48.06 MSRP: $67.19You Save: $19.13 (29%)Ships in 1-3 Business DaysProduct Specifications- Other Name: Boot Kit, Front Drive Shaft, In & Outboard, Lh; Boot Kit
- Position: Driver Side
- Replaces: 04428-0R061, 04428-0R050
Toyota Front Cv Joint Boot Kit In Outboard Right
Part Number: 04428-0W070$59.13 MSRP: $82.66You Save: $23.53 (29%)Product Specifications- Other Name: Boot Kit, Front Drive Shaft, In & Outboard, Rh; Boot, Boot Kit, Outer Boot
- Position: Front Passenger Side
- Replaces: 04428-0W050
Toyota Front Cv Joint Boot Kit In Outboard Right
Part Number: 04427-01080$44.85 MSRP: $62.69You Save: $17.84 (29%)Ships in 1-3 Business DaysProduct Specifications- Other Name: Boot Kit, Front Drive Shaft, In & Outboard, Rh; Boot Kit
- Position: Passenger Side
Toyota Front Cv Joint Boot Kit
Part Number: 04427-0C020$40.57 MSRP: $56.70You Save: $16.13 (29%)Ships in 1-2 Business DaysProduct Specifications- Other Name: Boot Kit, Front Drive Shaft; Boot Kit, Outer Boot
- Position: Front
Toyota Front Cv Joint Boot Kit
Part Number: 04438-60021$70.91 MSRP: $99.95You Save: $29.04 (30%)Ships in 1-2 Business DaysProduct Specifications- Other Name: Boot Kit, Front Drive Shaft
- Position: Front
- Replaced by: 04427-60121
Toyota Front Cv Joint Boot Kit In Outboard Right
Part Number: 04438-04050$24.50 MSRP: $34.24You Save: $9.74 (29%)Product Specifications- Other Name: Boot Kit, Front Drive Shaft Inboard Joint, Rh; Inner Boot
- Position: Front Passenger Side
Toyota Front Drive Shaft Boot Kit
Part Number: 04427-60133$49.02 MSRP: $68.51You Save: $19.49 (29%)Ships in 1-2 Business DaysProduct Specifications- Other Name: BOOT KIT, FR DRIVE S
- Position: Front
- Replaces: 04427-60131
| Page 1 of 29 |Next >
1-20 of 565 Results
Toyota CV Boot Parts Questions & Experts Answers
- Q: How to Check the CV Boot on 2003-2009 Toyota 4Runner?A:One has to be mindful of the importance of the CV boots in that it prevents the entry of dirt, water or foreign materials that can damage the constant velocity joints (CV). Inspect them for tears and cracks, along with loose clamps. The CV boot should be checked for any sign of cracks and grease leaks. Any evidence of cracks or grease leaking means they must be replaced.
- Q: How to inspect the CV Boot on Toyota Camry?A:With the vehicle on the ground and the front wheels pointed straight ahead, rock the steering wheel gently back and forth to check for excessive freeplay. Excessive freeplay may indicate worn front wheel bearings, main shaft yoke, intermediate shaft yoke, lower arm balljoint, steering system joint, or an out of adjustment or broken steering gear. Other symptoms such as excessive vehicle body movement over rough roads, swaying around corners, and binding when turning the steering wheel may indicate faulty steering or suspension components. Check the shock absorbers by pushing down and releasing the vehicle at each corner. If the vehicle does not come back to a level position within one or two bounces, the shocks/struts are worn and need to be replaced. Listen for squeaks and noises from the suspension components while bouncing the vehicle. Raise the vehicle with a floor jack and support it securely on jackstands. Check the tires for irregular wear patterns and proper inflation. Inspect the universal joint between the steering shaft and the steering gear housing for any damage or lubricant leakage. Check the steering linkage, tie-rod ends, and all suspension and steering components for looseness, damage, loose bolts, broken or disconnected parts, and deteriorated rubber bushings. Check the steering components for free movement, chafing, and binding while an assistant turns the steering wheel from side to side. Check the balljoints by attempting to move each lower arm up and down with a prybar to ensure there is no play. Replace any balljoint with play. Inspect the balljoint boots for damage and leaking grease. Replace the balljoints if they are damaged. Lastly, inspect the CV boots for tears, cracks, and loose clamps. Replace any boots with evidence of cracks or leaking lubricant.
- Q: How to Disassemble and Reassemble the CV Boot on a Toyota Highlander?A:For disassembly, start by mounting the driveaxle in a vise with wood-lined jaws to prevent damage. Check the CV joint for play and smooth operation throughout its range of motion. If a boot is torn, carefully pry up the clamps' retaining tabs to loosen them and slide them off. Pry up the edge of the outer boot and push it away from the CV joint, then pull the inner CV joint boot back from the housing and slide the housing off the tripod. Mark the tripod and axleshaft for reassembly. Remove the tripod joint snap-ring, and using a hammer and brass punch, drive the tripod joint from the driveaxle. Cut off or remove both boots if necessary. Clean all components and inspect for wear. For reassembly, wrap the splines on the inner end of the axleshaft with tape to protect the boots, then slide the clamps and boot(s) onto the shaft. Place the tripod on the shaft, apply grease to the assembly and housing, insert the tripod, and pack grease around it. Slide the boot into place, adjust the driveaxle length, equalize boot pressure, and tighten the clamps. Finally, install the driveaxle assembly.
Related Toyota Parts
Browse by Model
4Runner CV Boot 86 CV Boot Avalon CV Boot C-HR CV Boot Camry CV Boot Celica CV Boot Corolla CV Boot Corolla Cross CV Boot Corolla iM CV Boot Cressida CV Boot Crown CV Boot Echo CV Boot FJ Cruiser CV Boot GR Corolla CV Boot GR86 CV Boot Grand Highlander CV Boot Highlander CV Boot Land Cruiser CV Boot MR2 CV Boot MR2 Spyder CV Boot Matrix CV Boot Mirai CV Boot Paseo CV Boot Pickup CV Boot Previa CV Boot Prius AWD-e CV Boot Prius C CV Boot Prius CV Boot Prius Prime CV Boot Prius V CV Boot RAV4 CV Boot RAV4 Prime CV Boot Sequoia CV Boot Sienna CV Boot Solara CV Boot Supra CV Boot T100 CV Boot Tacoma CV Boot Tercel CV Boot Tundra CV Boot Van CV Boot Venza CV Boot Yaris CV Boot Yaris iA CV Boot bZ4X CV Boot
