
My Garage
My Account
Cart
Genuine Toyota Solara Clutch Slave Cylinder
- Select Vehicle by Model
- Select Vehicle by VIN
Select Vehicle by Model
orMake
Model
Year
Select Vehicle by VIN
For the most accurate results, select vehicle by your VIN (Vehicle Identification Number).
4 Clutch Slave Cylinders found
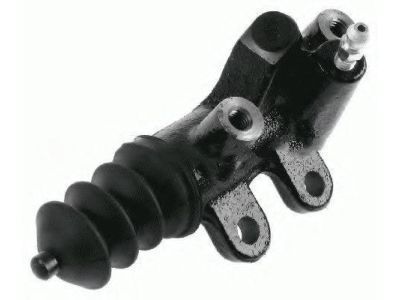
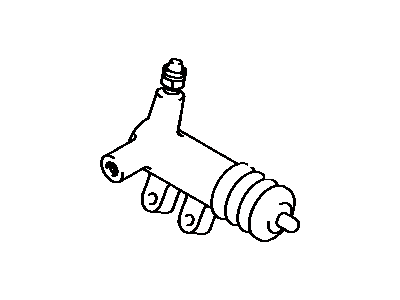
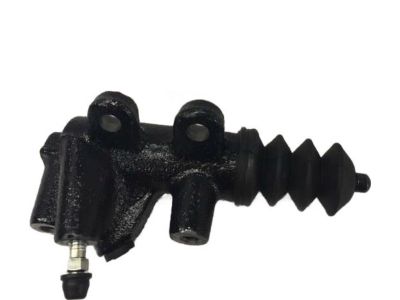
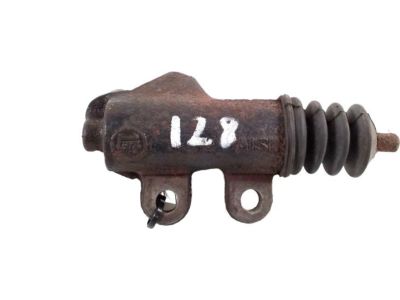
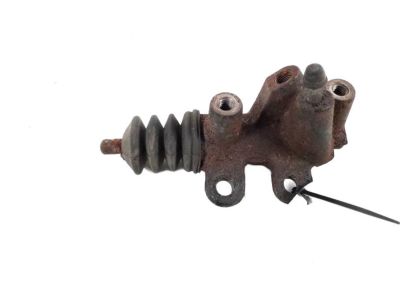
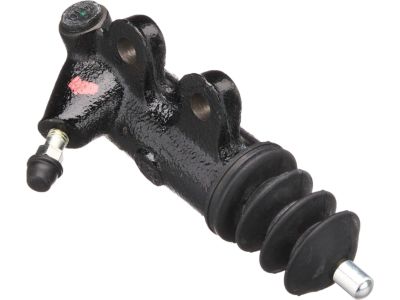
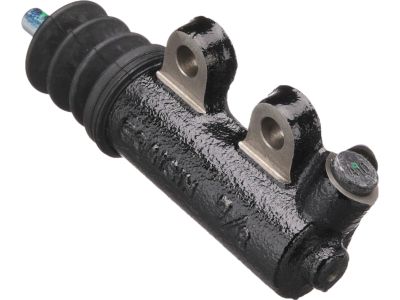
Toyota Solara Clutch Release Cylinder Assembly
Part Number: 31470-42031$72.79 MSRP: $102.62You Save: $29.83 (30%)Ships in 1-3 Business DaysToyota Solara Clutch Release Cylinder Assembly
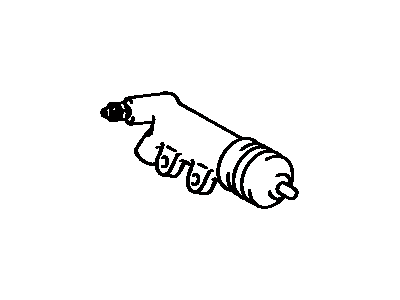
Part Number: 31470-32032$81.88 MSRP: $115.42You Save: $33.54 (30%)Toyota Solara Clutch Release Cylinder Assembly
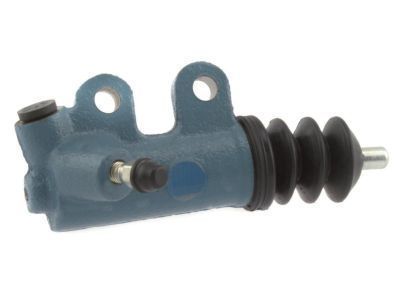
Part Number: 31470-42030$72.79 MSRP: $102.62You Save: $29.83 (30%)Ships in 1-3 Business DaysToyota Solara Clutch Release Cylinder Assembly
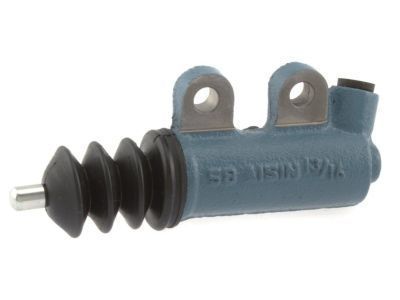
Part Number: 31470-20210$96.75 MSRP: $136.37You Save: $39.62 (30%)
Toyota Solara Clutch Slave Cylinder
The Clutch Slave Cylinder of the vehicle called Toyota Solara is used together with the Clutch Master Cylinder for engaging the clutch and to release it fully when the pedal is pressed enabling the driver to shift gears. This hydraulic component is receives pressure from the master cylinder causing the protruding of the rod to disengage the clutch mechanism. The problems with the clutch slave cylinder often result in the hazardous gear shifting and consequential endangerment of the transmission, which determines the urgency of the replacement. The master cylinder is applied to change force exerted by a driver into hydraulic pressure that in turn controls the slave cylinder in the clutch system of the Solara. It is advisable to service your car frequently and fix any problem that might arise concerning the clutch slave cylinder to avoid the occurrence of risks that may compromise the safety of the plane or lead to unpleasant performance of the plane.
If you are in demand for superior quality and affordable OEM Toyota Solara Clutch Slave Cylinder, then shop with us! We own a wide range of the reduced-priced genuine Toyota Solara Clutch Slave Cylinder. You can purchase in confidence as all parts come with a manufacturer's warranty. Any issues with our products? No need to worry as we have a hassle-free return policy to guide you every step of the way.
Toyota Solara Clutch Slave Cylinder Parts Questions & Experts Answers
- Q: How to remove and install the Clutch Slave Cylinder on a 2002 through 2008 Toyota Solara?A:To remove the clutch slave cylinder, first disconnect the negative cable from the battery. Raise the vehicle and support it securely on jackstands. Unscrew the threaded fitting to disconnect the hydraulic line from the slave cylinder, using a flare-nut wrench if available to prevent rounding off the fitting, and have a small can and rags ready for any spilled fluid. Remove the mounting bolts to separate the slave cylinder from the accumulator bracket. For installation, connect the hydraulic line to the slave cylinder and install it on the bracket, ensuring the pushrod is seated in the release fork pocket, then tighten the nuts to the specified torque. Securely tighten the hydraulic line threaded fitting, fill the clutch master cylinder with brake fluid that meets DOT 3 specifications, and bleed the system. Lower the vehicle and reconnect the negative battery cable. To remove the accumulator, disconnect the negative cable from the battery, raise the vehicle and support it on jackstands, then remove the cruise control actuator mounting bolts if equipped and position the assembly aside. Remove the battery and battery tray, then take out the starter. Unscrew the hydraulic line fittings from the accumulator and slave cylinder, and remove the mounting bolts from the accumulator bracket. For installation, connect the hydraulic lines to the accumulator without fully tightening them, install the accumulator mounting bolts and tighten them to the specified torque, and then securely tighten the hydraulic line fittings. The remainder of the installation follows the reverse order of removal.
