
My Garage
My Account
Cart
Genuine Toyota Supra Starter Solenoid
Starter Solenoid Relay- Select Vehicle by Model
- Select Vehicle by VIN
Select Vehicle by Model
orMake
Model
Year
Select Vehicle by VIN
For the most accurate results, select vehicle by your VIN (Vehicle Identification Number).
6 Starter Solenoids found
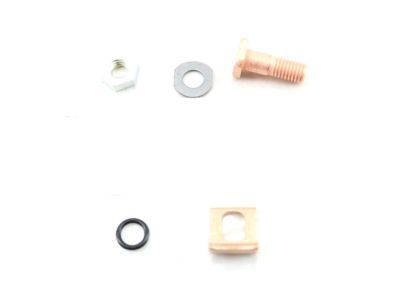
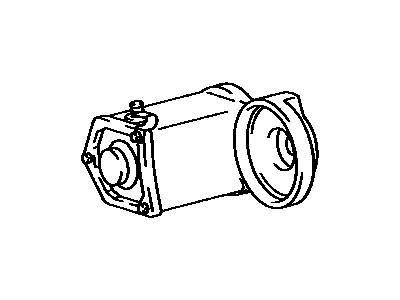
Toyota Supra Motor Terminal Starter Kit
Part Number: 28226-74070$20.34 MSRP: $28.42You Save: $8.08 (29%)Ships in 1-3 Business DaysToyota Supra Magnet Starter Switch Assembly
Part Number: 28150-46150$51.28 MSRP: $71.68You Save: $20.40 (29%)Ships in 1-3 Business DaysToyota Supra Magnet Starter Switch Assembly
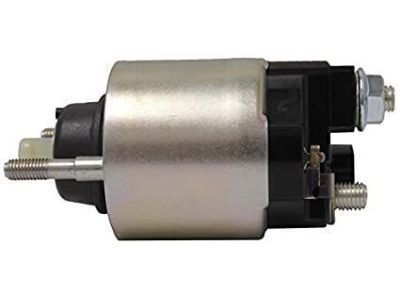
Part Number: 28150-46090$82.46 MSRP: $116.23You Save: $33.77 (30%)Ships in 1-3 Business Days
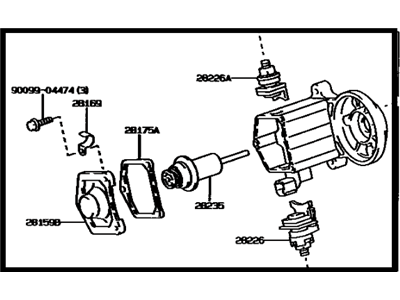
Toyota Supra Starter Solenoid
If you are in demand for superior quality and affordable OEM Toyota Supra Starter Solenoid, then shop with us! We own a wide range of the reduced-priced genuine Toyota Supra Starter Solenoid. You can purchase in confidence as all parts come with a manufacturer's warranty. Any issues with our products? No need to worry as we have a hassle-free return policy to guide you every step of the way.
Toyota Supra Starter Solenoid Parts Questions & Experts Answers
- Q: How to disconnect and remove the Starter Solenoid on a Toyota Supra?A:Pull out the cable from the terminal you identified as negative and then unbolster the Starter Motor. Unfasten the strap between the solenoid to the starter motor terminal.The units from 1987 and onwards have a socket head cap screw, and you need to remove these two screws to release the starter motor from the housing. Subsequently, use two through bolts with nuts to release the starter motor from the housing also pull out felt seal and O-ring; examine it for cracks, corrosion, and distortion for replacement. Unscrew the bolts which hold down the solenoid to the starter housing then take off the solenoid from the housing. In pre-1987 units, remember the manner in which, the clutch assembly on the solenoid and the pinion and idler gears on the starter motor are fitted before removal. Check the surface finish of gear teeth on pinion gear, idler gear, and clutch assembly and change the gear set if worn or damaged. Further, also look on the ring gear of the flywheel/driveplate if there's a wear or damage at the pinion. To check the Clutch assembly, you should rotate the pinion so it rotates depending on the anti-clockwise direction and there should be a lock up. Assembling the clutch and idler-gear assembly in the new or rebuilt starter or solenoid, just as before, apply high temperature multi purpose grease to the clutch and idler gear assembly. Last but not least, perform the disassembly steps in reverse in order to reassemble the respective object.
