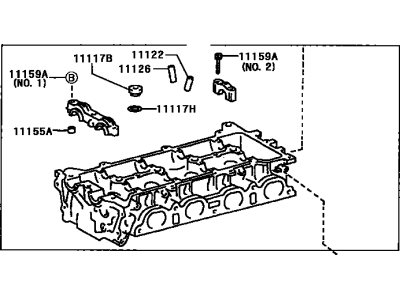
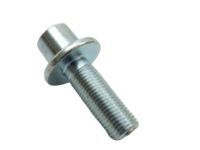
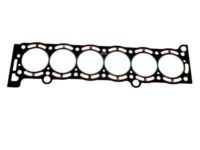
Disconnect the negative cable from the battery and drain the coolant. For models from 1982 to 1986, remove the upper radiator hose from the thermostat housing, the exhaust manifold, the timing belt, the air intake chamber with the fuel rail, and the distributor along with the cap and wires. Take off the throttle linkage bracket from the cylinder head cover, label and disconnect various wires and hoses, and remove the two retaining bolts and bypass hose from the thermostat housing before separating it from the cylinder head. Loosen the fourteen head bolts in 1/4-turn increments, marking them for reinstallation, then carefully lift the cylinder head straight up from the engine block dowel pins. Ensure the mating surfaces of the cylinder head and block are clean, using a gasket scraper and a cloth with lacquer thinner or acetone, and stuff the cylinders with shop rags to keep debris out. Check for damage on the mating surfaces and clean the threads in the head bolt holes. Apply a bead of ATV sealant to the timing belt case-to-engine block joints, position the new head gasket, and carefully place the head on the block without disturbing the gasket. Install the bolts in their original locations and tighten them in several steps to the specified torque. The remaining installation steps are the reverse of removal. For models from 1987 and later, disconnect the exhaust pipe from the exhaust manifold, detach the brackets for the accelerator and TV cables, disconnect the ground strap from the cylinder head, and remove various hoses and components including the radiator inlet hose, alternator, and turbo components as applicable. Remove the engine wiring harness and various fuel components, then remove the exhaust manifold and water outlet housing. Finally, remove the valve covers, spark plugs, crankshaft pulley, timing belt cover, and timing belt, loosen the head bolts, and carefully lift the cylinder head straight up from the engine block, storing it on blocks of wood to prevent damage. If replacing or overhauling the head, remove additional components as necessary, following the appropriate cleaning and inspection procedures.
Posted by ToyotaPartsDeal Specialist 

