
My Garage
My Account
Cart
Genuine Toyota Axle Shaft
Car Axle Shaft- Select Vehicle by Model
- Select Vehicle by VIN
Select Vehicle by Model
orMake
Model
Year
Select Vehicle by VIN
For the most accurate results, select vehicle by your VIN (Vehicle Identification Number).
1559 Axle Shafts found
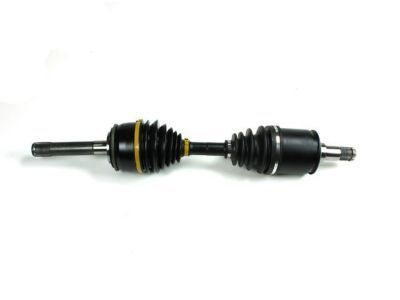
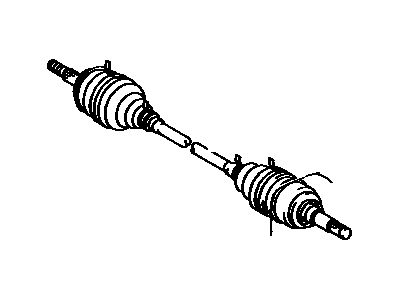
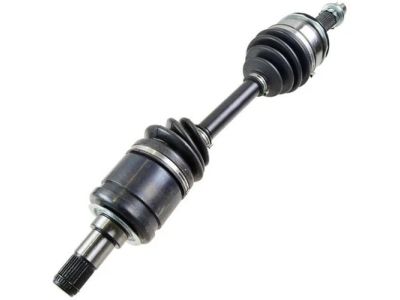
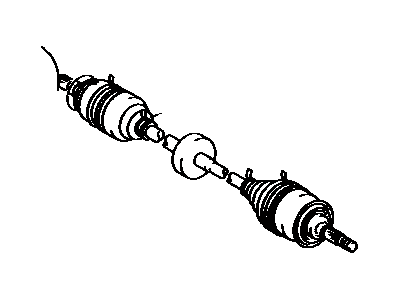
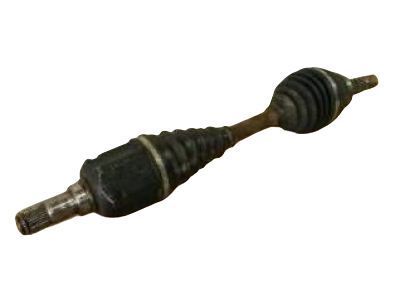
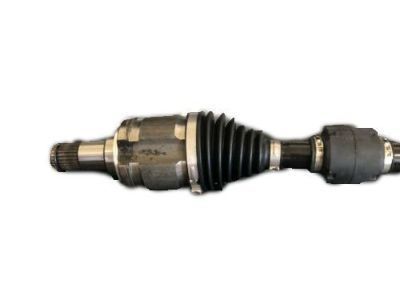
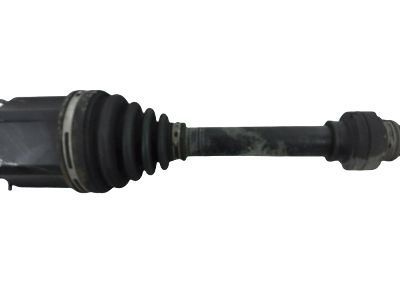
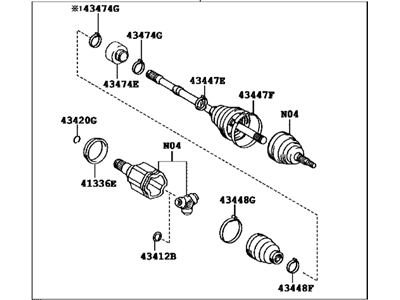
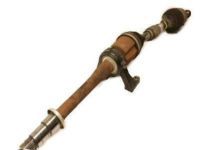
Toyota Front Drive Shaft Assembly Right Hand
Part Number: 43430-60040$365.72 MSRP: $572.11You Save: $206.39 (37%)Ships in 1-2 Business DaysProduct Specifications- Other Name: Shaft Assy, Front Drive, Rh; Axle Assembly
- Position: Front Passenger Side
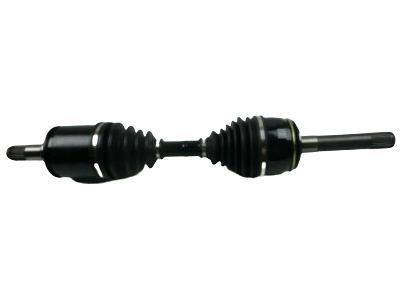
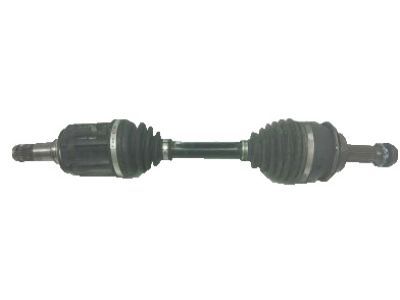
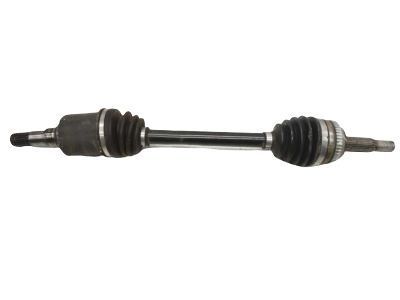
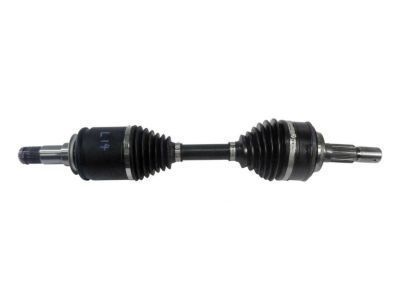
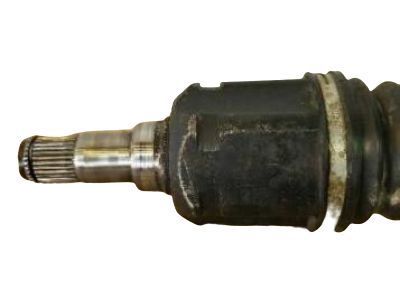
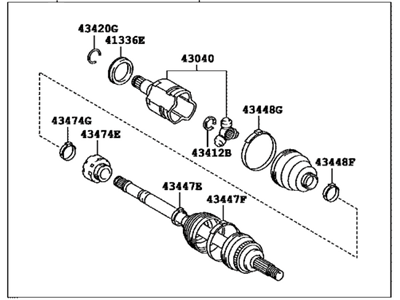
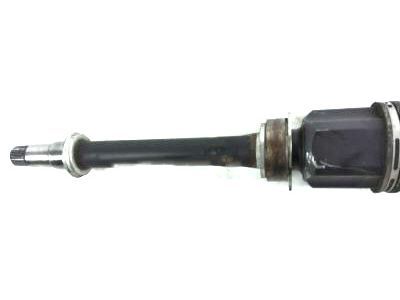
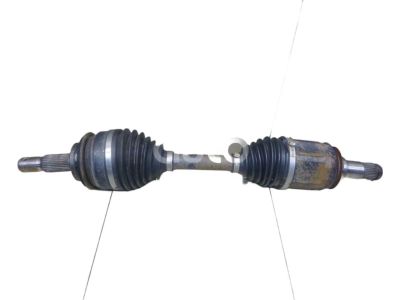
Toyota Front Drive Shaft Assembly Left Hand
Part Number: 43430-60082$330.82 MSRP: $474.38You Save: $143.56 (31%)Ships in 1-2 Business DaysProduct Specifications- Other Name: Shaft Assy, Front Drive, Lh; Axle Assembly
- Position: Front Driver Side
- Replaced by: 43430-60083
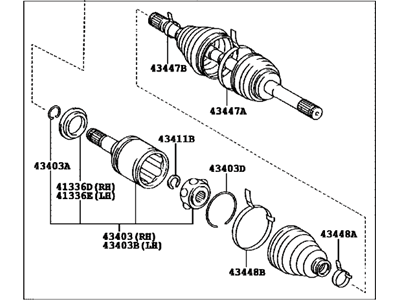
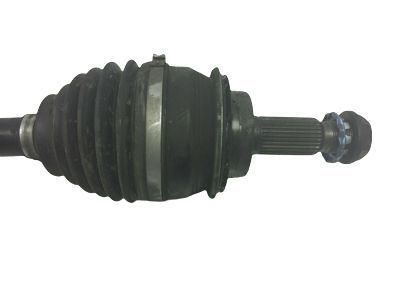
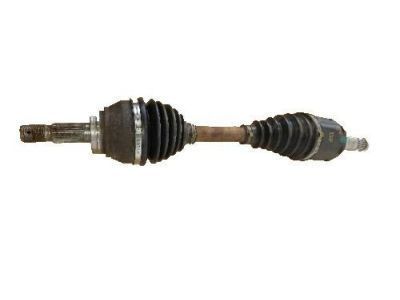
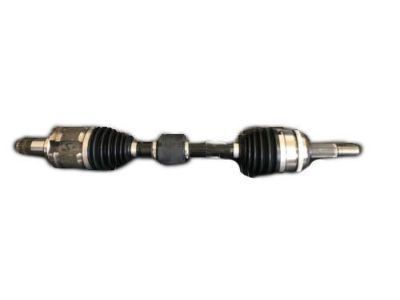
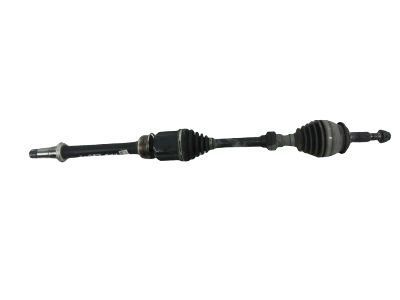
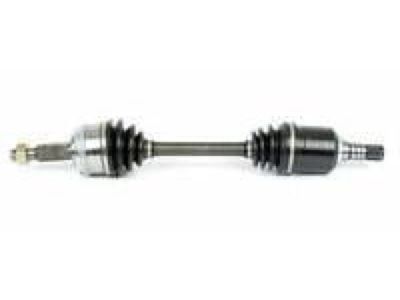
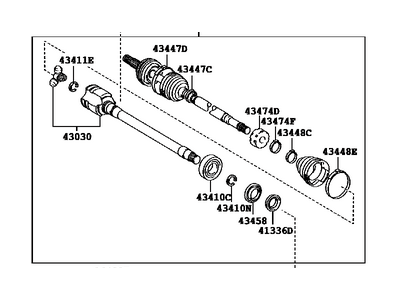
Toyota Front Drive Shaft Assembly
Part Number: 43430-04071$327.69 MSRP: $469.88You Save: $142.19 (31%)Product Specifications- Other Name: Shaft Assy, Fr Drive; Axle Assembly
- Position: Front
- Replaces: 43430-04070
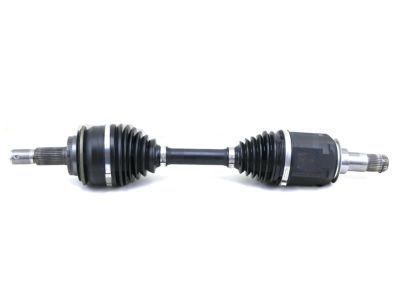
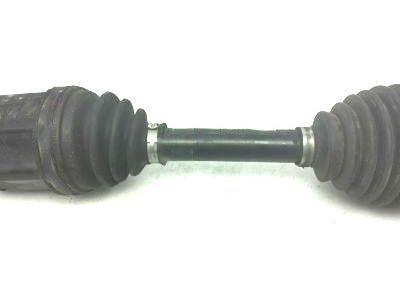
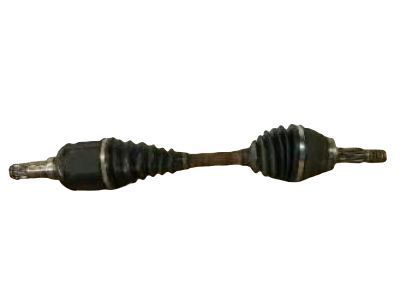
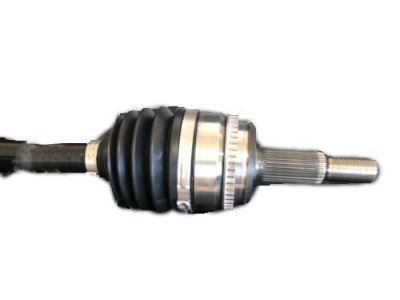
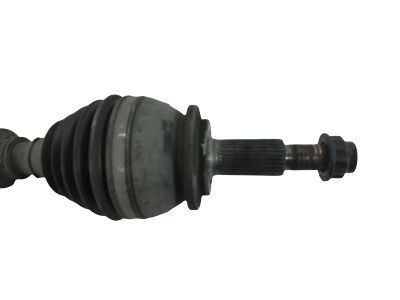
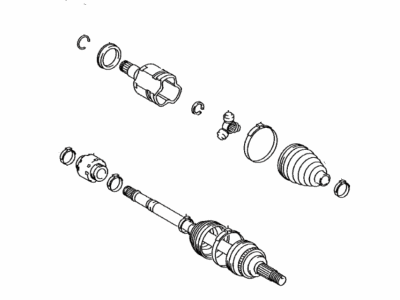
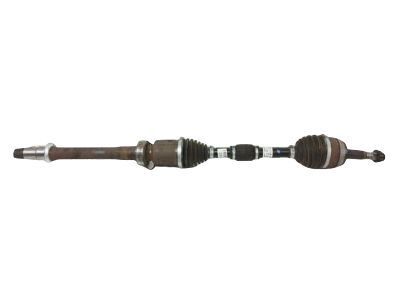
Toyota Front Drive Shaft Assembly
Part Number: 43430-60083$330.82 MSRP: $474.38You Save: $143.56 (31%)Ships in 1-2 Business DaysProduct Specifications- Other Name: SHAFT ASSY, FR DRIVE
- Position: Front
- Replaces: 43430-60082, 43430-60081
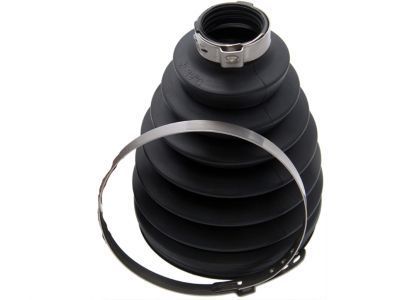
Toyota Passenger Front Outer Cv Joint Boot Kit
Part Number: 43430-60060$412.32 MSRP: $615.09You Save: $202.77 (33%)Ships in 1-3 Business DaysProduct Specifications- Other Name: Shaft Assembly, Front Drive, Rh
- Position: Front Outer Passenger Side
- Replaced by: 43430-60062
Toyota Front Drive Shaft Assembly
Part Number: 43420-02B12$279.75 MSRP: $427.68You Save: $147.93 (35%)Product Specifications- Other Name: Shaft Assy, Fr Drive; Axle, Axle Assembly
- Position: Driver Side
- Replaces: 43420-02B11, 43420-02B10, 43420-02820, 43420-01110
Toyota Front Drive Shaft Assembly Left Hand
Part Number: 43430-60071$296.72 MSRP: $425.47You Save: $128.75 (31%)Ships in 1-3 Business DaysProduct Specifications- Other Name: Shaft Assy, Front Drive, Lh; Axle Assembly, Axle Shaft Assembly
- Position: Front Driver Side
- Replaces: 43430-60070
Toyota Front Drive Shaft Assembly Left Hand
Part Number: 43430-04070$327.69 MSRP: $469.88You Save: $142.19 (31%)Product Specifications- Other Name: Shaft Assy, Front Drive, Lh
- Position: Front Driver Side
- Replaced by: 43430-04071
Toyota Front Drive Shaft Assembly
Part Number: 43420-06812$346.20 MSRP: $516.46You Save: $170.26 (33%)Ships in 1-3 Business DaysProduct Specifications- Other Name: Shaft Assy, Fr Drive; Axle Assembly
- Position: Driver Side
- Replaces: 43420-06811, 43420-06810
Toyota Front Drive Shaft Assembly
Part Number: 43410-0R092$428.48 MSRP: $639.21You Save: $210.73 (33%)Ships in 1-3 Business DaysProduct Specifications- Other Name: Shaft Assy, Fr Drive; Axle Assembly
- Position: Passenger Side
- Replaces: 43410-0R091, 43410-0R090
Toyota Front Drive Shaft Assembly
Part Number: 43420-06B30$391.02 MSRP: $583.33You Save: $192.31 (33%)Ships in 1-2 Business DaysProduct Specifications- Other Name: Shaft Assy, Fr Drive; Axle Assembly
- Position: Driver Side
Toyota Front Drive Shaft Assembly Right Hand
Part Number: 43430-60081$330.82 MSRP: $474.38You Save: $143.56 (31%)Ships in 1-3 Business DaysProduct Specifications- Other Name: Shaft Assy, Front Drive, Rh
- Position: Front Passenger Side
- Replaced by: 43430-60083
Toyota Front Drive Shaft Assembly
Part Number: 43420-0R082$346.20 MSRP: $516.46You Save: $170.26 (33%)Ships in 1-3 Business DaysProduct Specifications- Other Name: Shaft Assy, Fr Drive; Axle Assembly
- Position: Driver Side
- Replaces: 43420-0R080, 43420-0R081
Toyota Front Drive Shaft Assembly Right Hand
Part Number: 43410-06B80$362.10 MSRP: $566.74You Save: $204.64 (37%)Product Specifications- Other Name: Shaft Assy, Front Drive, Rh; Axle Assembly
- Manufacturer Note: KOREA SPEC
- Position: Passenger Side
- Replaces: 43410-0W180, 43410-06A50, 43410-06560, 43410-06780
Toyota Front Drive Shaft Assembly
Part Number: 43420-02B62$338.50 MSRP: $504.98You Save: $166.48 (33%)Product Specifications- Other Name: Shaft Assy, Fr Drive; Axle Assembly
- Position: Driver Side
- Replaces: 43420-02B60, 43420-02B61
Toyota Front Drive Shaft Assembly
Part Number: 43420-0C020$389.90 MSRP: $581.66You Save: $191.76 (33%)Product Specifications- Other Name: SHAFT ASSY, FR DRIVE; Axle Assembly
- Position: Driver Side
Toyota Front Drive Shaft Assembly Left Hand
Part Number: 43420-06B00$595.22 MSRP: $888.75You Save: $293.53 (34%)Product Specifications- Other Name: Shaft Assembly, Front Drive, Lh; Axle Assembly
- Manufacturer Note: KOREA SPEC
- Position: Driver Side
- Replaces: 43420-06860, 43420-0W210, 43420-06510
Toyota Front Drive Shaft Assembly Left Hand
Part Number: 43420-0R081$346.20 MSRP: $516.46You Save: $170.26 (33%)Ships in 1-2 Business DaysProduct Specifications- Other Name: Shaft Assy, Front Drive, Lh
- Position: Driver Side
- Replaced by: 43420-0R082
Toyota Front Drive Shaft Assembly
Part Number: 43410-06732$362.10 MSRP: $566.74You Save: $204.64 (37%)Product Specifications- Other Name: Shaft Assy, Fr Drive; Axle Assembly
- Manufacturer Note: MEXICO SPEC
- Position: Passenger Side
- Replaces: 43410-06730, 43410-06731
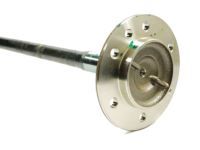
- Product Specifications
- Other Name: Shaft Assy, Front Drive, Rh; Axle, Axle Assembly
- Position: Passenger Side
| Page 1 of 78 |Next >
1-20 of 1559 Results
Toyota Axle Shaft Parts Questions & Experts Answers
- Q: How to Remove and Install an Axle Shaft on a Toyota Camry?A:Before starting this procedure, obtain a new axle shaft/hub nut. Begin by disconnecting the cable from the negative terminal of the battery. Loosen the front wheel lug nuts, raise the vehicle, and support it securely on jackstands before removing the wheel. Unstake and remove the axle shaft/hub nut, bracing a prybar between two wheel studs to prevent the hub from turning. Disconnect the stabilizer bar link at the suspension strut and the tie-rod end from the steering knuckle, then remove the nuts and bolt securing the balljoint to the control arm, prying the control arm down to separate the components. Disconnect the ABS wheel speed sensor from the steering knuckle and the ABS harness clamp at the suspension strut. To loosen the axle shaft from the hub splines, tap the end of the axle shaft with a soft-faced hammer or brass punch; if stuck, it may be necessary to remove the brake disc and use a two-jaw puller. Place a drain pan underneath the transaxle to catch any leaking lubricant. If applicable, remove the case protector over the inner CV joint. Pull out on the steering knuckle to detach the axle shaft from the hub, taking care to protect your hands from the sharp ring around the CV joint. For right axle shaft assemblies, remove the center bearing lock bolt and snap-ring, then pull the splined inner end of the intermediate shaft out of the differential side gear. For the left axle shaft, carefully pry the inner CV joint out of the transaxle. If necessary to move the vehicle while the axle shaft is out, place a large bolt with washers through the hub and tighten securely. Installation is the reverse of removal, ensuring to push the left axle shaft sharply inward to seat the retaining ring, tighten the center bearing lock bolt for the right axle shaft/intermediate shaft assembly, use a new axle shaft/hub nut and stake it, install the wheel and lug nuts, lower the vehicle, and tighten the lug nuts. Finally, check the transaxle lubricant and add if necessary, and check the intermediate shaft bearing for smooth operation, replacing it if it feels rough or sticky.
- Q: How to remove and install the axle shaft assembly on a 1996 through 2002 Toyota 4Runner?A:Position jackstands under the vehicle and secure it while you turn loose wheel nuts above then lift the car. Drain the differential. Before removing the axle shaft nut use a prybar or screwdriver placed between wheel studs to hold the axle shaft in place. Then break the axle shaft hub nut loose with a large breaker bar while your helper applies the brakes. Remove the nut and washer. Use a brass drift to gently hit the axle shaft from the steering knuckle when separating them since hitting with metal tools can ruin axle shaft threads and splines. Detach the steering knuckle end of the lower control arm. Several blows from a rubber mallet will help push out the axle shaft if it resists your pull from either direction. Changing back to normal operation requires a tightening of the axle shaft hub nut.
- Q: How to remove and install a front axle shaft on a 2005 through 2009 Toyota Tacoma?A:Loosen the front wheel lug nuts, raise the front of the vehicle, and support it securely on jackstands while blocking the rear wheels to prevent rolling. Remove the wheel(s) and drain the differential lubricant. Remove the grease cap by tapping it from the hub with a hammer and chisel. Take out the cotter pin and nut lock, then use a prybar or large screwdriver between the wheel studs to hold the axle shaft while loosening the axle shaft/hub nut with a large breaker bar, or have an assistant apply the brakes. Remove the ABS wheel speed sensor(s) and disconnect the outer tie rod ends from the steering knuckle. Unbolt the lower balljoint bracket from the steering knuckle. Knock the axle shaft loose from the steering knuckle using a brass drift and hammer, avoiding steel tools to prevent damage to the threads. Swing the steering knuckle outward and pull the axle shaft assembly out, detaching it from the differential; for the right axle shaft, tap the inner CV joint out with a hammer and brass drift, and for the left axle shaft, use a slide hammer with a special hooked adapter to pull the inner CV joint. Installation is the reverse of removal, ensuring to tighten the axle shaft/hub nut to the specified torque, then install the nut lock and a new cotter pin, followed by tightening the lug nuts and all suspension fasteners to the correct torque. Finally, refill the differential with the appropriate lubricant.
Related Toyota Parts
Browse by Model
4Runner Axle Shaft 86 Axle Shaft Avalon Axle Shaft C-HR Axle Shaft Camry Axle Shaft Celica Axle Shaft Corolla Axle Shaft Corolla Cross Axle Shaft Corolla iM Axle Shaft Corona Axle Shaft Cressida Axle Shaft Crown Axle Shaft Echo Axle Shaft FJ Cruiser Axle Shaft GR Corolla Axle Shaft GR Supra Axle Shaft GR86 Axle Shaft Grand Highlander Axle Shaft Highlander Axle Shaft Land Cruiser Axle Shaft MR2 Axle Shaft MR2 Spyder Axle Shaft Matrix Axle Shaft Mirai Axle Shaft Paseo Axle Shaft Pickup Axle Shaft Previa Axle Shaft Prius AWD-e Axle Shaft Prius Axle Shaft Prius C Axle Shaft Prius Prime Axle Shaft Prius V Axle Shaft RAV4 Axle Shaft RAV4 Prime Axle Shaft Sequoia Axle Shaft Sienna Axle Shaft Solara Axle Shaft Starlet Axle Shaft Supra Axle Shaft T100 Axle Shaft Tacoma Axle Shaft Tercel Axle Shaft Tundra Axle Shaft Van Axle Shaft Venza Axle Shaft Yaris Axle Shaft Yaris iA Axle Shaft bZ4X Axle Shaft
