
My Garage
My Account
Cart
Genuine Toyota Clutch Master Cylinder
- Select Vehicle by Model
- Select Vehicle by VIN
Select Vehicle by Model
orMake
Model
Year
Select Vehicle by VIN
For the most accurate results, select vehicle by your VIN (Vehicle Identification Number).
169 Clutch Master Cylinders found
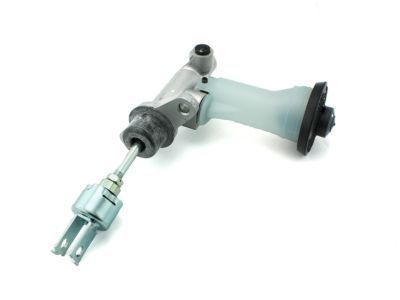
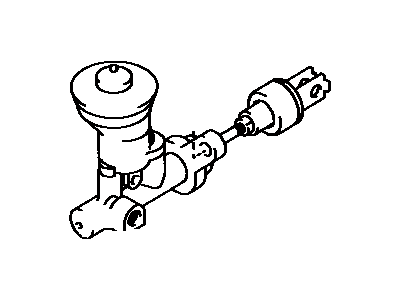
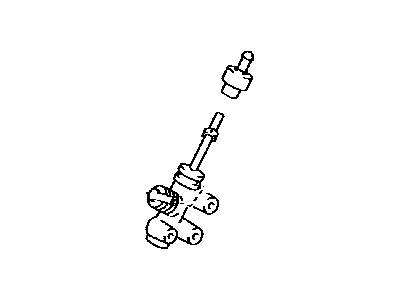
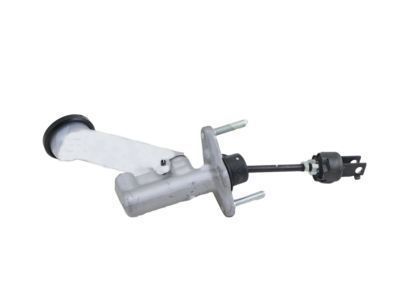
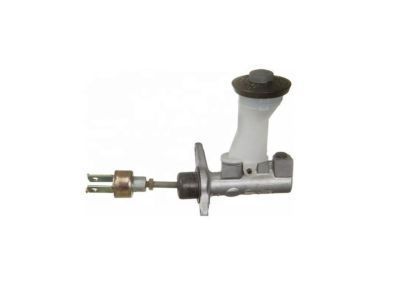
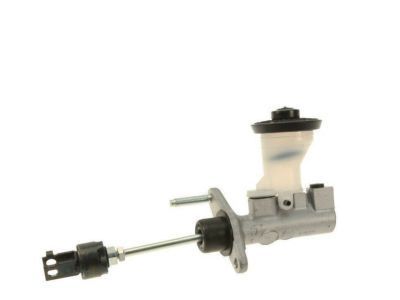
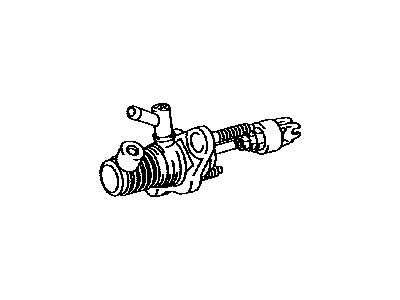
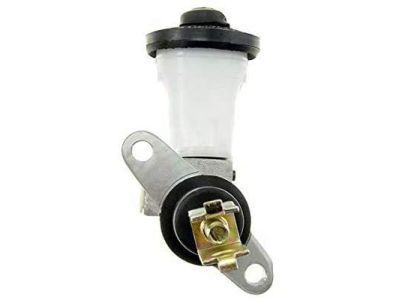
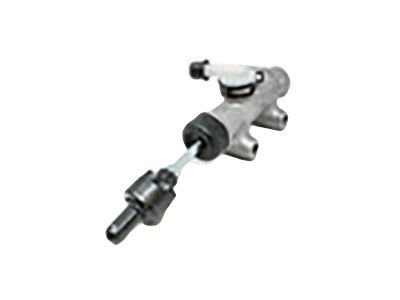
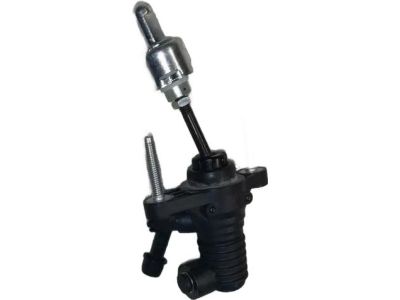
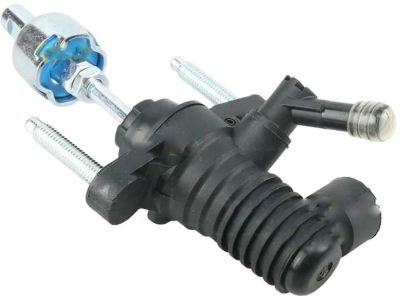
Toyota Clutch Master Cylinder Assembly
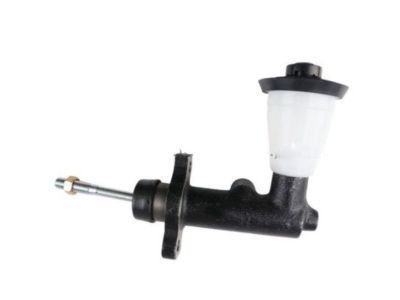
Part Number: 31410-34012$156.65 MSRP: $222.71You Save: $66.06 (30%)Ships in 1-3 Business DaysProduct Specifications- Other Name: Cylinder Assy, Clutch Master; Master Cylinder
- Replaces: 31410-34010, 31410-34011
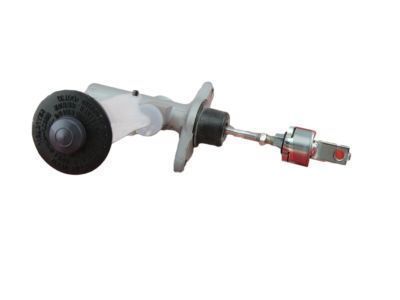
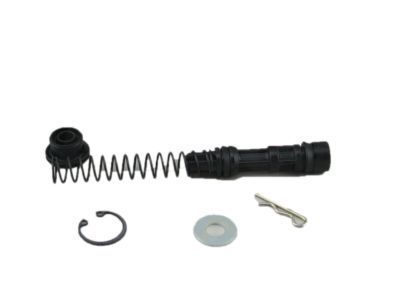
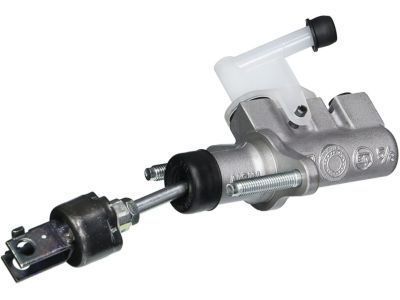
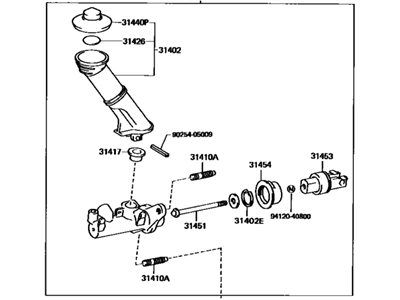
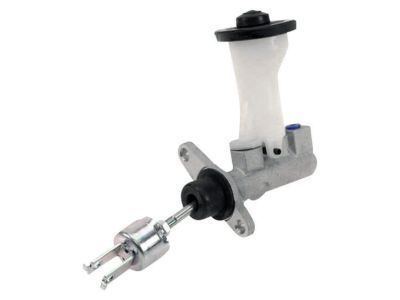
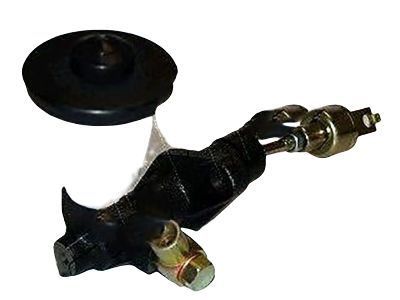
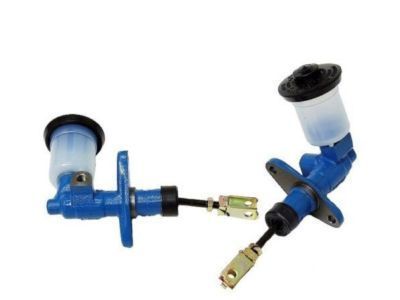
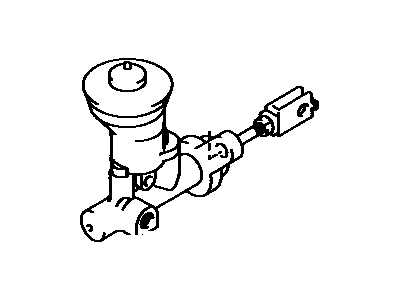
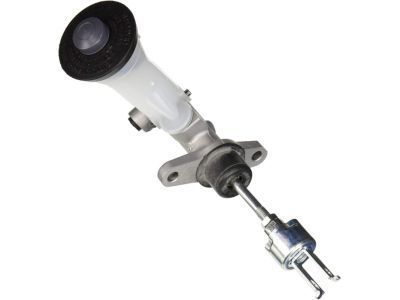
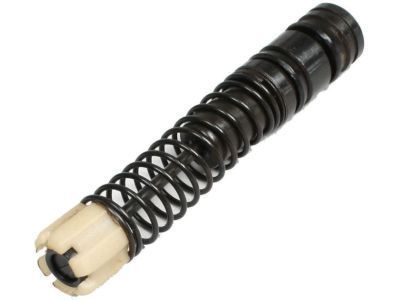
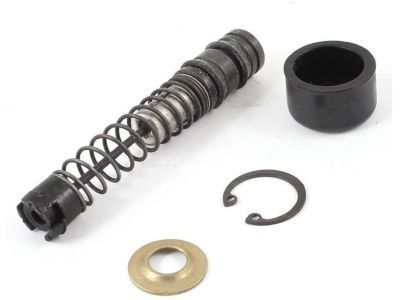
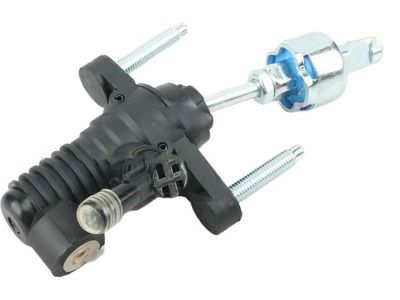
Toyota Cylinder Kit, Clutch Master
Part Number: 04311-12110$42.47 MSRP: $59.36You Save: $16.89 (29%)Ships in 1-3 Business DaysProduct Specifications- Other Name: Master Cylinder Repair Kit
- Replaces: 04311-60150
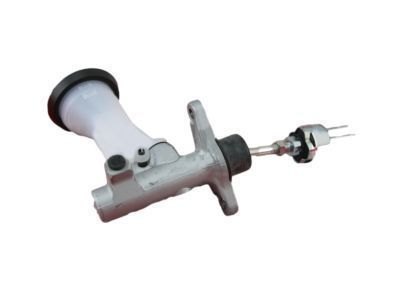
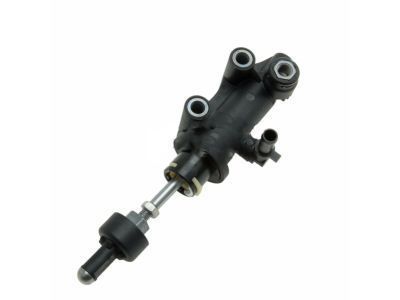
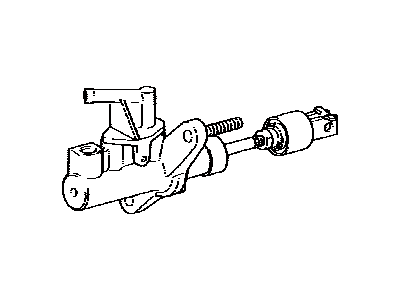
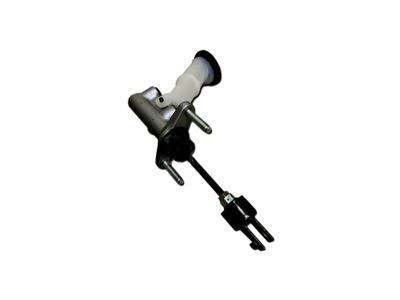
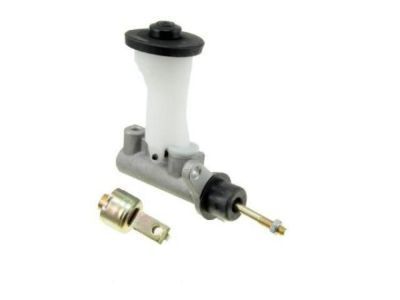
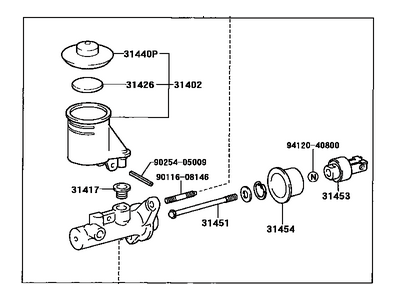
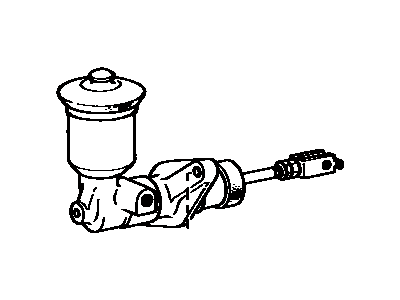
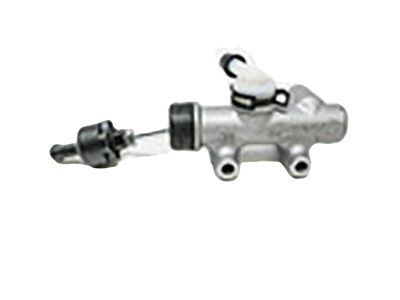
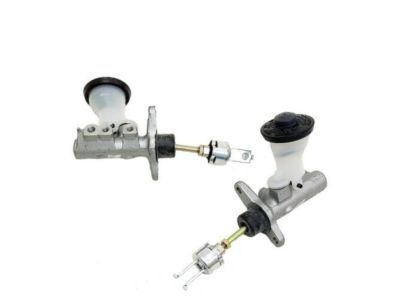
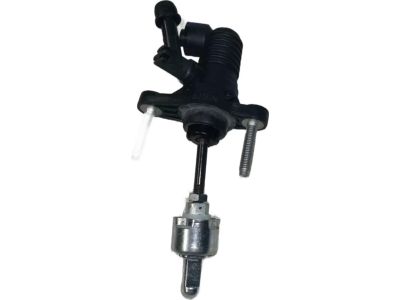
Toyota Clutch Master Cylinder Assembly
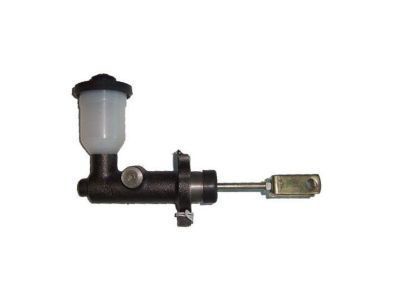
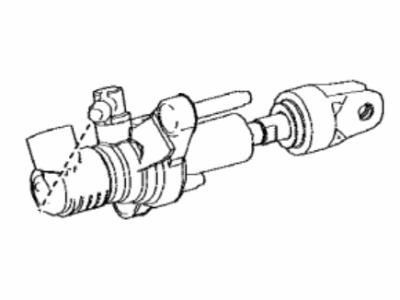
Part Number: 31420-04011$145.65 MSRP: $207.08You Save: $61.43 (30%)Product Specifications- Other Name: Cylinder Assy, Clutch Master; Master Cylinder
- Manufacturer Note: TYPE A:REFER ILLUST.
- Replaces: 31420-04010
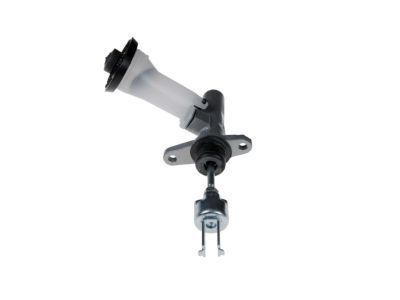
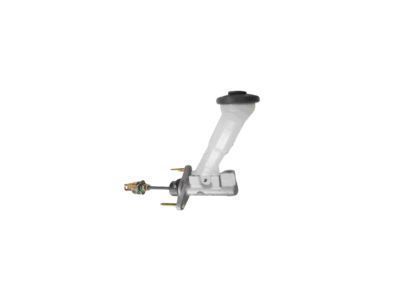
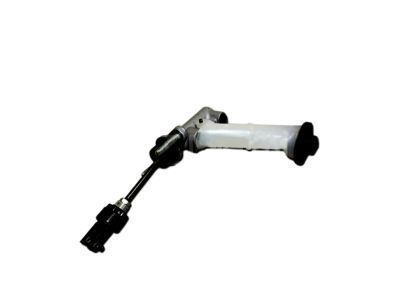
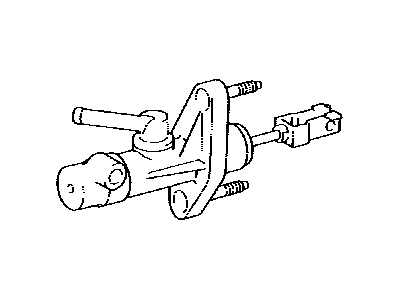
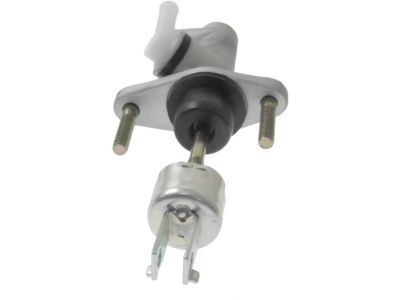
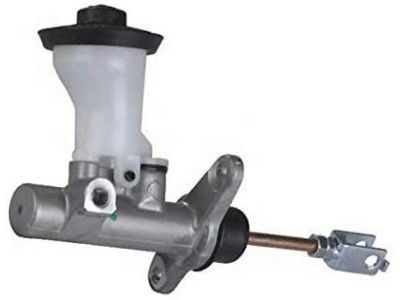
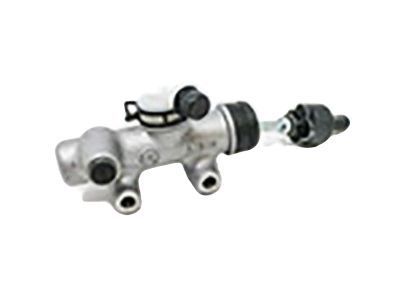
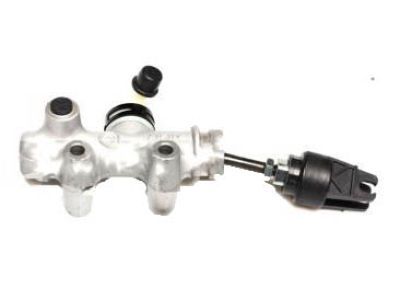
Toyota Clutch Master Cylinder Assembly
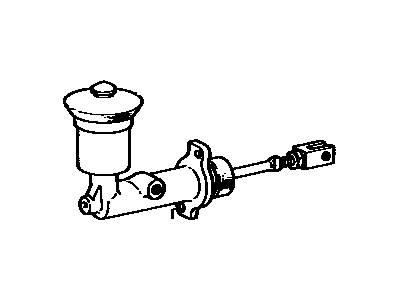
Part Number: 31420-20070$140.74 MSRP: $200.08You Save: $59.34 (30%)Ships in 1-3 Business DaysProduct Specifications- Other Name: Cylinder Assy, Clutch Master; Master Cylinder
Toyota Clutch Master Cylinder Assembly
Part Number: 31410-14310$154.19 MSRP: $219.22You Save: $65.03 (30%)Ships in 1-3 Business DaysProduct Specifications- Other Name: Cylinder Assy, Clutch Master; Master Cylinder
Toyota Clutch Master Cylinder Assembly
Part Number: 31410-35310$153.49 MSRP: $218.22You Save: $64.73 (30%)Ships in 1-3 Business DaysProduct Specifications- Other Name: Cylinder Assy, Clutch Master; Master Cylinder
Toyota Clutch Master Cylinder Assembly
Part Number: 31410-17120$153.73 MSRP: $218.55You Save: $64.82 (30%)Product Specifications- Other Name: Cylinder Assy, Clutch Master; Master Cylinder
Toyota Clutch Master Cylinder Assembly
Part Number: 31420-12030$113.03 MSRP: $159.33You Save: $46.30 (30%)Ships in 1-2 Business DaysProduct Specifications- Other Name: Cylinder Assy, Clutch Master; Master Cylinder
Toyota Clutch Master Cylinder Assembly
Part Number: 31410-35142$158.99 MSRP: $226.04You Save: $67.05 (30%)Ships in 1-3 Business DaysProduct Specifications- Other Name: Cylinder Assy, Clutch Master; Master Cylinder
- Replaces: 31410-22070, 31410-35140, 31410-20460, 31410-22112, 31410-35141, 31410-22072, 31410-20461, 31410-22111, 31410-22110
Toyota Clutch Master Cylinder Assembly
Part Number: 31410-35260$174.67 MSRP: $248.33You Save: $73.66 (30%)Ships in 1-3 Business DaysProduct Specifications- Other Name: Cylinder Assy, Clutch Master
- Replaced by: 31410-35271
Toyota Master Cylinder Assembly
Part Number: 31420-60032$126.35 MSRP: $179.63You Save: $53.28 (30%)Ships in 1-2 Business DaysProduct Specifications- Other Name: Cylinder Assy, Clutch Master; Master Cylinder
- Replaced by: 31420-60033
Toyota Clutch Master Cylinder Assembly
Part Number: 31410-34010$156.65 MSRP: $222.71You Save: $66.06 (30%)Ships in 1-2 Business DaysProduct Specifications- Other Name: Cylinder Assy, Clutch Master
- Replaced by: 31410-34012
Toyota Clutch Master Cylinder Assembly
Part Number: 31410-35250$153.73 MSRP: $218.55You Save: $64.82 (30%)Ships in 1-2 Business DaysProduct Specifications- Other Name: Cylinder Assy, Clutch Master
- Replaced by: 31410-35360
Toyota Clutch Master Cylinder Assembly
Part Number: 31420-35070$117.63 MSRP: $165.82You Save: $48.19 (30%)Ships in 1-3 Business DaysProduct Specifications- Other Name: Cylinder Assy, Clutch Master; Master Cylinder
Toyota Clutch Master Cylinder Assembly
Part Number: 31410-60060$183.38 MSRP: $262.96You Save: $79.58 (31%)Ships in 1-3 Business DaysProduct Specifications- Other Name: Cylinder Assy, Clutch Master
- Replaced by: 31410-60061
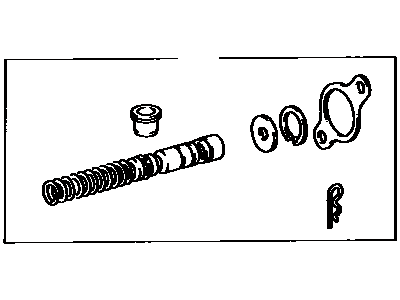
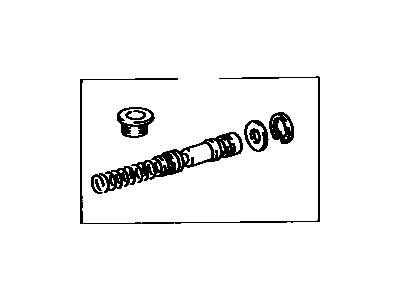
Toyota Clutch Master Cylinder Repair Kit
Part Number: 04311-12080$48.54 MSRP: $67.85You Save: $19.31 (29%)Product Specifications- Other Name: Cylinder Kit, Clutch Master; Master Cylinder Repair Kit
- Replaces: 04311-12060, 04311-22040
Toyota Clutch Master Cylinder Assembly
Part Number: 31420-52070$123.31 MSRP: $175.30You Save: $51.99 (30%)Ships in 1-3 Business DaysProduct Specifications- Other Name: Cylinder Assy, Clutch Master
- Replaced by: 31420-52071
Toyota Master Cylinder Assembly
Part Number: 31420-12090$113.50 MSRP: $160.00You Save: $46.50 (30%)Ships in 1-3 Business DaysProduct Specifications- Other Name: Cylinder Assembly, MASTE; Master Cylinder
Toyota CYLINDER ASSY, MASTE
Part Number: 31420-60033$126.35 MSRP: $179.63You Save: $53.28 (30%)Ships in 1-2 Business DaysProduct Specifications- Other Name: Master Cylinder
- Replaces: 31420-60031, 31420-60032
- Product Specifications
- Other Name: Cylinder Assy, Clutch Master; Master Cylinder
| Page 1 of 9 |Next >
1-20 of 169 Results
About Toyota Clutch Master Cylinder
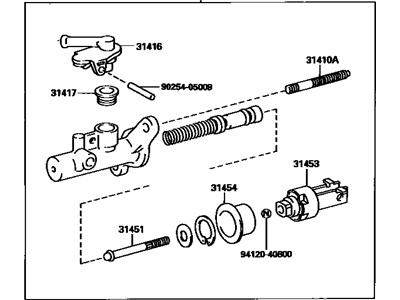
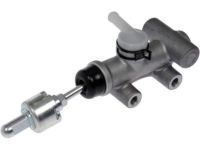
Without a functional transmission system, your vehicle will not be able to make full use out of a high-powered engine. The transmission system is what transfers the engine's power output to the wheels, allowing you to adjust and shift between different speeds. An efficient transmission system lets you quickly switch between gears, anytime and anywhere you want! And if your vehicle uses a hydraulic clutch, each gear change is made possible by the Toyota clutch master cylinder. The Toyota clutch master cylinder houses a reservoir for hydraulic fluid. When you step on the clutch, a plunger pushes through the master cylinder and forces the hydraulic fluid to the slave cylinder. The increased pressure helps the slave cylinder disengage the clutch.
Toyota Clutch Master Cylinder Parts Questions & Experts Answers
- Q: How to replace a clutch master cylinder on 1997 through 2001 Toyota Solara?A:To disconnect and remove the clutch master cylinder, begin by disconnecting the negative cable from the battery. Then, disconnect the hydraulic line at the clutch master cylinder, using a flare-nut wrench if available to prevent rounding off the fitting. Take precautions with rags as some fluid may be lost during the disconnection. Under the dashboard, disconnect the pushrod from the top of the clutch pedal, which is held in place with a clevis pin. Moving to the underside of the dash, remove the nuts securing the master cylinder to the firewall, ensuring not to spill any fluid during the removal. For installation, position the master cylinder on the firewall and install the mounting nuts finger-tight. Connect the hydraulic line to the master cylinder, adjusting the cylinder position as needed to properly thread the fitting into the bore, ensuring it is not cross-threaded. Tighten the mounting nut(s) and the hydraulic line fitting securely. Connect the pushrod to the clutch pedal. Fill the clutch master cylinder reservoir with brake fluid that conforms to DOT specifications and proceed to bleed the clutch system. Finally, check the clutch pedal height and free play, making adjustments if necessary.
- Q: How to remove and install the Clutch Master Cylinder on a 2005-2009 Toyota Tacoma?A:Clamp off the fluid feed hose coming from the brake master cylinder, then disconnect the fluid feed hose and the hydraulic line to the release cylinder at the firewall connection using a flare-nut wrench to protect the tube nut while holding the filling with an open-end wrench. Have rags ready to catch any fluid that may be lost during this process. Avoid allowing fluid to contact the paint to prevent damage, and have plugs available to immediately seal the line and hose to prevent leakage and contamination. Inside the passenger compartment, remove the left door scuff plate, kick panel, and lower trim panel from the driver's side. Next, take out the fuse and relay box from the left side of the instrument panel, followed by the clutch start switch. Remove the clutch pedal mounting fasteners, which are secured by two nuts and one bolt located at the top of the pedal bracket. Detach the clutch pedal/master cylinder assembly from the passenger compartment, disconnect the hydraulic line from the master cylinder, and remove the master cylinder mounting bolts to detach it from the pedal bracket. Installation follows the reverse order of removal, and ensure to bleed the clutch system while adding fluid to the brake master cylinder as necessary.
Related Toyota Parts
Browse by Model
4Runner Clutch Master Cylinder 86 Clutch Master Cylinder Camry Clutch Master Cylinder Celica Clutch Master Cylinder Corolla Clutch Master Cylinder Corolla iM Clutch Master Cylinder Corona Clutch Master Cylinder Cressida Clutch Master Cylinder Echo Clutch Master Cylinder FJ Cruiser Clutch Master Cylinder GR Corolla Clutch Master Cylinder GR Supra Clutch Master Cylinder GR86 Clutch Master Cylinder Land Cruiser Clutch Master Cylinder MR2 Clutch Master Cylinder MR2 Spyder Clutch Master Cylinder Matrix Clutch Master Cylinder Paseo Clutch Master Cylinder Pickup Clutch Master Cylinder Previa Clutch Master Cylinder RAV4 Clutch Master Cylinder Solara Clutch Master Cylinder Supra Clutch Master Cylinder T100 Clutch Master Cylinder Tacoma Clutch Master Cylinder Tercel Clutch Master Cylinder Tundra Clutch Master Cylinder Van Clutch Master Cylinder Yaris Clutch Master Cylinder Yaris iA Clutch Master Cylinder
