
My Garage
My Account
Cart
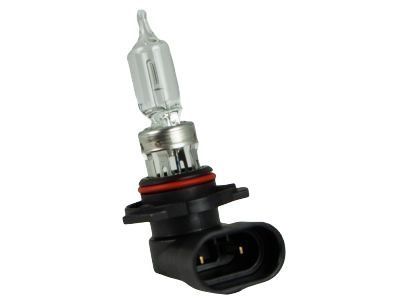
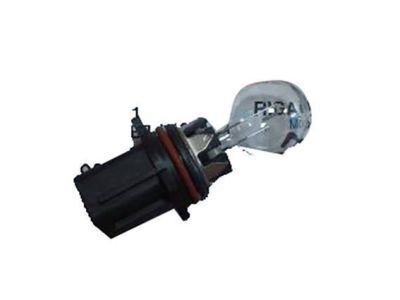
Genuine Toyota Highlander Fog Light Bulb
Fog Lamp Bulb- Select Vehicle by Model
- Select Vehicle by VIN
Select Vehicle by Model
orMake
Model
Year
Select Vehicle by VIN
For the most accurate results, select vehicle by your VIN (Vehicle Identification Number).
39 Fog Light Bulbs found
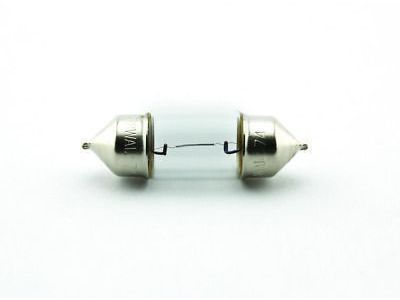
Toyota Highlander Bulb
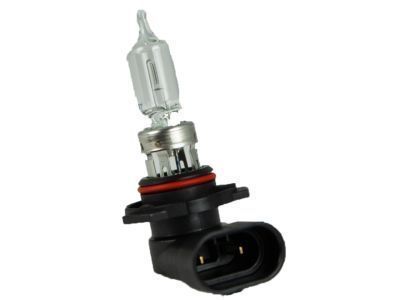
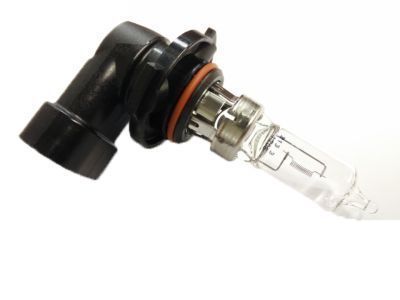
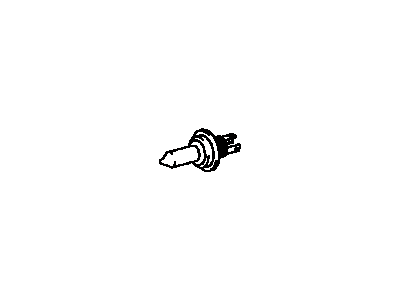
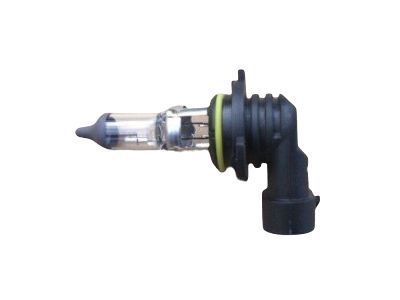
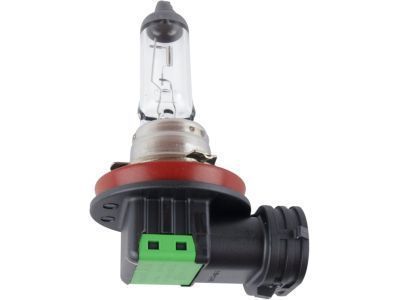
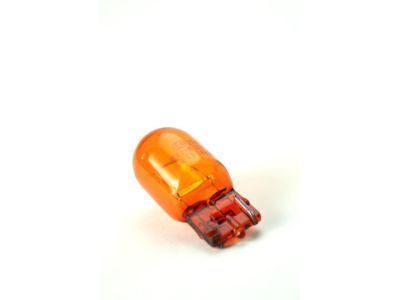
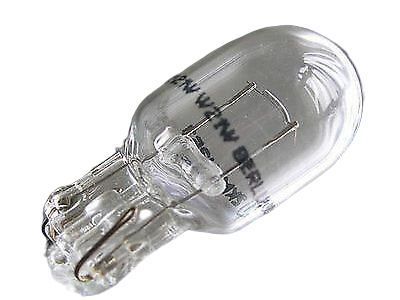
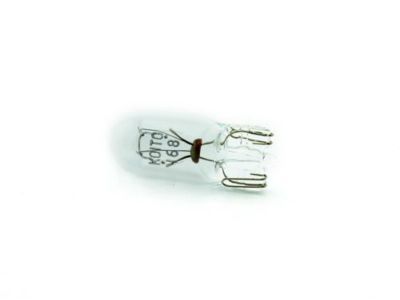
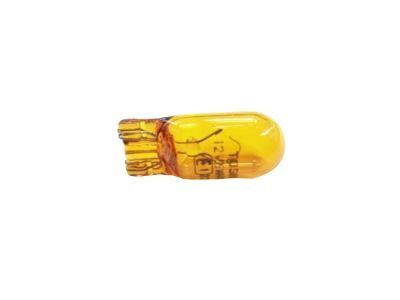
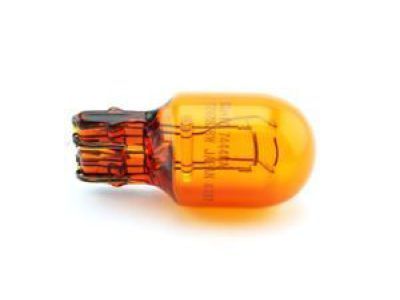
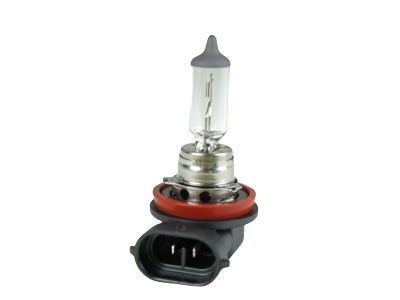
Part Number: 90981-13046$20.10 MSRP: $28.10You Save: $8.00 (29%)Ships in 1-3 Business DaysToyota Highlander Bulb
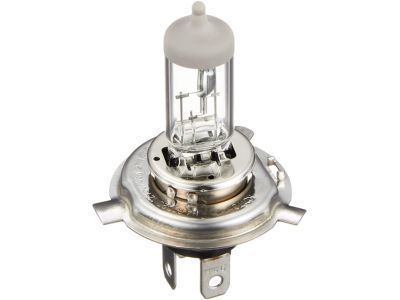
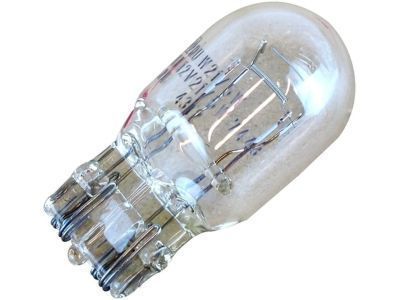
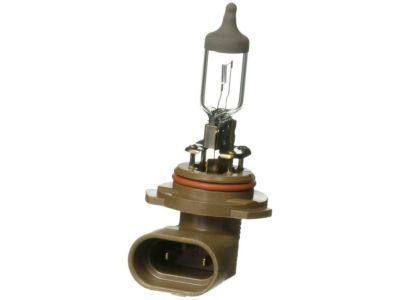
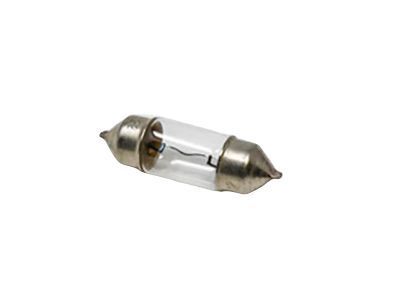
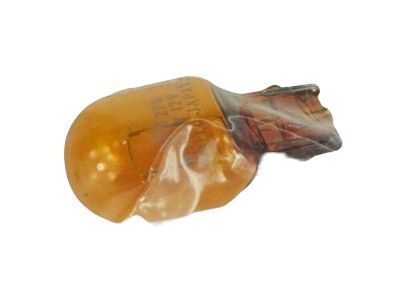
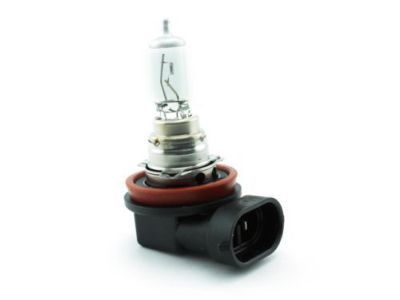
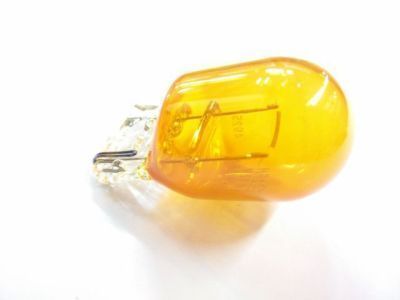
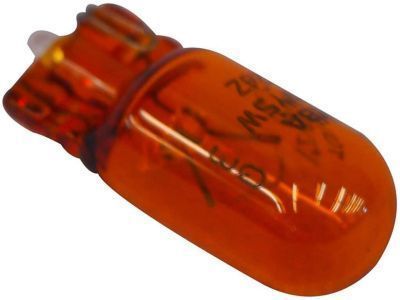
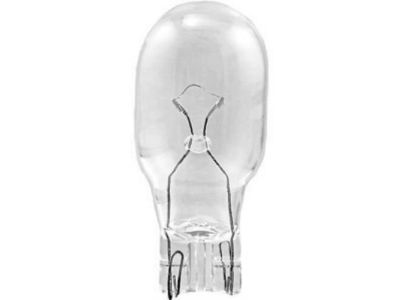
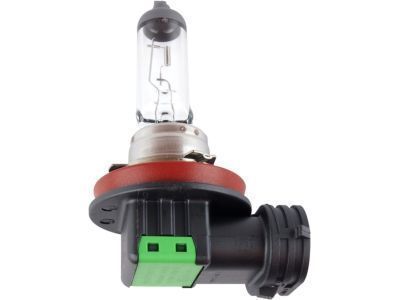
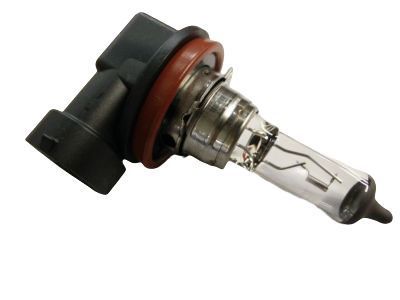
Part Number: 90981-13058$25.22 MSRP: $35.25You Save: $10.03 (29%)Ships in 1-3 Business DaysToyota Highlander Bulb
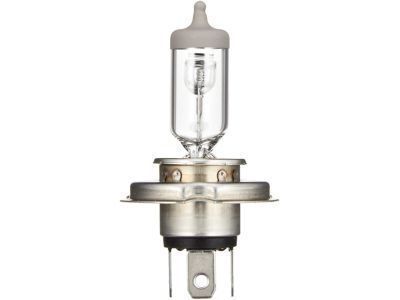
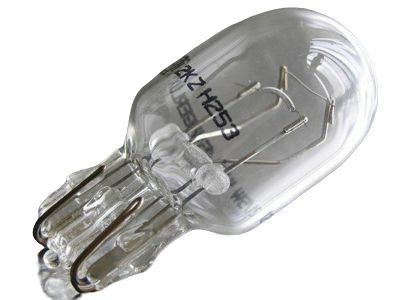
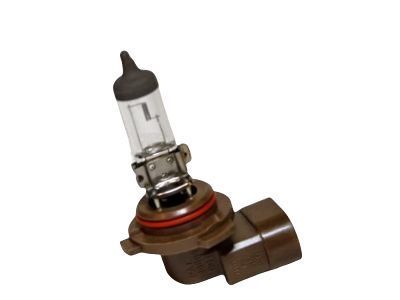
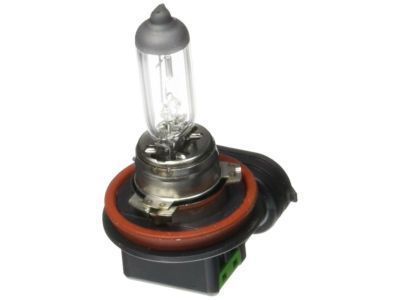
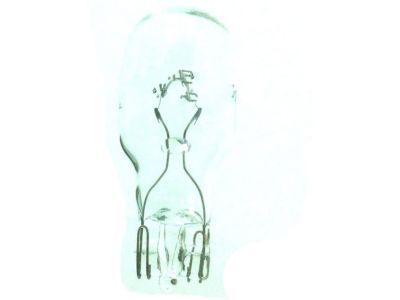
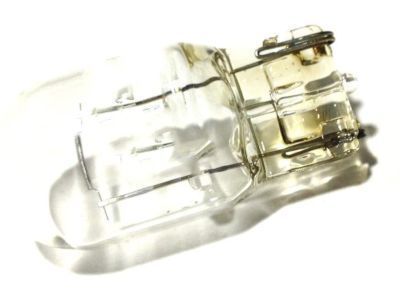
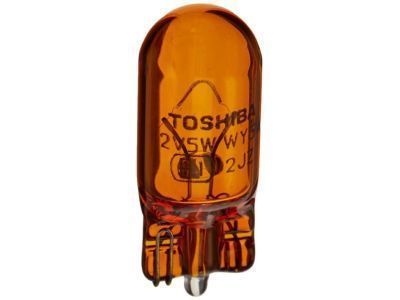
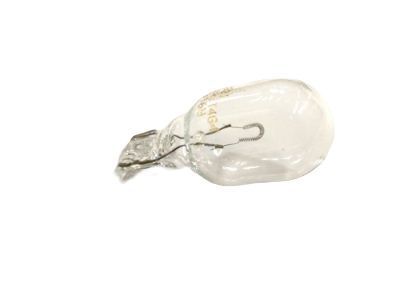
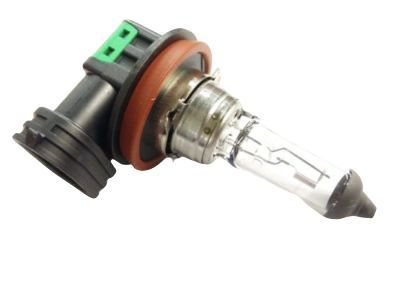
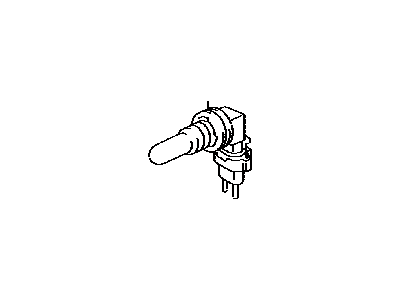
Part Number: 90981-13044$5.22 MSRP: $7.30You Save: $2.08 (29%)Ships in 1-3 Business DaysToyota Highlander Bulb
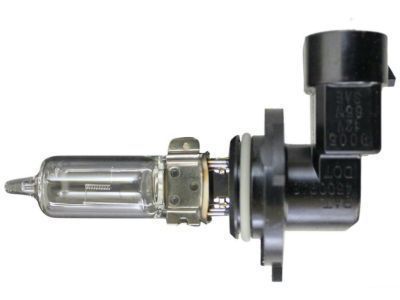
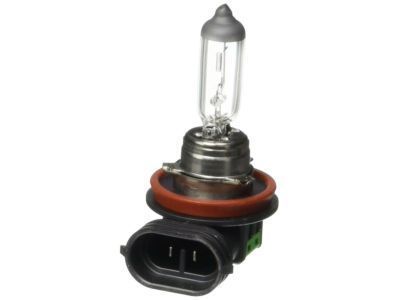
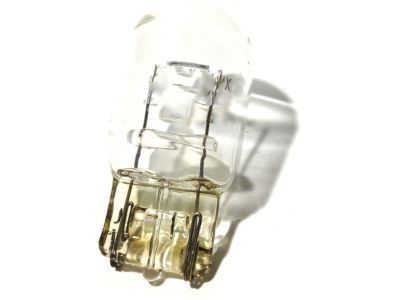
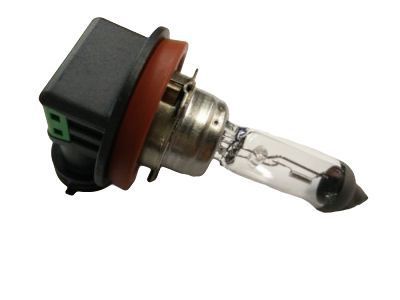
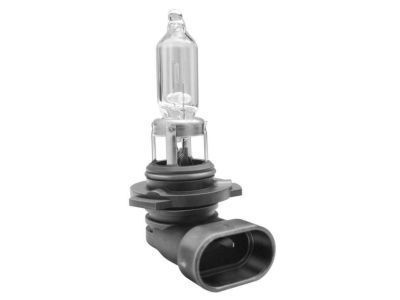
Part Number: 90981-13047$20.10 MSRP: $28.10You Save: $8.00 (29%)Ships in 1-3 Business DaysToyota Highlander Bulb
Part Number: 90981-14011$2.61 MSRP: $3.64You Save: $1.03 (29%)Ships in 1-3 Business DaysToyota Highlander Bulb
Part Number: 90981-13075$17.84 MSRP: $24.93You Save: $7.09 (29%)Ships in 1-3 Business DaysToyota Highlander Bulb
Part Number: 90981-11059$4.51 MSRP: $6.31You Save: $1.80 (29%)Ships in 1-2 Business DaysToyota Highlander Bulb
Part Number: 90981-15021$4.75 MSRP: $6.63You Save: $1.88 (29%)Ships in 1-3 Business DaysToyota Highlander Bulb
Part Number: 90981-13043$5.11 MSRP: $7.14You Save: $2.03 (29%)Ships in 1-3 Business DaysToyota Highlander Bulb
Part Number: 90981-13090$23.19 MSRP: $32.42You Save: $9.23 (29%)Ships in 1 Business DayToyota Highlander Bulb
Part Number: 90981-12010$2.49 MSRP: $3.48You Save: $0.99 (29%)Ships in 1-3 Business DaysToyota Highlander Bulb
Part Number: 90981-15011$6.65 MSRP: $9.30You Save: $2.65 (29%)Ships in 1-3 Business DaysToyota Highlander Bulb
Part Number: 90981-15012$7.84 MSRP: $10.96You Save: $3.12 (29%)Ships in 1-3 Business DaysToyota Highlander Bulb
Part Number: 90981-15024$8.32 MSRP: $11.63You Save: $3.31 (29%)Ships in 1-3 Business DaysToyota Highlander Bulb
Part Number: 90981-11069$2.84 MSRP: $3.98You Save: $1.14 (29%)Ships in 1-3 Business DaysToyota Highlander Bulb
Part Number: 90084-98039$5.34 MSRP: $7.47You Save: $2.13 (29%)Ships in 1-3 Business DaysToyota Highlander Bulb
Part Number: 90981-AD001$21.29 MSRP: $29.75You Save: $8.46 (29%)Ships in 1 Business DayToyota Highlander Fog Lamp Bulb
Part Number: 90981-AD006$21.41 MSRP: $29.93You Save: $8.52 (29%)Ships in 1 Business DayToyota Highlander Bulb
Part Number: 90080-81041$20.10 MSRP: $28.10You Save: $8.00 (29%)Ships in 1-3 Business DaysToyota Highlander Bulb
Part Number: 90981-AD011$7.60 MSRP: $10.63You Save: $3.03 (29%)Ships in 1-3 Business Days
| Page 1 of 2 |Next >
1-20 of 39 Results
Toyota Highlander Fog Light Bulb
If you are in demand for superior quality and affordable OEM Toyota Highlander Fog Light Bulb, then shop with us! We own a wide range of the reduced-priced genuine Toyota Highlander Fog Light Bulb. You can purchase in confidence as all parts come with a manufacturer's warranty. Any issues with our products? No need to worry as we have a hassle-free return policy to guide you every step of the way.
Toyota Highlander Fog Light Bulb Parts Questions & Experts Answers
- Q: How to replace Fog Light Bulb and exterior light bulbs on Toyota Highlander?A:Front turn signal, parking and side marker exterior light bulbs are sometimes referred to as light bulbs in the Headlight housing. For the models with turn signal lights beneath the side view mirrors, carefully remove the mirror cover, disconnect the electrical connection and also unclip the plastic light assembly wherein the turn signal light assembly has to be replaced in its entirety. To cancel the front turn signal/parking and side marker light bulb, the headlight housing has to be removed then the bulb holder which must be turned counterclockwise and pulled out. To replace the bulb the following procedure is followed: to insert the thin end of the bulb into the holder, twist it anti-clockwise and then pull it out, whereas to put the bulb replace the above procedure in reverse. To replace fog lamp bulbs lift the front of the vehicle on jackstands, disconnect this connector and turning the bulb holder anti-clockwise. Note that for the 2010 and other subsequent model years, halogen bulbs can overheat from skin oil. This center high-mounted brake light bulb on 2009 and models earlier is reached by opening the rear hatch, then the trim piece and then disconnect the electrical connector and finally, you twist the bulb holder in a clockwise direction. For 2009 and later models, the assembly is replaced as a unit, if required for service or repair work. For replacing turn signal, brake, rear brake/tail and back-up lighting bulbs in the same models 2008 and earlier-the rear hatch must be opened and the access panel removed to reach the bulbs. For the models of 2008-2013 Highlander and 2010-2013 the bulbs can be accessed after the fasteners of the rear interior trim panels are removed. To get to the taillight housing one has to disconnect the electrical connector, then the nuts inside the vehicle, followed by the rear bumper cover and exterior retaining screw. For 2014 and later models, turn the lift gate handle to open it, undo the retaining screws and pull of the taillight housing with a note that for Lexus models one has to pry out the trim panel covering the screws. License plate light bulbs are replaced by unscrewing the housing and removing the bulb by pulling it straight by its base. A few of the interior lights, such as the map reading and dome lights are done by first accessing the lens, then pulling the bulb straight out of the terminal clips, and installation is done in a similar manner as the removal process.
Related Toyota Highlander Parts
Browse by Year
2024 Fog Light Bulb 2023 Fog Light Bulb 2022 Fog Light Bulb 2021 Fog Light Bulb 2020 Fog Light Bulb 2019 Fog Light Bulb 2018 Fog Light Bulb 2017 Fog Light Bulb 2016 Fog Light Bulb 2015 Fog Light Bulb 2014 Fog Light Bulb 2013 Fog Light Bulb 2012 Fog Light Bulb 2011 Fog Light Bulb 2010 Fog Light Bulb 2009 Fog Light Bulb 2008 Fog Light Bulb 2007 Fog Light Bulb 2006 Fog Light Bulb 2005 Fog Light Bulb 2004 Fog Light Bulb 2003 Fog Light Bulb 2002 Fog Light Bulb 2001 Fog Light Bulb
