
My Garage
My Account
Cart
Genuine Toyota Prius Timing Chain
Engine Timing Chain- Select Vehicle by Model
- Select Vehicle by VIN
Select Vehicle by Model
orMake
Model
Year
Select Vehicle by VIN
For the most accurate results, select vehicle by your VIN (Vehicle Identification Number).
5 Timing Chains found
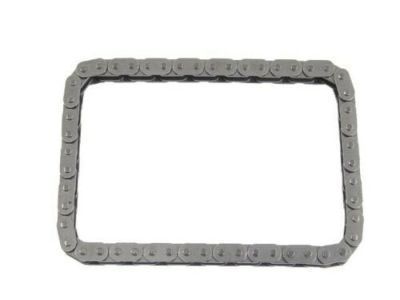
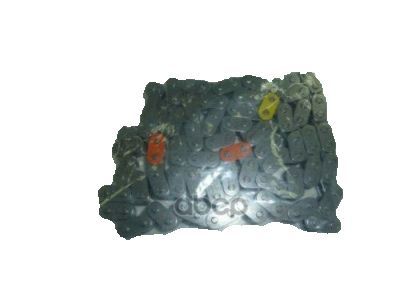
Toyota Prius Oil Pump Drive Chain Sub-Assembly
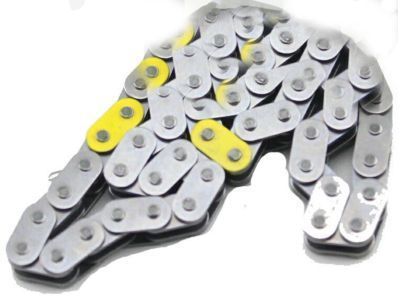
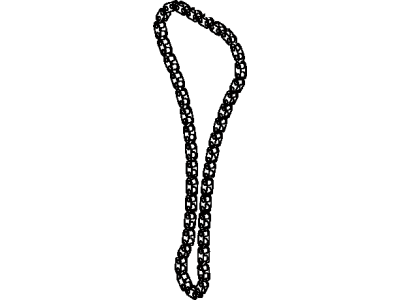
Part Number: 13507-28010$89.08 MSRP: $125.57You Save: $36.49 (30%)Ships in 1-2 Business DaysToyota Prius Chain Sub-Assy
Part Number: 13506-24020$241.38 MSRP: $346.13You Save: $104.75 (31%)Ships in 1-3 Business Days
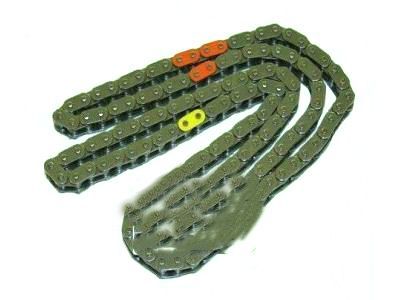
Toyota Prius Timing Chain
If you are in demand for superior quality and affordable OEM Toyota Prius Timing Chain, then shop with us! We own a wide range of the reduced-priced genuine Toyota Prius Timing Chain. You can purchase in confidence as all parts come with a manufacturer's warranty. Any issues with our products? No need to worry as we have a hassle-free return policy to guide you every step of the way.
Toyota Prius Timing Chain Parts Questions & Experts Answers
- Q: How to Remove and Install a Timing Chain and Variable Timing Sprocket on a Toyota Prius?A:For this procedure, special tools are needed; therefore, it is appropriate to read through the last paragraph and then gather the correct tools and equipment. Initially, you must remove the cable on the negative terminal of the 12v battery while reconnecting the two in the course of the initialization process afterwards. For the year 2009 and down to prior year models, you have to take off the drive belt; unbolt and then fasten the brake fluid reserve even if the hoses have not been disconnected and then the final move will be to take away the top from the valve. Having set the parking brake, shifted into Park and placed the gear lever, first loosen the lug nuts of the right front wheel, then jack up the automobile and replace the wheel with jackstands. Depending on the model year, the necessary engine bottom covers, then to the cooling system, then to the air cleaner intake and the windshield washer reservoir from the vehicle should be removed. Continue to the removal of the water pump, disconnect and mark the wiring connectors, and depressuring switch relay valve. Place the car on a rise fitted with a floor jack and raise the engine one inch then, remove the Engine Mount and bracket. Err on the side of caution, those are the crankshaft position sensor, camshaft timing oil control valve assembly and ensure the number one piston is on the compression stroke TDC. First slacken and then take off the Crankshaft Pulley/vibration damper bolts, timing chain cover screws and the component itself, replace two O-rings and the timing chain tensioner. Other procedures for the 2010 and later models include the removal of cowl and valve cover and the detachment of wires, as well as, the strict observation of the engine TDC before the detachment of the crankshaft vibration damper and the timing chain tensioner. Closely examine all parts of the engine and the timing chain and sprockets in particular and replace worn out or damaged parts. When installing, strip old sealant off and orient camshafts in correct position, sprockets to be bolted onto the camshafts with the use of thread lock compound. Exhaust and intake precautions; be careful not to have piston-valve interference and adjust timing marks correctly. Set in the timing chain, align the colored links and fix the timing chain cover accordingly with the help of motor vehicle sealant. To 2010 and later models: the Oil Pump sprockets and chain should be set to the following marks. Post installation ensure that the timing marks are in correct positions, for the reassembly process follow the reverse of the process of removal.
Browse by Year
2024 Timing Chain 2023 Timing Chain 2022 Timing Chain 2021 Timing Chain 2020 Timing Chain 2019 Timing Chain 2018 Timing Chain 2017 Timing Chain 2016 Timing Chain 2015 Timing Chain 2014 Timing Chain 2013 Timing Chain 2012 Timing Chain 2011 Timing Chain 2010 Timing Chain 2009 Timing Chain 2008 Timing Chain 2007 Timing Chain 2006 Timing Chain 2005 Timing Chain 2004 Timing Chain 2003 Timing Chain 2002 Timing Chain 2001 Timing Chain
