
My Garage
My Account
Cart
Genuine Toyota Shock Absorber
Suspension Shock Absorber- Select Vehicle by Model
- Select Vehicle by VIN
Select Vehicle by Model
orMake
Model
Year
Select Vehicle by VIN
For the most accurate results, select vehicle by your VIN (Vehicle Identification Number).
2226 Shock Absorbers found
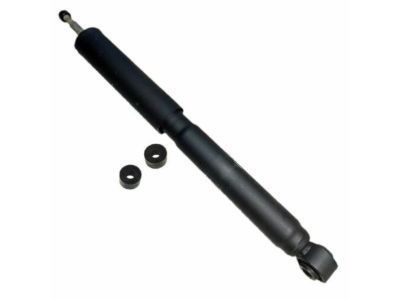
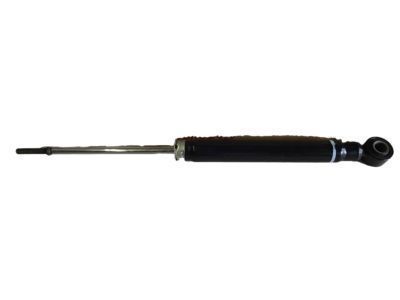
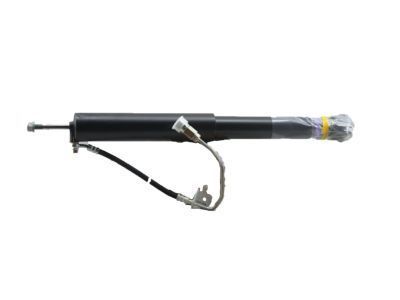
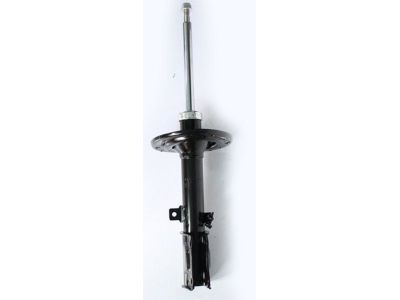
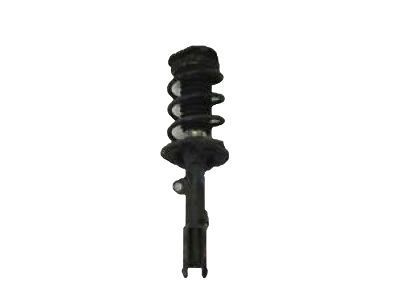
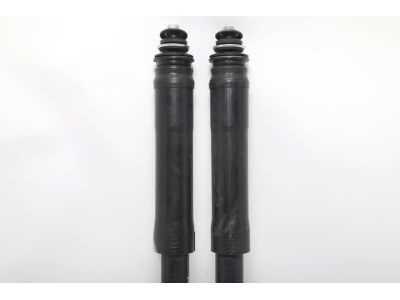
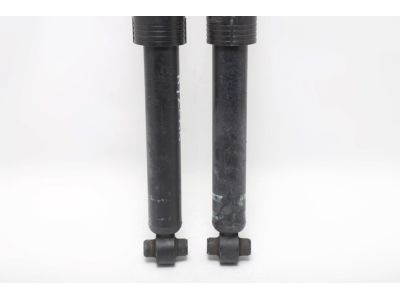
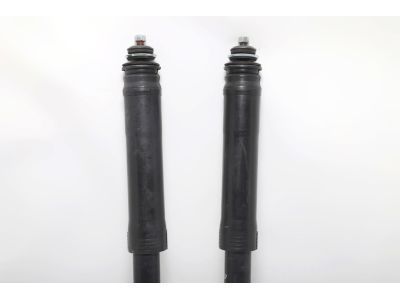
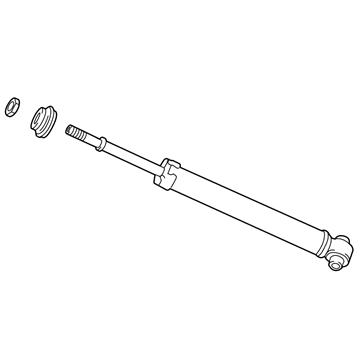
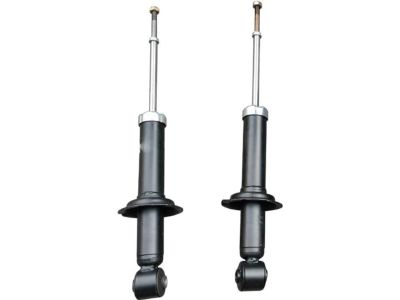
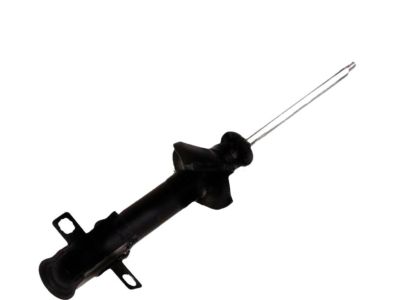
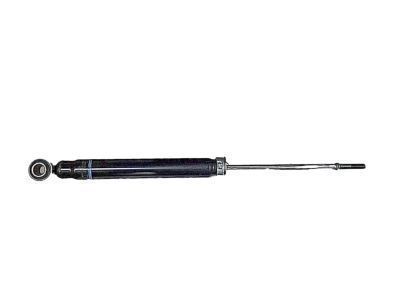
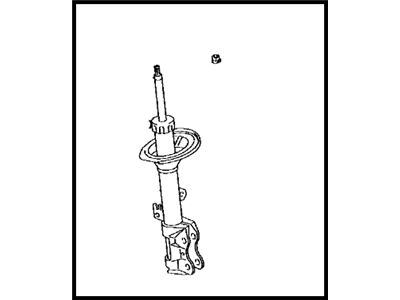
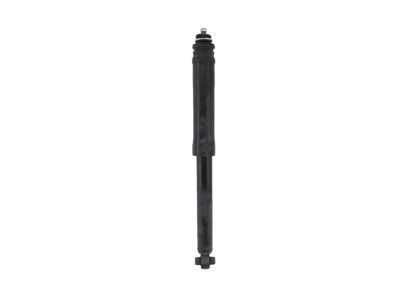
Toyota Shock Absorber Assembly Rear Right
Part Number: 48531-69835$63.24 MSRP: $89.14You Save: $25.90 (30%)Product Specifications- Other Name: Absorber Set, Shock ; Absorber Assembly, Shock, Rear Rh; Shock, Shock Absorber
- Manufacturer Note: MARK 48531-60682
- Position: Rear Passenger Side
- Replaces: 48531-69685, 48531-69775
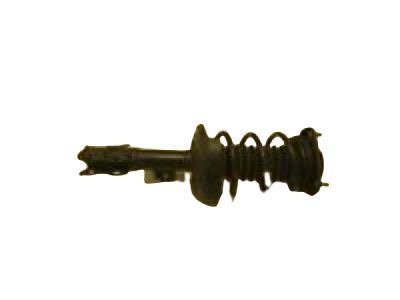
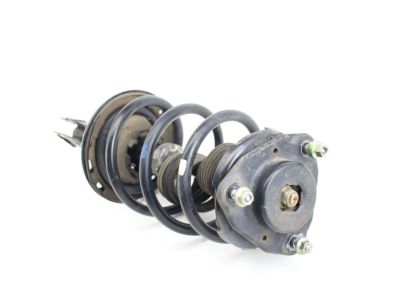
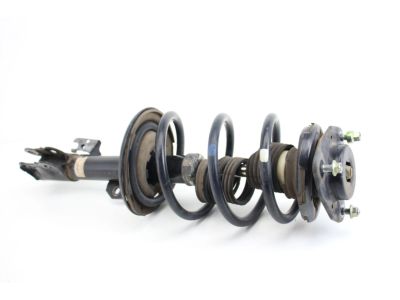
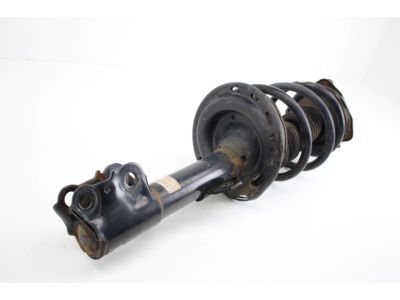
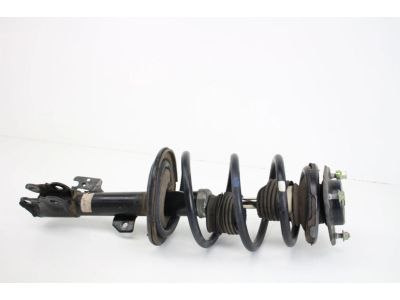
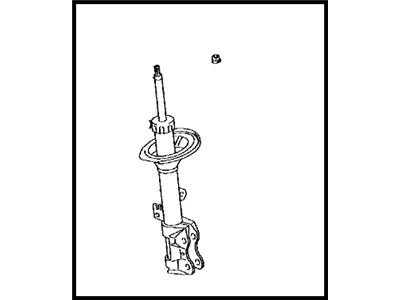
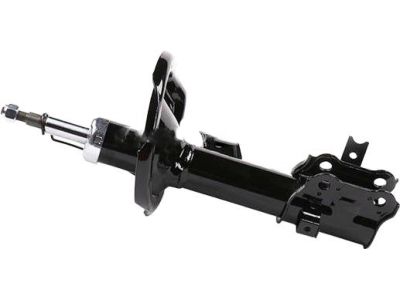
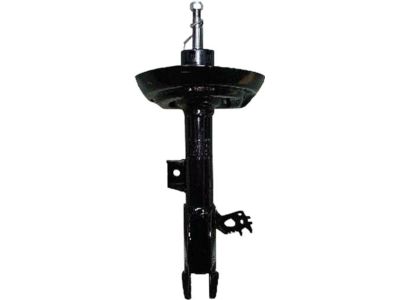
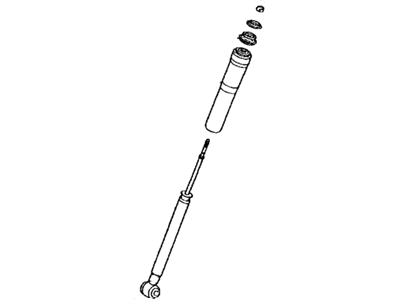
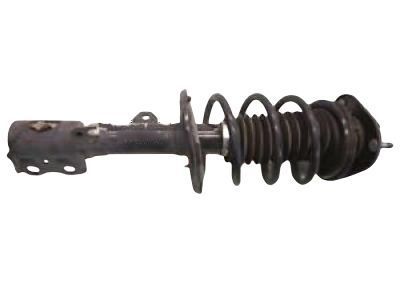
Toyota Shock Absorber Assembly Front Right
Part Number: 48510-80499$317.02 MSRP: $454.58You Save: $137.56 (31%)Ships in 1-3 Business DaysProduct Specifications- Other Name: Absorber Assembly, Shock, Front Rh; Shock Absorber, Strut
- Position: Front Passenger Side
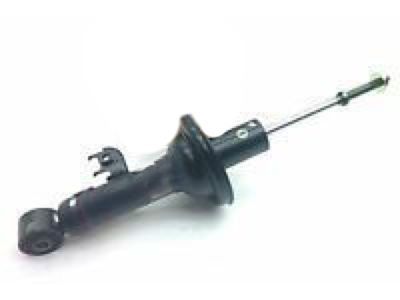
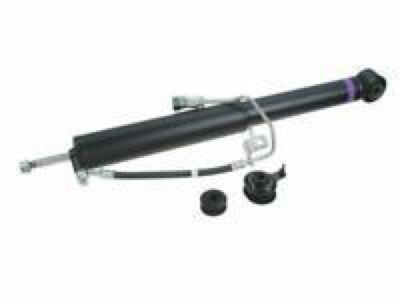
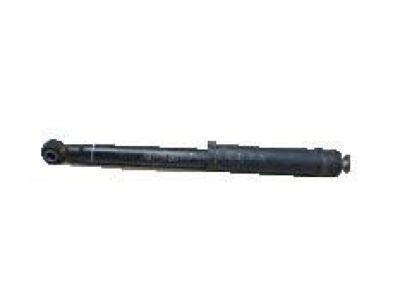
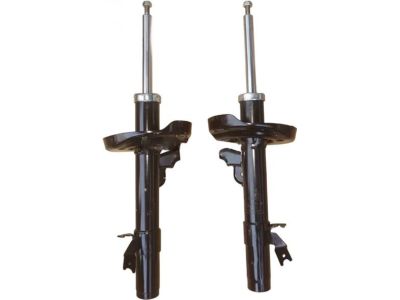
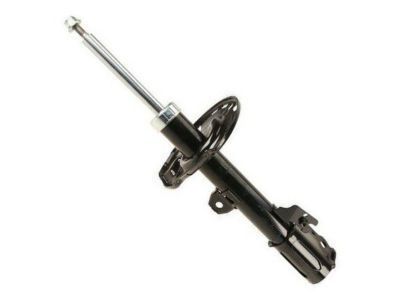
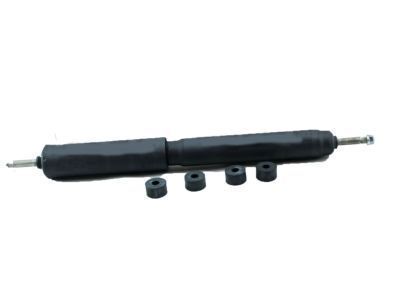
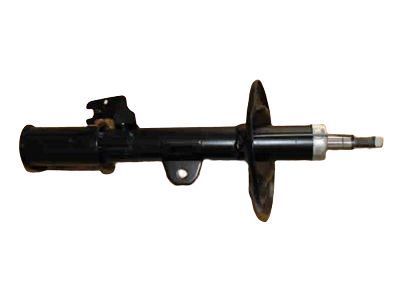
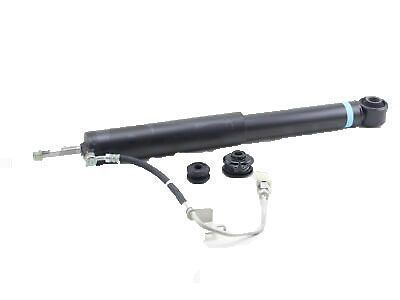
Toyota Shock Absorber Assembly Rear Right
Part Number: 48531-09850$52.59 MSRP: $73.51You Save: $20.92 (29%)Ships in 1-2 Business DaysProduct Specifications- Other Name: Absorber Set, Shock ; Absorber Assembly, Shock, Rear Rh; Shock, Shock Absorber
- Manufacturer Note: MARK 48531-08010
- Position: Rear Passenger Side
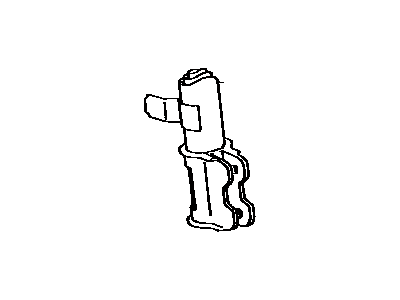
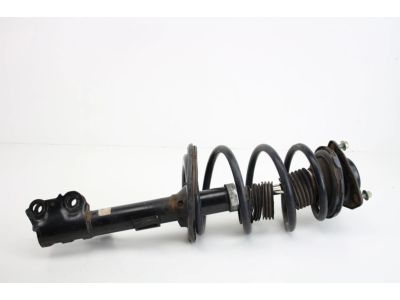
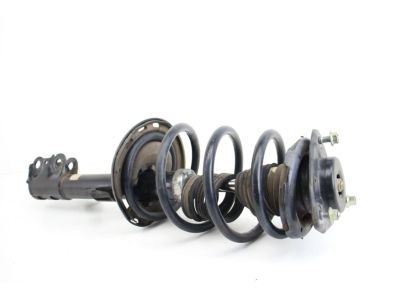
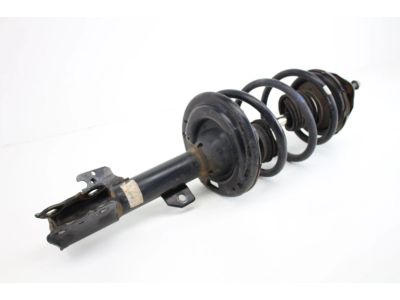
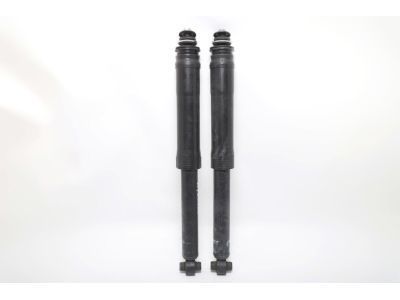
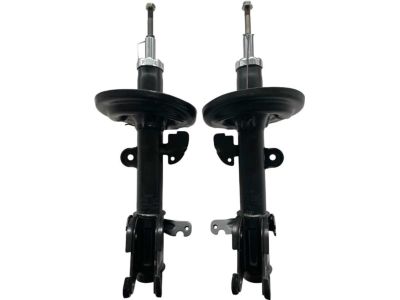
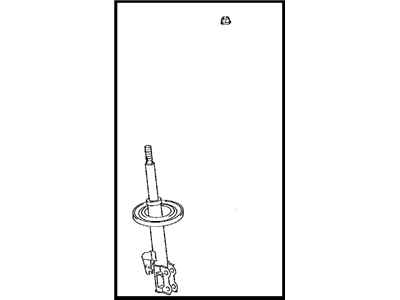
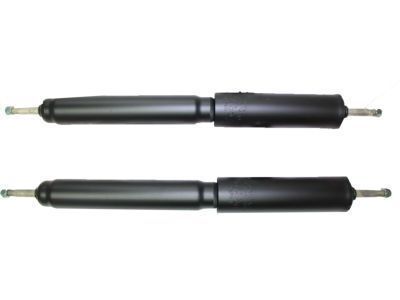
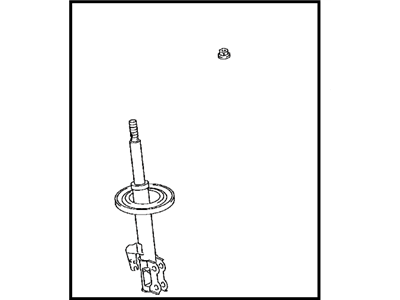
Toyota Shock Absorber Assembly Front Left
Part Number: 48520-80232$304.49 MSRP: $436.62You Save: $132.13 (31%)Ships in 1-3 Business DaysProduct Specifications- Other Name: Absorber Assembly, Shock, Front Lh; Shock Absorber, Strut
- Position: Front Driver Side
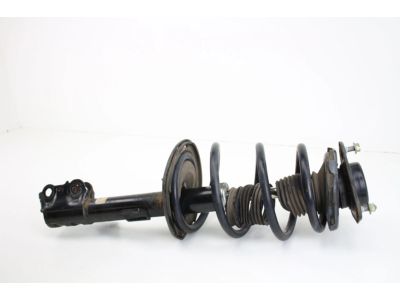
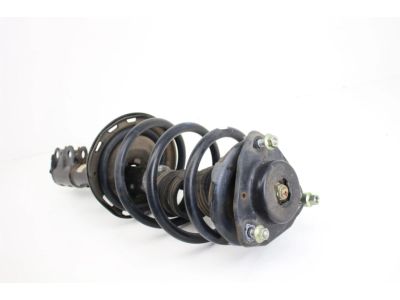
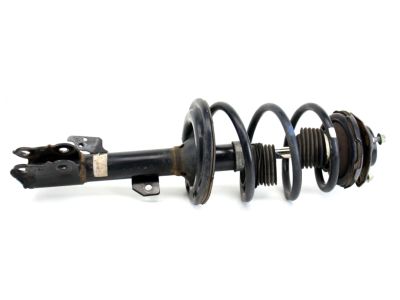
Toyota Shock Absorber Assembly Front Right
Part Number: 48510-A9890$137.58 MSRP: $195.60You Save: $58.02 (30%)Ships in 1-2 Business DaysProduct Specifications- Other Name: Absorber Set, Shock ; Absorber Assembly, Shock, Front Rh; Strut
- Manufacturer Note: MARK 48510-08010
- Position: Front Passenger Side
Toyota Shock Absorber Assembly Rear Right
Part Number: 48530-80089$409.08 MSRP: $610.27You Save: $201.19 (33%)Ships in 1-3 Business DaysProduct Specifications- Other Name: ABSORBER Assembly, Shock, Rear RH; Shock, Shock Absorber
- Position: Rear Passenger Side
Toyota Shock Absorber Assembly Front Left
Part Number: 48520-09S70$144.02 MSRP: $204.75You Save: $60.73 (30%)Ships in 1-2 Business DaysProduct Specifications- Other Name: Absorber Set, Shock ; Absorber Assembly, Shock, Front Lh; Strut
- Manufacturer Note: MARK 48520-08010
- Position: Front Driver Side
Toyota Shock Absorber Assembly Rear Right
Part Number: 48530-80557$79.40 MSRP: $111.93You Save: $32.53 (30%)Ships in 1-3 Business DaysProduct Specifications- Other Name: Absorber Set, Shock; Absorber Assembly, Shock, Rear Rh; Shock, Shock Absorber
- Position: Rear Passenger Side
Toyota Shock Absorber Assembly Front Right
Part Number: 48510-8Z146$134.07 MSRP: $190.61You Save: $56.54 (30%)Ships in 1-3 Business DaysProduct Specifications- Other Name: Absorber Set, Shock ; Absorber Assembly, Shock, Front Rh; Strut
- Manufacturer Note: MARK 48510-02A90
- Position: Front Passenger Side
Toyota Shock Absorber Assembly Rear Left
Part Number: 48531-09A80$44.14 MSRP: $61.69You Save: $17.55 (29%)Ships in 1-2 Business DaysProduct Specifications- Other Name: Absorber Set, Shock ; Absorber Assembly, Shock, Rear Lh; Shock, Shock Absorber
- Manufacturer Note: MARK 48531-08050
- Position: Rear Driver Side
Toyota Shock Absorber Assembly Rear Right
Part Number: 48530-80752$61.58 MSRP: $86.81You Save: $25.23 (30%)Product Specifications- Other Name: Absorber Set, Shock ; Absorber Assembly, Shock, Rear Rh; Shock Absorber
- Manufacturer Note: MARK 48530-12G00
- Position: Rear Passenger Side
- Product Specifications
- Other Name: ABSORBER Assembly Set, S; Strut
- Manufacturer Note: MARK 48520-0E340
- Position: Front Driver Side
Toyota Shock Absorber Assembly Front Right
Part Number: 48510-8Z306$154.31 MSRP: $219.38You Save: $65.07 (30%)Ships in 1-3 Business DaysProduct Specifications- Other Name: Absorber Assembly Set, S ; Absorber Assembly, Shock, Front Rh; Strut
- Manufacturer Note: MARK 48510-0E310
- Position: Front Passenger Side
Toyota Shock Absorber Assembly Rear Right
Part Number: 48531-A9050$59.22 MSRP: $83.48You Save: $24.26 (30%)Ships in 1-3 Business DaysProduct Specifications- Other Name: Absorber Assembly, Shock, Rear Rh; Shock, Shock Absorber
- Manufacturer Note: MARK 48531-AE020
- Position: Rear Passenger Side
Toyota Shock Absorber Assembly Front Right
Part Number: 48511-69435$57.11 MSRP: $79.83You Save: $22.72 (29%)Ships in 1-3 Business DaysProduct Specifications- Other Name: Absorber Assembly, Shock, Front Rh; Shock Absorber
- Manufacturer Note: MARK 48511-60480
- Position: Front Passenger Side
- Replaces: 48511-69388, 48511-69387
Toyota Shock Absorber Assembly Front Left
Part Number: 48520-8Z034$121.79 MSRP: $173.13You Save: $51.34 (30%)Ships in 1-3 Business DaysProduct Specifications- Other Name: Absorber Set, Shock ; Absorber Assembly, Shock, Front Lh; Strut
- Manufacturer Note: MARK 48520-02A90
- Position: Front Driver Side
Toyota Shock Absorber Assembly Front Right
Part Number: 48510-B9810$149.05 MSRP: $211.89You Save: $62.84 (30%)Product Specifications- Other Name: Absorber Set Shock ; Absorber Assembly, Shock, Front Rh; Strut
- Manufacturer Note: MARK 48510-0E120
- Position: Front Passenger Side
Toyota Shock Absorber Assembly Rear Left
Part Number: 48530-80533$50.68 MSRP: $70.84You Save: $20.16 (29%)Ships in 1-2 Business DaysProduct Specifications- Other Name: Absorber Assembly, Shock, Rear Lh; Shock, Shock Absorber
- Position: Rear Driver Side
- Replaces: 48530-80534
Toyota Shock Absorber Assembly Rear Left
Part Number: 48540-39445$412.76 MSRP: $615.76You Save: $203.00 (33%)Ships in 1-3 Business DaysProduct Specifications- Other Name: ABSORBER Assembly, Shock, Rear LH; Shock Absorber
- Position: Rear Driver Side
Toyota Shock Absorber Assembly Front Right
Part Number: 48511-69467$57.23 MSRP: $79.99You Save: $22.76 (29%)Ships in 1-3 Business DaysProduct Specifications- Other Name: Absorber, Shock ; Absorber Assembly, Shock, Front Rh
- Position: Front Passenger Side
- Replaced by: 48511-69585
| Page 1 of 112 |Next >
1-20 of 2226 Results
Toyota Shock Absorber Parts Questions & Experts Answers
- Q: How to remove and install rear shock absorbers on 1996 through 2002 Toyota 4Runner?A:Place a floor jack under the vehicle rear axle, then take off the shock absorber lower bolt that connects to the axle and the bolts from the stabilizer bar bracket. To separate the top of the shock from attaching to the frame, remove the upper mounting nut.There is not a lot of room to tum a wrench or socket up top, so hold the nut and turn the shock instead. Remove the shock absorber.Installation is the reverse of removal. Be sure to install the cushions and retainers in the correct sequence up top and tighten the upper nut and lower bolt to the torque.
- Q: How to remove and install the rear shock absorber on 2014 and later on Toyota Highlander?A:Before raising the vehicle, measure the distance from the ground to the bottom of the rear suspension arm and record the measurement. Loosen the rear wheel lug nuts, then raise the rear of the vehicle and support it securely on jackstands. Remove the rear wheels. Remove the rear suspension arm plastic shield fasteners and shield, if equipped. Place a floor jack with a wooden block under the rear suspension arm below the coil spring pocket and raise the arm approximately 1 inch, keeping the jack in this position. Remove the shock absorber upper and lower mounting nut/bolts, then take out the shock absorber from the brackets. Install the rear shock absorber into the mounting brackets, then install the nut/bolts and temporarily hand tighten them. Using the floor jack, raise the rear suspension arm to simulate the ride height previously measured. Once the rear suspension arm is at the correct ride height, tighten the mounting nuts and bolts to the specified torque. Finally, install the rear wheels and tighten the lug nuts to the specified torque.
- Q: How to remove and install shock absorbers on 1995 through 2004 Toyota Tacoma?A:Loosen the front wheel lug nuts, then raise the vehicle and support it securely on jackstands before removing the front wheels. From underneath, detach the lower end of the shock absorber from the lower control arm by removing the two bolts for 2WD models or the bolt and nut for 4WD models. To remove the upper mounting nut, use a wrench or socket to hold the shock absorber damper rod, ensuring to install the washer and rubber bushing below the nut and the other washer and bushing below the bracket when installing a new shock. Take note of the order of the washers and bushings above and below the upper mounting bracket before pulling out the shock from below. Inspect the rubber bushings for any cracks, tears, or deterioration, and replace them if they are worn or damaged. For installation, reverse the removal process, ensuring to tighten the upper mounting nut and the lower mounting bolt(s) to the specified torque.
Related Toyota Parts
Browse by Model
4Runner Shock Absorber 86 Shock Absorber Avalon Shock Absorber C-HR Shock Absorber Camry Shock Absorber Celica Shock Absorber Corolla Cross Shock Absorber Corolla Shock Absorber Corolla iM Shock Absorber Corona Shock Absorber Cressida Shock Absorber Crown Shock Absorber Echo Shock Absorber FJ Cruiser Shock Absorber GR Corolla Shock Absorber GR Supra Shock Absorber GR86 Shock Absorber Grand Highlander Shock Absorber Highlander Shock Absorber Land Cruiser Shock Absorber MR2 Shock Absorber MR2 Spyder Shock Absorber Matrix Shock Absorber Mirai Shock Absorber Paseo Shock Absorber Pickup Shock Absorber Previa Shock Absorber Prius AWD-e Shock Absorber Prius C Shock Absorber Prius Prime Shock Absorber Prius Shock Absorber Prius V Shock Absorber RAV4 Prime Shock Absorber RAV4 Shock Absorber Sequoia Shock Absorber Sienna Shock Absorber Solara Shock Absorber Starlet Shock Absorber Supra Shock Absorber T100 Shock Absorber Tacoma Shock Absorber Tercel Shock Absorber Tundra Shock Absorber Van Shock Absorber Venza Shock Absorber Yaris Shock Absorber Yaris iA Shock Absorber bZ4X Shock Absorber
